NOTE:
If you plan to partition the Library into two logical libraries, the second tape drive must be
installed in the third drive bay. For tape drive locations for two logical libraries, see Table
14 on page 30.
2. Holding the tape drive by the handle and supporting it from the bottom, slide the tape drive into
the drive bay until it is flush with the back of the Library as shown in Figure 25.
Figure 25 Installing a tape drive
.
3. Tighten the blue captive screws with your fingers to secure the tape drive to the chassis.
Installing a redundant power supply
If you have a redundant power supply for the MSL4048, MSL8048, or MSL8096 Tape Library, you
may install it now or wait until the installation process is complete.
To install the redundant power supply:
1. Verify that the power to the Library is off and the power cord is not attached.
2. On the back of the Library, locate the second power supply bay, which is right above the existing
power supply.
3. Using a #2 Phillips screwdriver, remove the screws that attach the bay cover to the chassis.
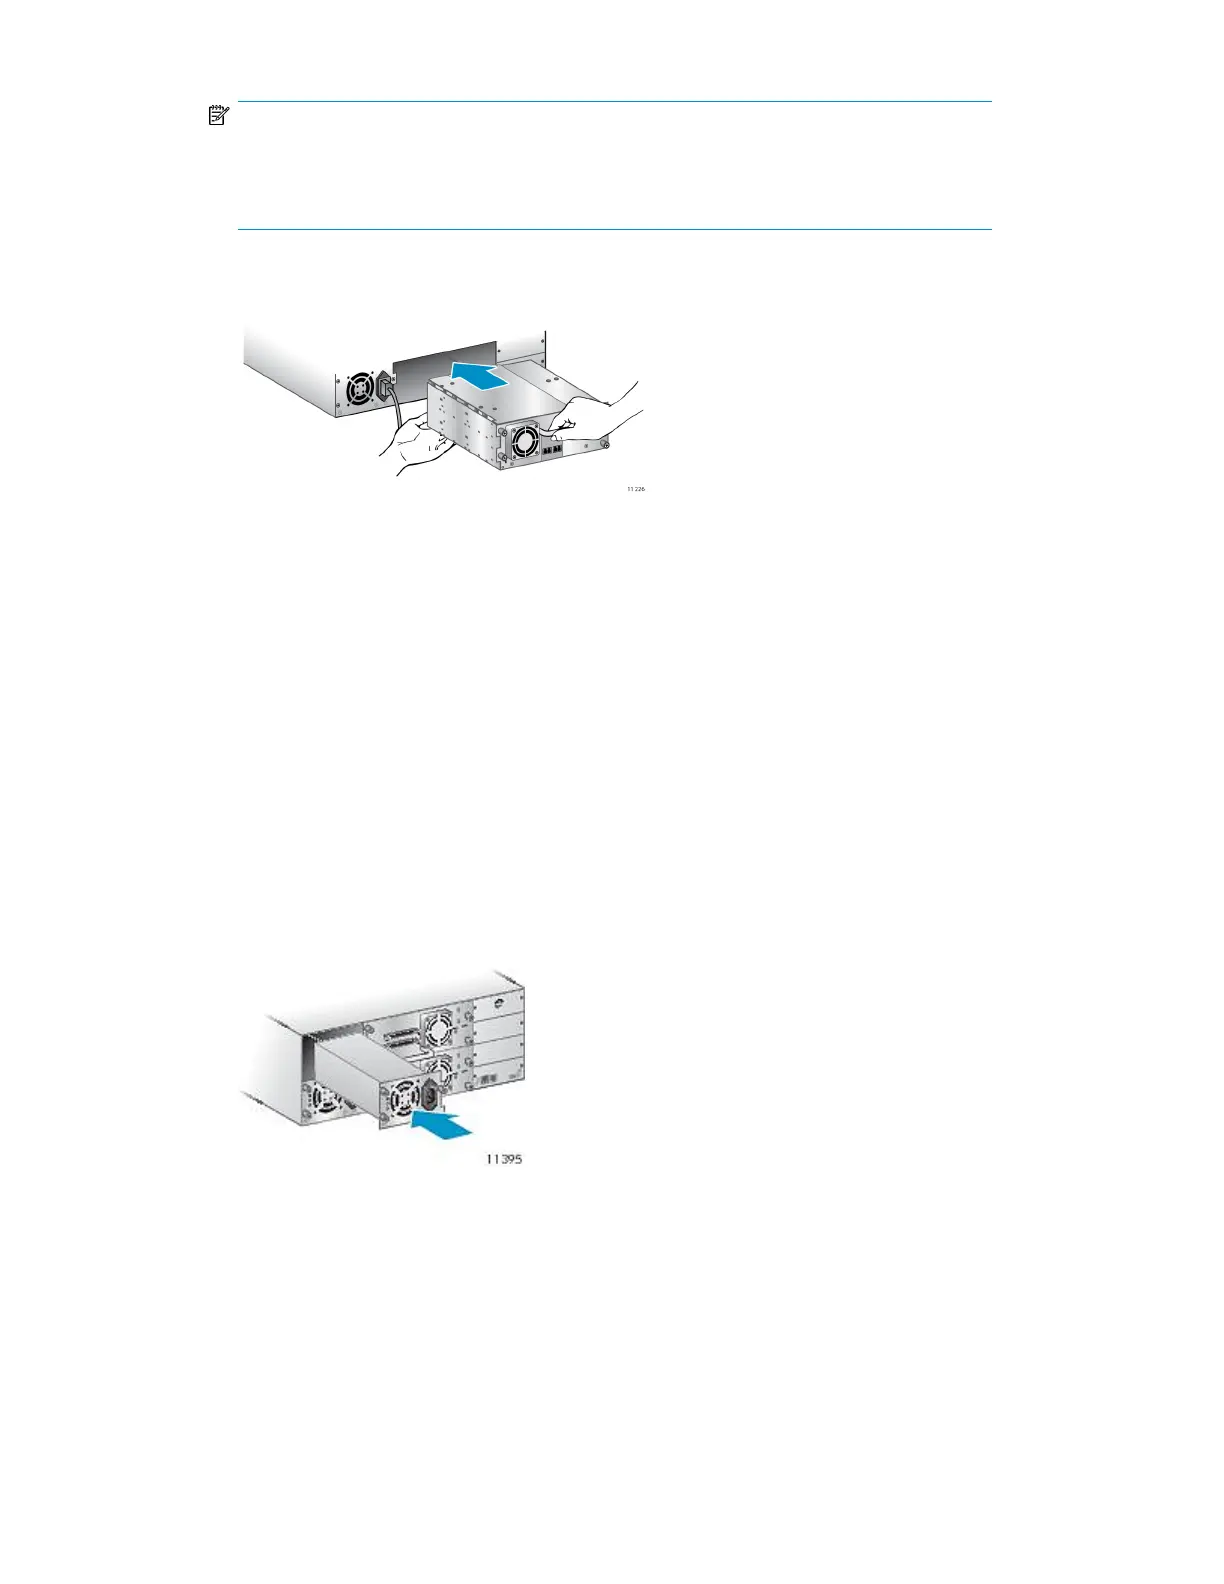
4. Position the new power supply on the alignment rails and push it into the Library until it is flush
with the back panel, as shown in Figure 26.
Figure 26 Installing the new power supply
.
HP StorageWorks MSL2024, MSL4048, MSL8048, and MSL8096 Tape Libraries User and service
guide 51
 Loading...