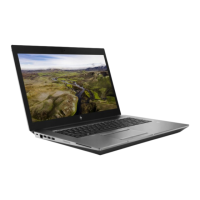
Display assembly
NOTE: Touch displays are spared as a whole assembly only. Touch display assembly spare part information
is available at Computer major components on page 28. Non-touch displays are spared at the subcomponent
level only. Additional display assembly spare part information is available at Display assembly
subcomponents on page 33.
Before removing the display assembly, follow these steps:
1. Turn o the computer. If you are unsure whether the computer is o or in Hibernation, turn the
computer on, and then shut it down through the operating system.
2. Disconnect the power from the computer by unplugging the power cord from the computer.
3. Disconnect all external devices from the computer.
4. Remove the any smart cards and memory cards.
5. Remove the bottom cover (see Service door on page 41).
6. Remove the battery (see Battery on page 43).
7. Remove the memory modules (see Memory modules on page 51).
8. Remove the ODD (see ODD on page 48).
9. Remove the SSDs (see Solid-state drive (SSD) on page 46).
10. Remove the middle cover (see Middle cover on page 61).
Remove the display assembly:
1. Remove the 2 Phillips M2.5×5.0 screws (1) from the display cable bracket.
2. Disconnect the display cable (2), and then release the cable (3).
3. Disconnect the WLAN/WWAN cables (4), and then release the cables (5) from the fan routing.
4. Remove the 6 Phillips M2.5×5.0 screws (6) from the display hinges.
Component replacement procedures 89

 Loading...