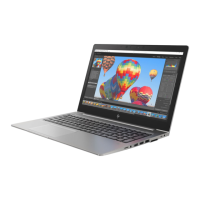
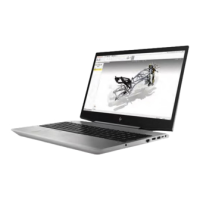
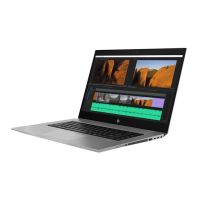
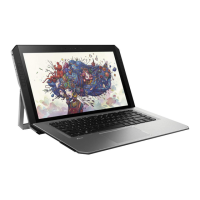
Display assembly components
NOTE: Display assemblies are spared at the subcomponent level only. Additional display assembly spare
part information is available at Display assembly subcomponents on page 33.
Before removing the display assembly, follow these steps:
1. Turn o the computer. If you are unsure whether the computer is o or in Hibernation, turn the
computer on, and then shut it down through the operating system.
2. Disconnect the power from the computer by unplugging the power cord from the computer.
3. Disconnect all external devices from the computer.
4. Remove the any smart cards and memory cards.
5. Remove the bottom cover (see Service door on page 41).
6. Remove the battery (see Battery on page 43).
7. Remove the memory modules (see Memory modules on page 51).
8. Remove the ODD (see ODD on page 48).
9. Remove the SSDs (see Solid-state drive (SSD) on page 46).
10. Remove the middle cover (see Middle cover on page 61).
11. Remove the display (see Display assembly on page 89).
Remove the display assembly components:
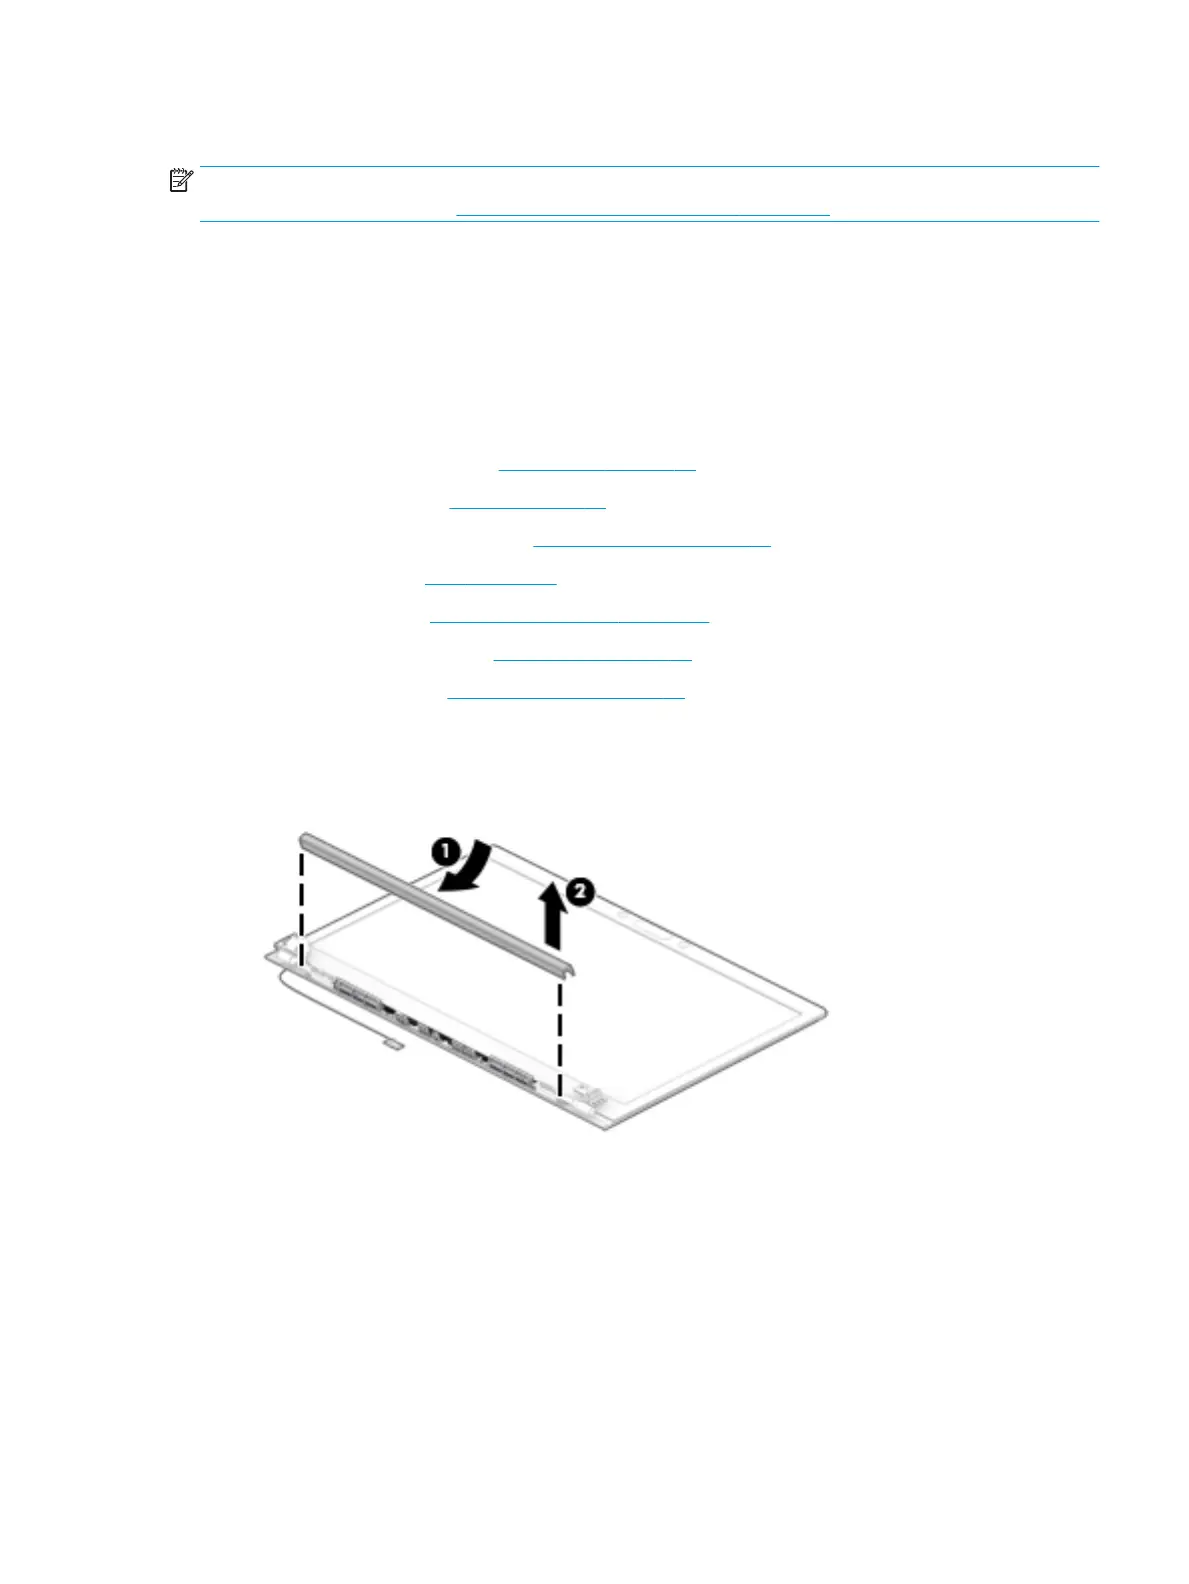
1. To remove the display hinge cover, rotate top of hinge cover (1) away from display enclosure to
disengage the tabs, and then pull the cover (2) o the enclosure.
The display hinge cover (for non-privacy displays) is available in the Hinge Kit (for touch displays) using
spare part number L14364-001. The display hinge cover (for non-touch displays) is available using spare
part number L14365-001.
When installing the hinge cover, make sure all cables are routed correctly under the hinge cover and the
hooks on the end of the cover are aligned correctly with the snaps on the bottom of the display (1).
Press the left (2), and then right (3) middle sections of the hinge cover until it snaps into place.
Component replacement procedures 91
 Loading...