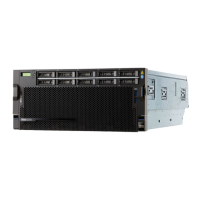
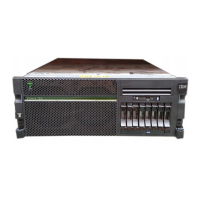
Hot-Plug Disk Drives
Before performing the following procedure, read “Safety Notices” on page xi.
Attention: The Linux operating system does not support hot-pluggable procedures, nor does it support
hot-plugging of any disk drives. A system with the Linux operating system installed on one or more
partitions must be shut down and powered off before replacing any disk drives assigned to a Linux
partition.
Note: You do not have to power off the system to remove a hot-plug disk drive. Before you perform these
procedures, ensure that the customer has taken appropriate actions to back up the data for the
drive you are removing, and that the drive has been removed from the configuration. Physically
removing a hot-plug disk drive from the system before it has been removed from the system
configuration can cause unrecoverable data corruption.
Deconfiguring (Removing) or Configuring a Disk Drive
Use this procedure if you are removing or installing a drive while the system power is turned on.
Deconfiguring (Removing)
Before removing a disk drive from a volume group, do the following:
1. Log in as root user.
2. Before a disk can be removed from a volume group, all data must be backed up and the data
removed from the disk to be replaced. Use AIX Logical Volume Manager to perform this task.
Documentation for the AIX operating system is available from the IBM Eserver pSeries Information
Center at http://publib16.boulder.ibm.com/pseries/en_US/infocenter/base. Select AIX documentation.
The AIX Documentation CD contains the base set of publications for the operating system, including
system-management and end-user documentation.
3. At the command line, type smitty.
4. Select System Storage Manager (Physical and Logical Storage) and press Enter.
5. Select Logical Volume Manager and press Enter.
6. Select Volume Groups and press Enter.
7. Select Set Characteristics of a Volume Group and press Enter.
8. Select Remove a Physical Volume from a Volume Group.
9. Press F4 to list the available volume groups, then select the volume group name and press Enter.
10. Press F4 to select a physical volume, and follow the instructions on the screen to select the physical
volume. Then press Enter.
11. Press F3, then select Cancel, to go back to the first menu.
12. Select System Storage Management (Physical and Logical Storage).
13. Select Removable Disk Management.
14. Select Remove a Disk.
15. Select the desired disk from the list on the screen and press Enter.
16. Follow the instructions on the screen to remove the drive.
17. When you are asked ″Are you sure?,″ press Enter. The power LED on the drive that you selected will
remain on.
18. Remove the disk drive by pulling the disk drive lever toward you until it is completely open. Then
remove the disk drive from the slot. The LED on the top of the slot will turn off when the disk drive is
removed.
19. Press F10 to exit smitty.
470 Eserver pSeries 630 Model 6C4 and Model 6E4 Service Guide
 Loading...