− 103 −
4
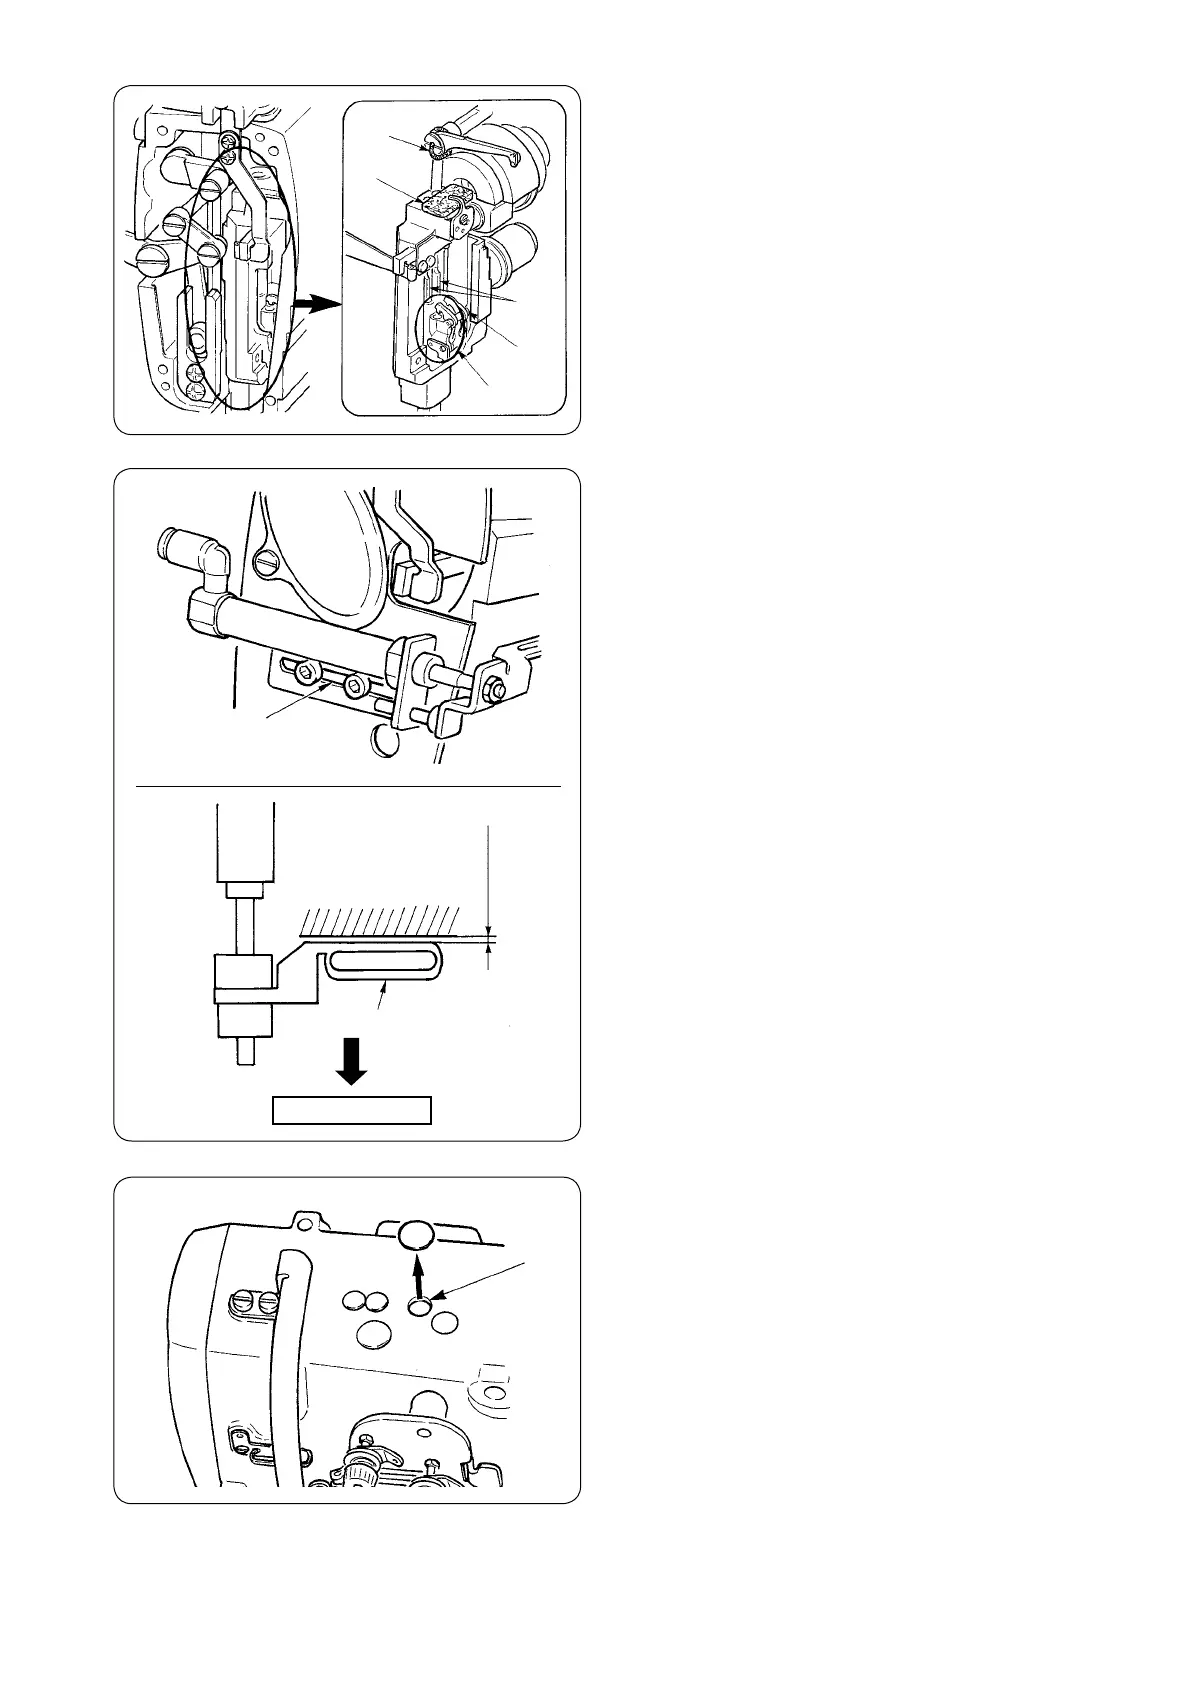
Remove the rubber cap and apply new grease
to the inside of the hole after removing old
grease adhered to the inside of hole
B
. Then
cover the hole with the rubber cap.
B
!6
!7
!8
Operator's side
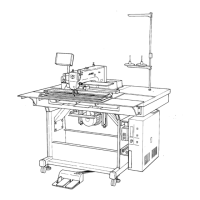
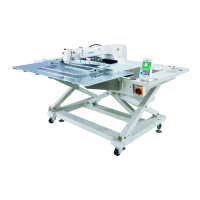
1mm
4
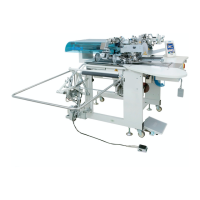
Replenishment of grease to the needle bar
section
Apply grease to thread take-up lever
!4
, felt
!5
,
needle bar bracket
!1
, needle bar
!2
and square
block
!3
.
5
After applying grease in the face plate, install
the face plate cover by reversing the removing
procedure.
6
Fix the screws to be symmetrical to the
center of slot
!6
so as to keep the clearance
(approximately 1 mm) between wiper
!7
and
arm
!8
open.
!4
!5
!1
!3
!2

 Loading...