Home
JUKI
Sewing Machine
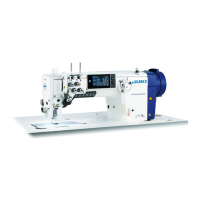
LU-2828V-7
JUKI LU-2828V-7 User Manual
5
of 1
of 1 rating
171 pages
Give review
Manual
Specs
To Next Page
To Next Page
To Previous Page
To Previous Page
Loading...
– 78 –
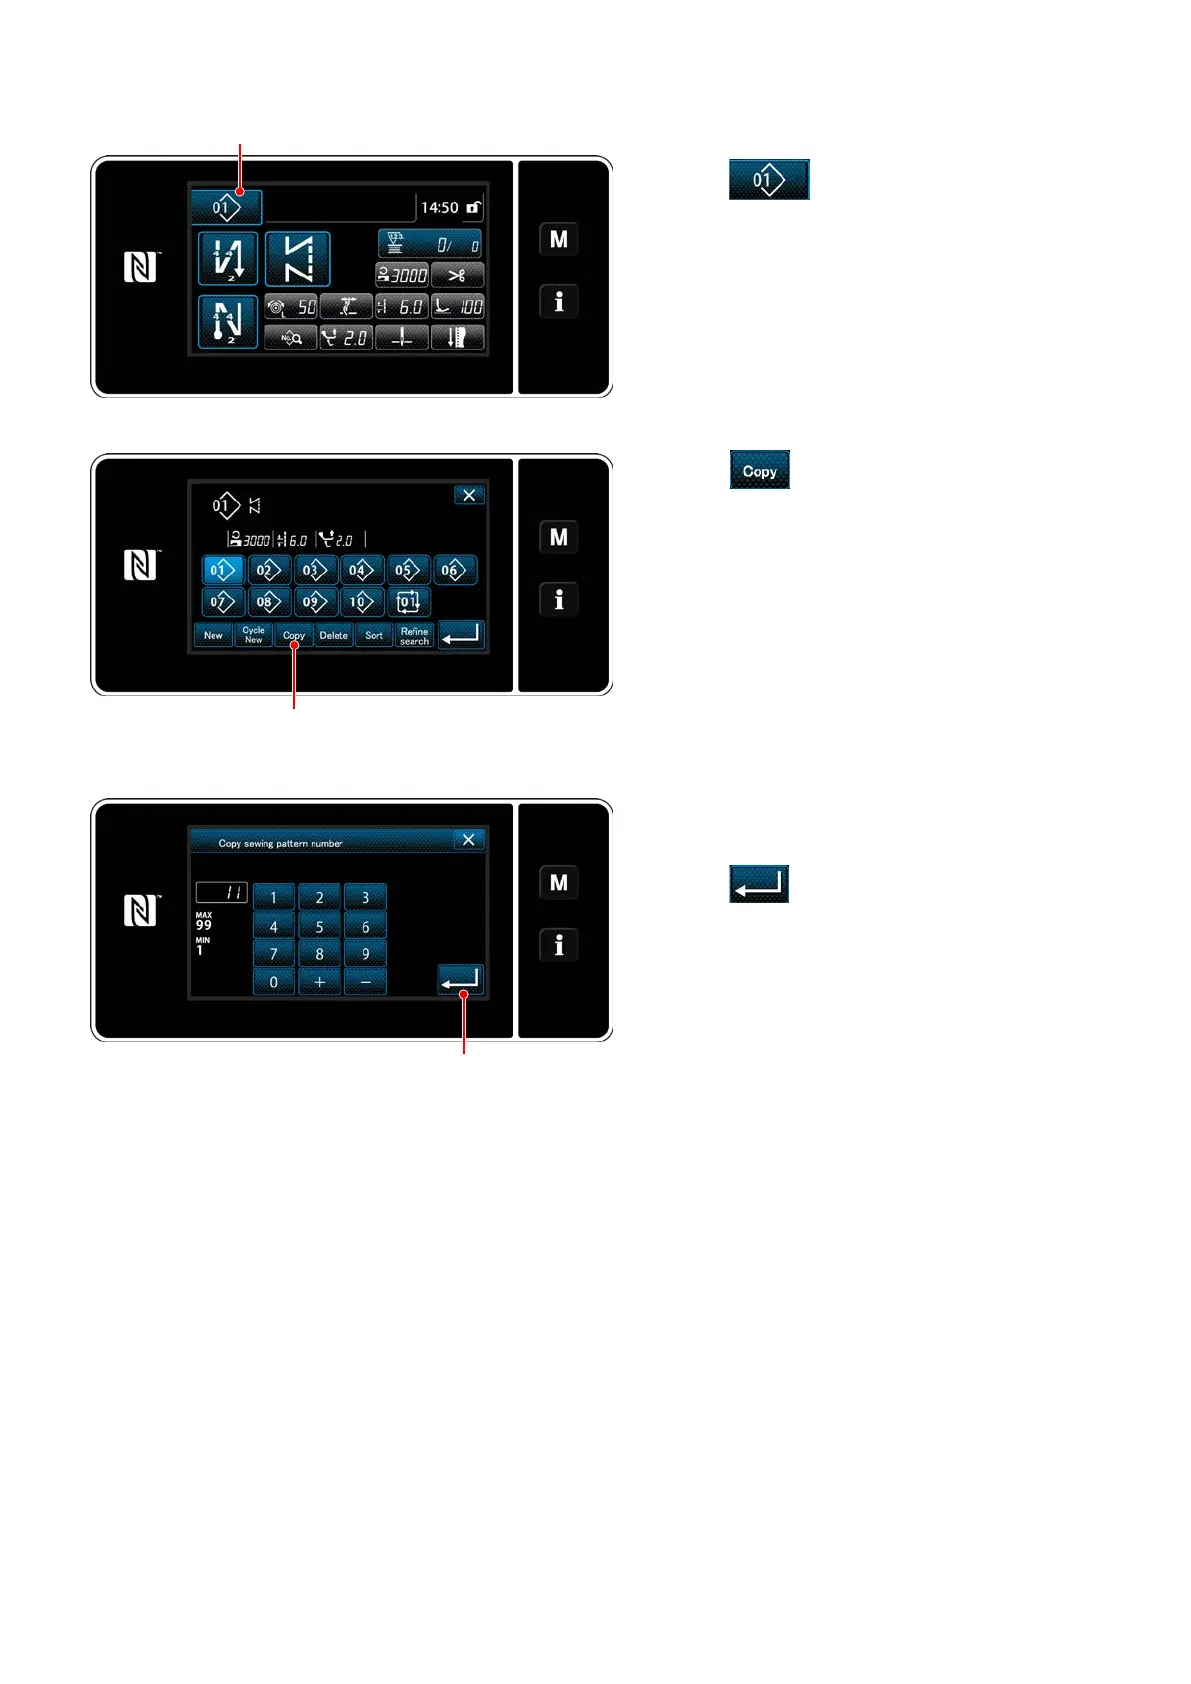
6-2-10. Copying a pattern
1) Press
❶
to display the sewing pat-
tern management screen.
<Sewing pattern management screen>
2) Press
❷
.
3)
Input a copy pattern number with the numeric
keypad.
4) Press
❹
to conrm the pattern number
you have entered.
The sewing pattern management screen is
displayed.
❶
❷
❹
82
84
Table of Contents
Table of Contents
2
Specifications
6
Specifications of the Sewing Machine Head
6
Specifications of the Control Box
6
Installation
7
Mounting Positions of the Devices and Table
7
Installation of the Sewing Machine
8
Installing the Oil Shield
10
Pneumatic Components (Only for the Models Provided with the Stitch Skipping Detecting Device and Bobbin-Thread Remaining Amount Detecting Device)
11
Installing the Thread Stand
13
Installing the Thread Guide Pin
13
Installing the Handwheel Cover (Only in the Case the Protection Cover Sensor Is Provided)
14
Installing the Electrical Box
15
Preparing for Installation of the Control Box
15
Installing the Pedal Sensor
15
Installing the Reactor Box (Only for the EU Type Models)
16
Installing the Control Box for Stitch Skipping Detecting Device (Only for the Models Provided with the Stitch Skipping Detecting Device and the Bobbin-Thread Remaining Amount Detecting Device)
17
Installing the Accessory Ring Core (Only for the EU Type Models)
17
Installing the Accessory Ring Core Supplied with the Electrical Box
17
Connecting the Power Switch Cable
17
Installing the Power Switch
17
Connecting the Power Source Cord
18
Connecting the Cords
19
Connecting the Cords Coming from the Sewing Machine
19
Connection of the Cords Coming from the Stitch Skipping Detecting Device, Bobbin-Thread Remaining Amount Detecting Device and Cover Sensor
20
Handling the Cords
23
Handling the Cords Coming from the Control Box
23
Handling the Cords Coming from the Control Box for Stitch Skipping Detecting Device
23
Attaching the Connecting Rod
24
Adjustment of the Pedal
25
Installing the Connecting Rod
25
Adjusting the Pedal Angle
25
Pedal Operation
25
Lubrication
26
How to Use the Operation Panel (Basic Explanation)
27
Selection of the Language (Operation to be Done at First)
27
Names and Functions of the Panel Keys
29
Basic Operation
30
Preparation before Sewing
31
Attaching the Needle
31
Attaching and Removing the Bobbin
31
Threading the Hook
32
Winding a Bobbin
32
Threading the Machine Head
34
Installing the Attachment
35
Adjusting the Sewing Machine
36
Thread Tension
36
Adjusting the Tension of Thread Tension Controller No. 1
36
Adjusting the Needle Thread Tension (Active Tension)
36
Adjusting the Bobbin Thread Tension
36
Thread Take-Up Spring
37
When You Want to Change the Stroke of the Thread Take-Up Spring
37
When You Want to Change the Tension of the Thread Take-Up Spring
37
Presser Foot (Active Presser Device)
38
Presser Foot Pressure
38
Micro-Lifter Function
38
Adjusting the Stitch Length
39
Changing the Sewing Speed
39
Adjusting the Alternating Vertical Movement Amount
40
Thread Trimming and Condensation Stitching Function
41
LED Hand Light
43
Reverse Feed Stitching
43
Jog Dial
43
Custom Switch
44
Adjusting the Oil Quantity in the Hook
47
Operation of the Sewing Machine
48
Resetting the Safety Clutch
48
Lifting the Presser Foot at an Emergency
48
Power Lamp
49
Knee Switch
50
How to Use the Operation Panel
51
Explanation of the Sewing Screen (When Selecting a Sewing Pattern)
51
Sewing Patterns
55
Sewing Pattern Configuration
55
List of Sewing Patterns
56
Reverse Feed Stitching (at Start) Pattern
58
Reverse Feed Stitching (at End) Pattern
65
Editing the Sewing Patterns
66
List of Pattern Functions
71
Teaching Function
78
One-Touch Utility Changeover Function
80
Registration of a New Sewing Pattern
81
Copying a Pattern
83
Narrow-Down Function
84
Counter Function
86
Displaying the Sewing Screen under the Counter Display Mode
86
Types of the Counter
86
How to Set the Counter
87
How to Reset the Count-Completion State
90
Simplified Chart of Panel Displays
91
List of Memory Switch Data
92
List of Errors
97
Memory Switch Data
101
Care
103
Standby Mode
103
Cleaning
104
Applying Grease
104
Replacing the Fuse
105
Disposal of Batteries
105
Adjustment of the Machine Head (Application)
106
Needle-To-Hook Relation
106
Adjusting the Timing between the Needle and the Blade Point of Hook
107
Adjusting the Hook Needle Guard
108
Adjusting the Bobbin Case Opening Lever
108
Adjusting the Moving Knife, the Counter Knife and the Bobbin Thread Clamp
109
Adjusting the Thread Trimming Cam Timing
111
Adjusting the Thread Clamp Device
112
Active-Presser Multi-Layered Section Detection Function
115
Multi-Layered Section Detection Function
115
Turning off the Multi-Layered Section Changeover Function by the Number of Stitching
118
Grease Shortage Alarm
120
Regarding the Grease Shortage Alarm
120
E221 Grease-Shortage Error
120
Regarding K118 Error Resetting Procedure
121
How to Use the Operation Panel (Application)
122
Management of Sewing Patterns
122
Creation of a New Pattern
122
Copying a Pattern
124
Deleting a Pattern
125
Setting up the Polygonal-Shape Stitching
126
Editing a Polygonal-Shape Stitching Pattern
126
Creating a New Polygonal-Shape Stitching Pattern
132
Setting the Step from Which Polygonal-Shape Stitching Is Started
132
Cycle Pattern
133
Selecting the Cycle Pattern
133
Editing Cycle Sewing Data
134
Creating a New Cycle Pattern
135
Setting the Step from Which Cycle Sewing Pattern Is Started
137
Custom Pitch
138
Selecting a Custom Pitch
138
Creating a New Custom Pitch
140
Custom Pitch Edit Function
143
Copying/Deleting a Custom Pitch
144
Condensation Custom Pattern
145
Selecting the Condensation Custom
145
Creating a New Condensation Custom
145
Condensation Custom Edit Function
148
Copying/Deleting a Condensation Custom
149
Simple Lock of the Screen
150
Version Information
150
Adjustment of Brightness of the LED Panel
151
Information
152
Data Communication
152
Usb
155
Nfc
156
Key Customization
157
Assignable Data
157
How to Assign a Function to a Key
158
Maintenance Management Function
160
Setting the Ancillary Devices
164
Setting the ON/OFF Status of Suspended Ruler
165
Setting the ON/OFF Status of Stitch Skipping Detecting Device
165
Setting the ON/OFF Status of Bobbin-Thread Remaining Amount Detecting Device
166
Setting the ON/OFF Status of Cover Sensor Device
166
Sewing Speed Table
168
Troubles in Sewing and Corrective Measures
169
5
Based on 1 rating
Ask a question
Give review
Questions and Answers:
Need help?
Do you have a question about the JUKI LU-2828V-7 and is the answer not in the manual?
Ask a question
JUKI LU-2828V-7 Specifications
General
Brand
JUKI
Model
LU-2828V-7
Category
Sewing Machine
Language
English
Related product manuals
JUKI LU-2828-7
143 pages
JUKI LU-2860
37 pages
JUKI LU-2860-7
49 pages
JUKI LU-2818-7
49 pages
JUKI LU-2860V-7
172 pages
JUKI LU-2800 Series
143 pages
JUKI LU-2810-7 Series
84 pages
JUKI LU-2210N-7
21 pages
JUKI LU-2210N-6
48 pages
JUKI LU-2266N-7
100 pages
JUKI LU-2260N-7
21 pages
JUKI LU-2216N-7
100 pages

 Loading...