BLC Photometry Area Setting
For setting the photometry area for backlight compensation. You can
perform setting on two types of screens, [EDIT1] and [EDIT2].
1
Select the [BLC] item on the [BASIC SETTINGS] screen, and
select [EDIT1].
2
Press the [SET] button.
The [BLC EDIT] screen appears.
3
Use the cross key to edit the left/top area, and press the [SET]
button.
An editing screen for the right/bottom area appears.
4
Use the cross key to edit the right/bottom area.
Memo
Press the [SET] button to switch between the screen to edit
the left/top area and the screen to edit the right/bottom area.
5
Press the [MENU] button to exit.
Returns to the [BASIC SETTINGS] screen.
* When using the preset photometry area, set [BLC] to “EDIT1” or
“EDIT2”. (A page 39)
.
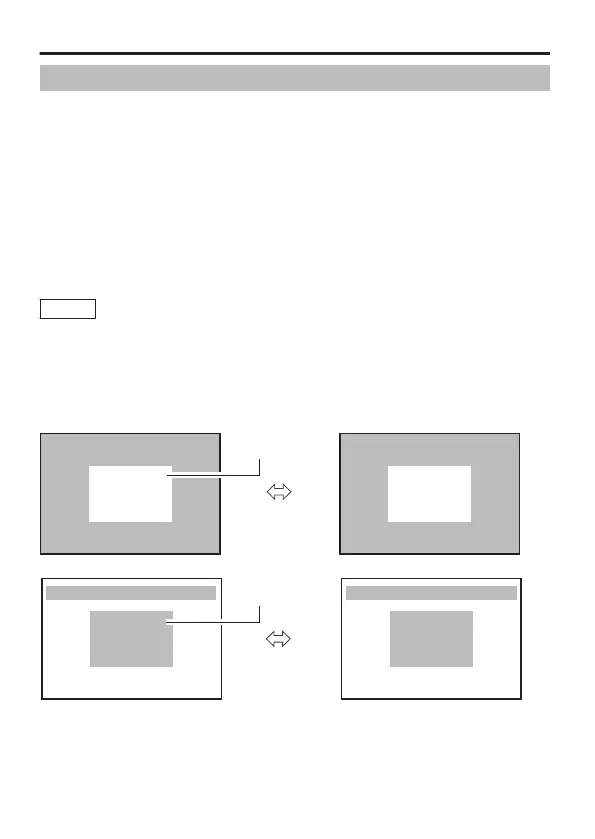
BLC EDIT (A:GENERAL)
<MENU> RETURN <SET>D-R
BLC EDIT (A:GENERAL)
<MENU> RETURN <SET>U-L
Photometry area
[SET] Button
[EDIT1] Screen
.
BLC EDIT (A:GENERAL) BLC EDIT (A:GENERAL)
<MENU> RETURN <SET>D-R <MENU> RETURN <SET>U-L
Photometry area
[SET] Button
[EDIT1] Screen
* The photometry areas for the [EDIT1] and [EDIT2] screens are
different.
* The on-screen display position is a rough guide.
Detailed Settings
E-66
 Loading...