SECTnON U. GETTUNG READY TO SEW
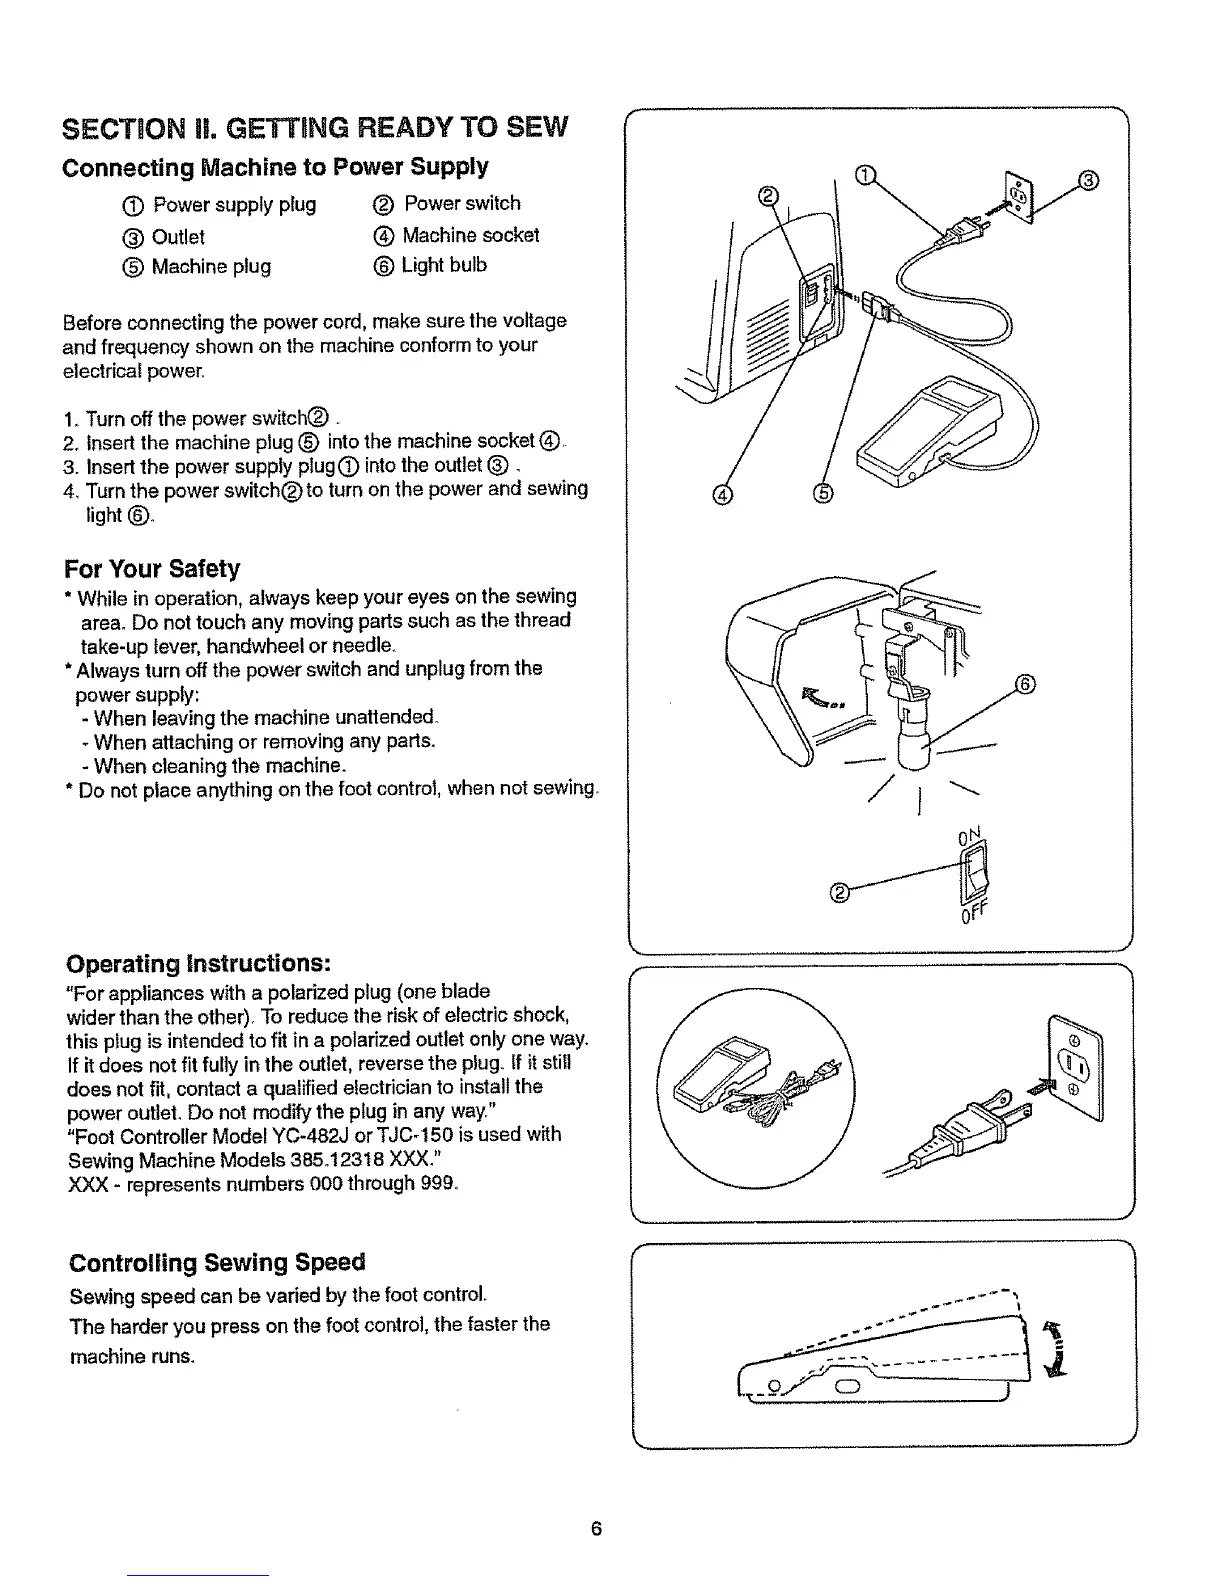
Connecting Machine to Power Supply
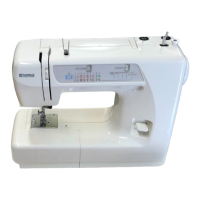
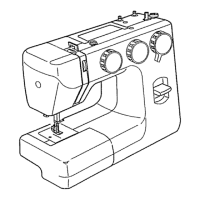
(T) Power supply plug (_) Power switch
(_) Outlet _ Machine socket
(_) Machine plug (_) Light bulb
Before connecting the power cord, make sure the voltage
and frequency shown on the machine conform to your
electrical power_
1,.Turn off the power switch(_) _
2o Insert the machine plug (_) into the machine socket Q.
3. Insert the power supply plug 0 into the outlet (_)_
4_ Turn the power switchOto turn on the power and sewing
light _)_
For Your Safety
* While in operation, always keep your eyes on the sewing
area° Do not touch any moving parts such as the thread
take-up lever, handwheel or needle.
*Always turn off the power switch and unplug from the
power supply:
- When leaving the machine unattended.
- When attaching or removing any parts.
- When cleaning the machine°
* Do not place anything on the foot control, when not sewing°
Operating instructions:
"For appliances with a polarized plug (one blade
wider than the other). To reduce the risk of electric shock,
this plug is intended to fit in a polarized outlet only one way.
If itdoes not fit fully in the outlet, reverse the plug,.If itstill
does not fit, contact a qualified electrician to install the
power outlet, Do not modify the plug in any way."
"Foot Controller Model YC-482J or TJC-150 is used with
Sewing Machine Models 385.t23t8 XXX."
XXX - represents numbers 000 through 999.
Controlling Sewing Speed
Sewing speed can be varied by the foot control°
The harder you press on the foot control, the faster the
machine runs.
=
J
J
 Loading...