N2-8 Truck Cab N02019
2. Transfer the center of this opening onto the skin
of the cab nearest where the door jamb bolt is
located. Use a T-square or other measuring
equipment and mark on the cab with a pencil.
NOTE: Release the door catch before trying to
close the door.
3. Loosen and vertically align (center) the door
jamb bolt with this mark and tighten it firmly
enough to hold it in place but still allow some
slippage.
4. Carefully try to close the door (4) and determine
if this has helped the "springing" problem. If the
door latches but not firmly enough, follow proce-
dures listed previously in "Step A". If the door
latch does not catch, move the bolt outwards
and try again. When corrected, follow adjust-
ment procedures listed in "Step A" to ensure a
good seal. By design, if both seals are in good
condition, proper adjustment of the outside seal
will ensure good contact on the inside seal to
prevent dust and moisture from entering the
cab.
Door Handle Plunger Adjustment
If the door handle becomes inoperative, it can either
be adjusted or replaced. The following is a procedure
for adjusting the exterior door handle plunger.
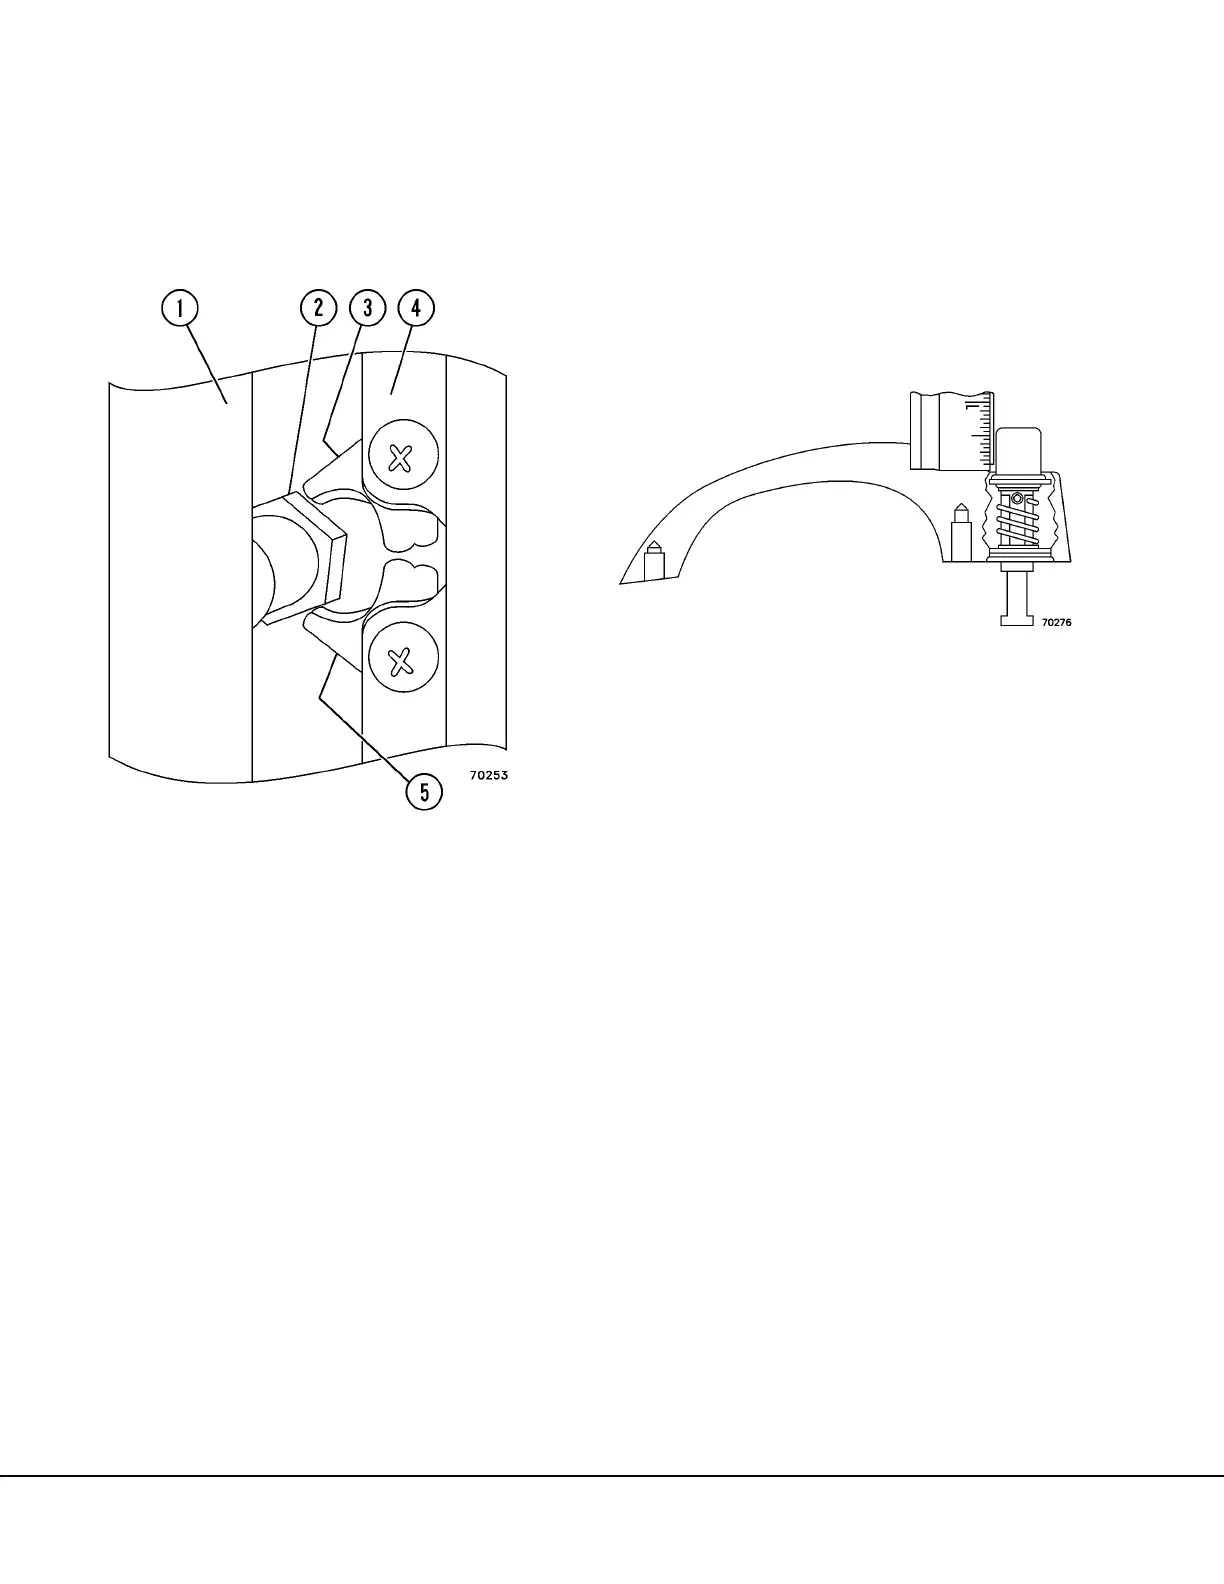
1. Determine the amount of free play in the door
release plunger by pushing in on the plunger
until it just contacts the door release mecha-
nism. Measure the distance that the plunger
travels (Figure 2-5) from this position to where
the plunger is fully released.
2. Remove door panel.
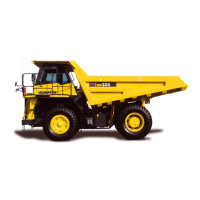
a. Remove hair pin clip (1, Figure 2-6) and bolt
(2) from the door check strap closest to the
door.
b. Remove 2 cap screws (3), which hold the
door strap bracket to the door.
c. Disconnect wiring harness (4) to the window
regulator.
d. Open the door as far as possible in and
remove the internal door panel.
e. Before removing all door panel mounting
screws, support the panel to prevent the
assembly from dropping. Remove 15 mount-
ing screws (5).
FIGURE 3-4. DOOR JAMB BOLT ADJUSTMENT
1. Washer
2. Striker Bolt
3. Frame
4. Seal
FIGURE 3-5. MEASURING TRAVEL DISTANCE OF
PLUNGER

 Loading...