47
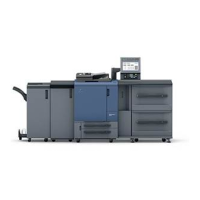
Adjust the sliders or enter values between ±2 in 0.1 increments
in the text boxes. Press the apply button (1) to view the effect
on the preview image and the histograms. Repeat until the
desired result is achieved. To cancel all settings, click the reset
button and press the apply button to initialize the preview
image.
When using autoexposure, adjustments are made in reference
to the exposure determined by the AE system. To calibrate the
scanner in reference to a standard exposure, turn the autoex-
posure functions off in the preference window (p. 44); set expo-
sure control for negatives to manual or uncheck the auto-
expose-for-slides check box. This is recommended when mak-
ing settings for specific films.
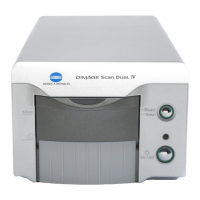
Saving exposure settings
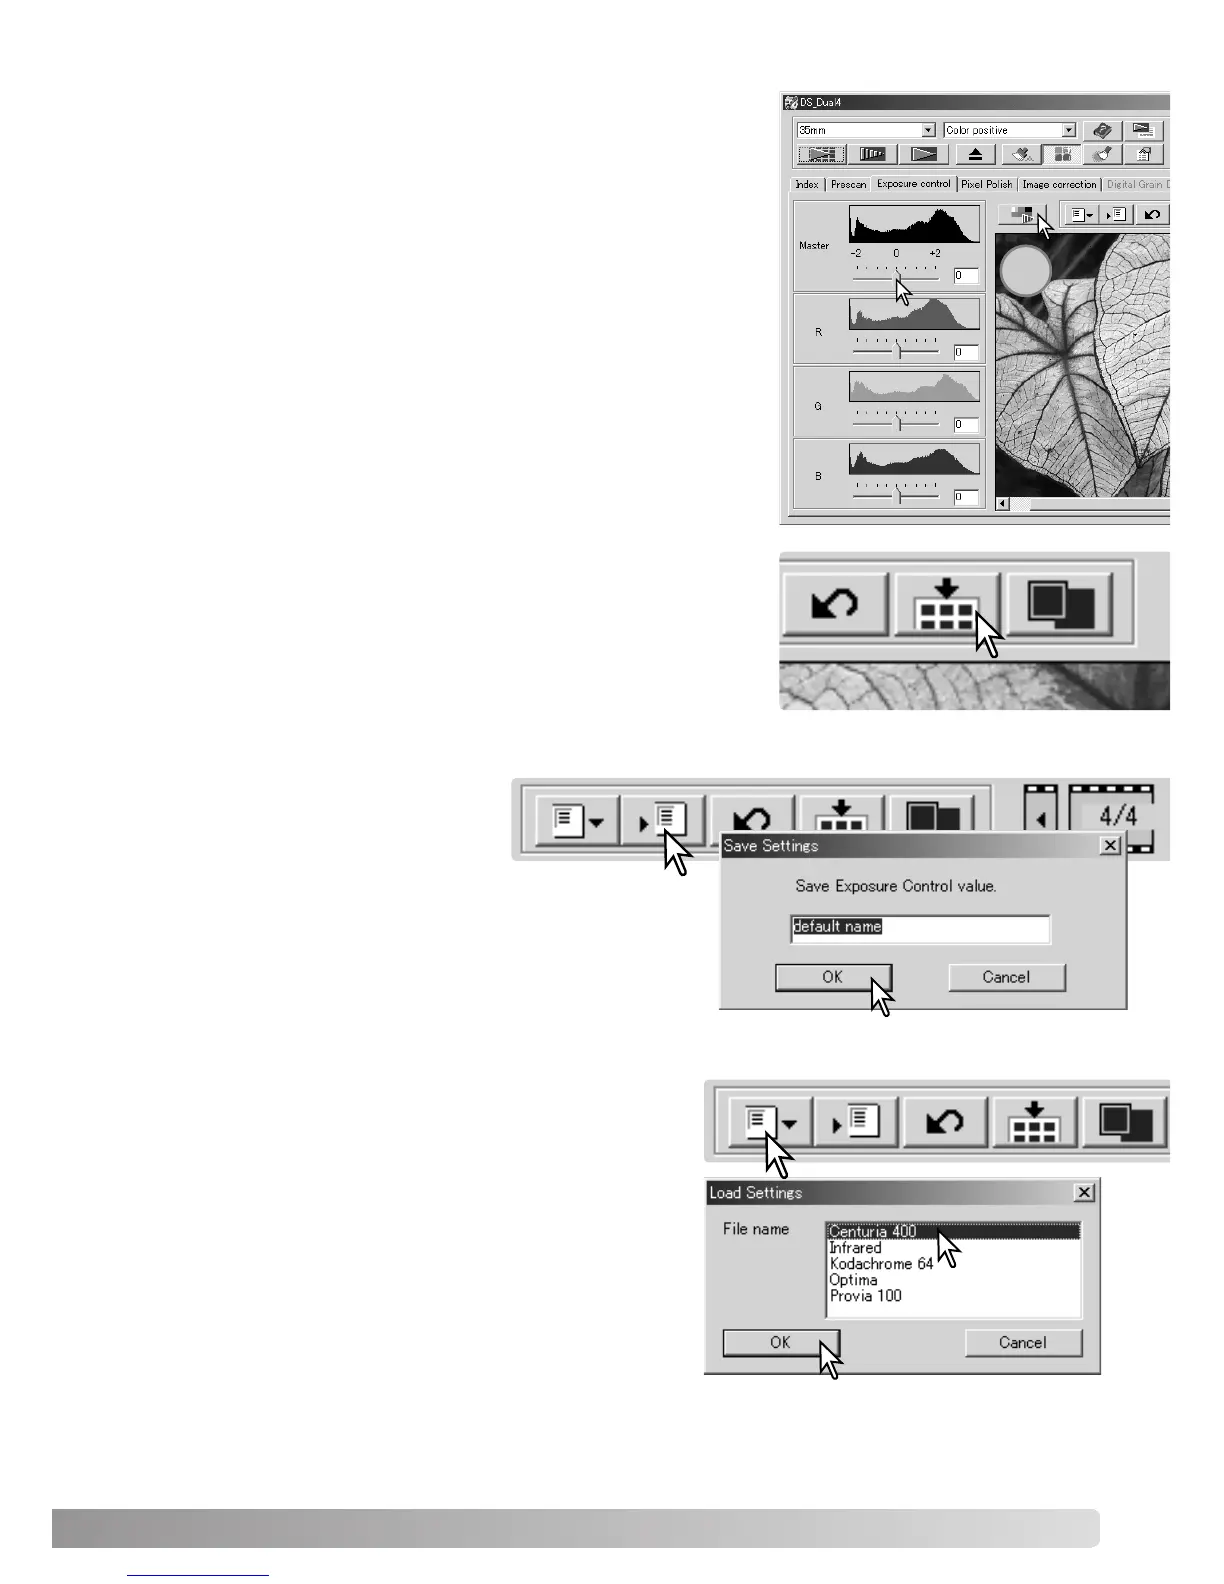
Loading exposure settings
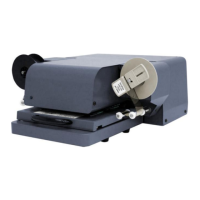
Click the apply-all button to use the exposure-control settings
for all the images in the film holder. To cancel changes to expo-
sure once the apply-all function has been used, click the reset
button and then click the apply-all button again.
Click the save setting button to open
the save window.
Enter the name for the setting file. Click OK.
Click the load setting button to open the load window.
Click on the file name to highlight it. Click OK to apply
the settings to the image displayed in the exposure-
control tab. Confirm the autoexposure settings in the
preferences window (p. 44).
To delete a setting file, open the load window and click
on the file name to highlight it. Use the keyboard delete
key to erase the file.
1
 Loading...