MAINTENANCE WORK ON CHASSIS AND ENGINE 47
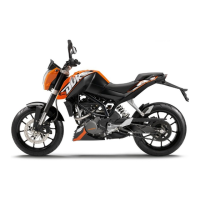
11.19Bleeding the fork legs
– Jack up the motorcycle. ( p. 38)
B00018-10
– Remove bleeder screws briefly.
Any excess pressure escapes from the interior of the fork.
– Mount and tighten bleeder screws.
– Remove the motorcycle from the work stand. ( p. 38)
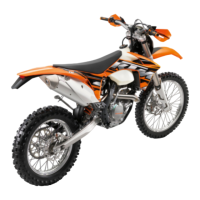
11.20Cleaning the dust boots of the fork legs
– Jack up the motorcycle. ( p. 38)
– Loosen the fork protection. ( p. 47)
500088-10
– Push dust boots of both fork legs downwards.
Info
The dust boots should remove dust and coarse dirt particles from the fork
tubes. Over time, dirt can penetrate behind the dust boots. If this dirt is not
removed, the oil seals behind can start to leak.
Warning
Danger of accidents Reduced braking efficiency due to oil or grease on the
brake discs.
– Always keep the brake discs free of oil and grease, and clean them with
brake cleaner when necessary.
– Clean and oil the dust boots and inner fork tube of both fork legs.
Universal oil spray ( p. 133)
– Press the dust boots back into their normal position.
– Remove excess oil.
– Position the fork protection. ( p. 47)
– Remove the motorcycle from the work stand. ( p. 38)
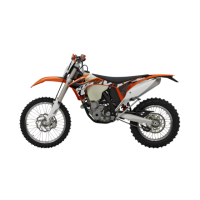
11.21Loosening the fork protection
B00013-11
– Remove screws and take off the clamp.
– Remove screws on the left fork leg. Push the fork protection downwards.
– Remove the screws on the right fork leg. Push the fork protection downwards.
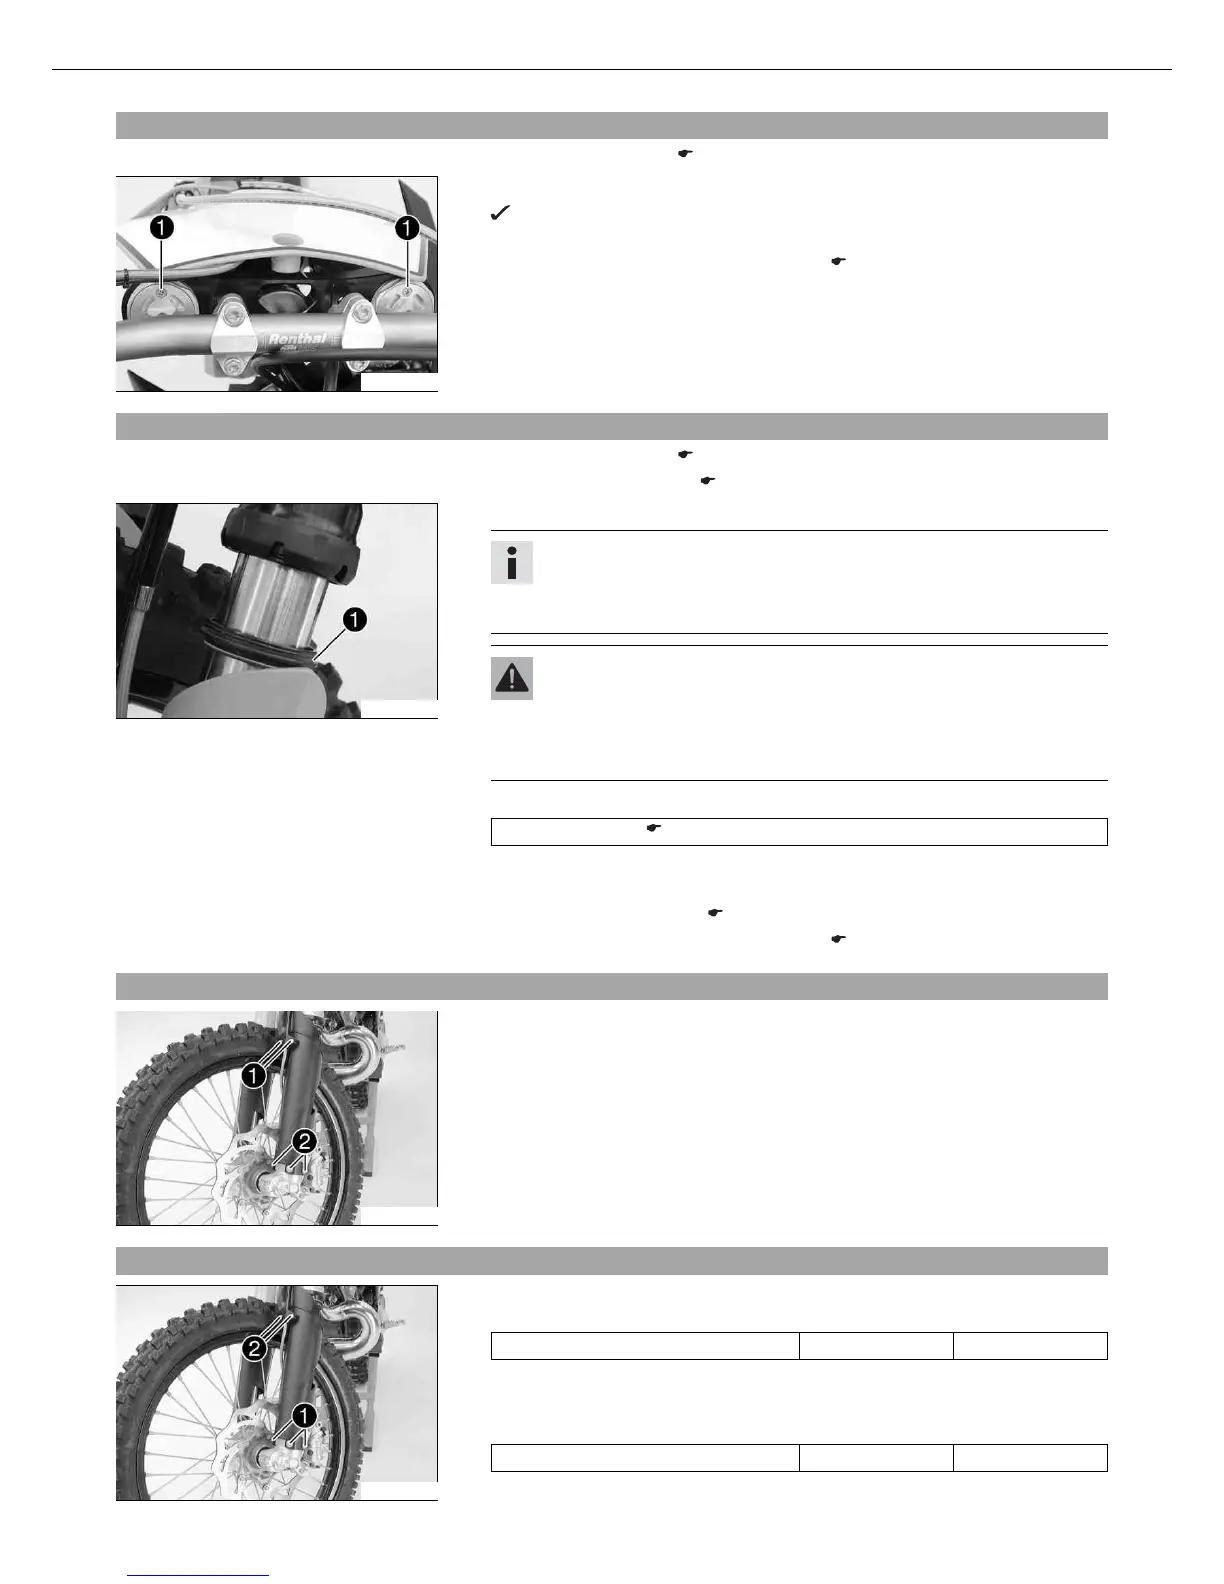
11.22Positioning the fork protection
B00013-10
– Position the fork protection on the left fork leg. Mount and tighten screws .
Guideline
Remaining screws, chassis M6 10 Nm (7.4 lbf ft)
– Position the brake line. Position the clamp and mount and tighten screws .
– Position the fork protection on the right fork leg. Mount and tighten the screws.
Guideline
Remaining screws, chassis M6 10 Nm (7.4 lbf ft)
 Loading...