Copy Functions 1-37
Step 6: Complete the Settings for Original D
Select Cassette 1 (plain paper) for paper setting.
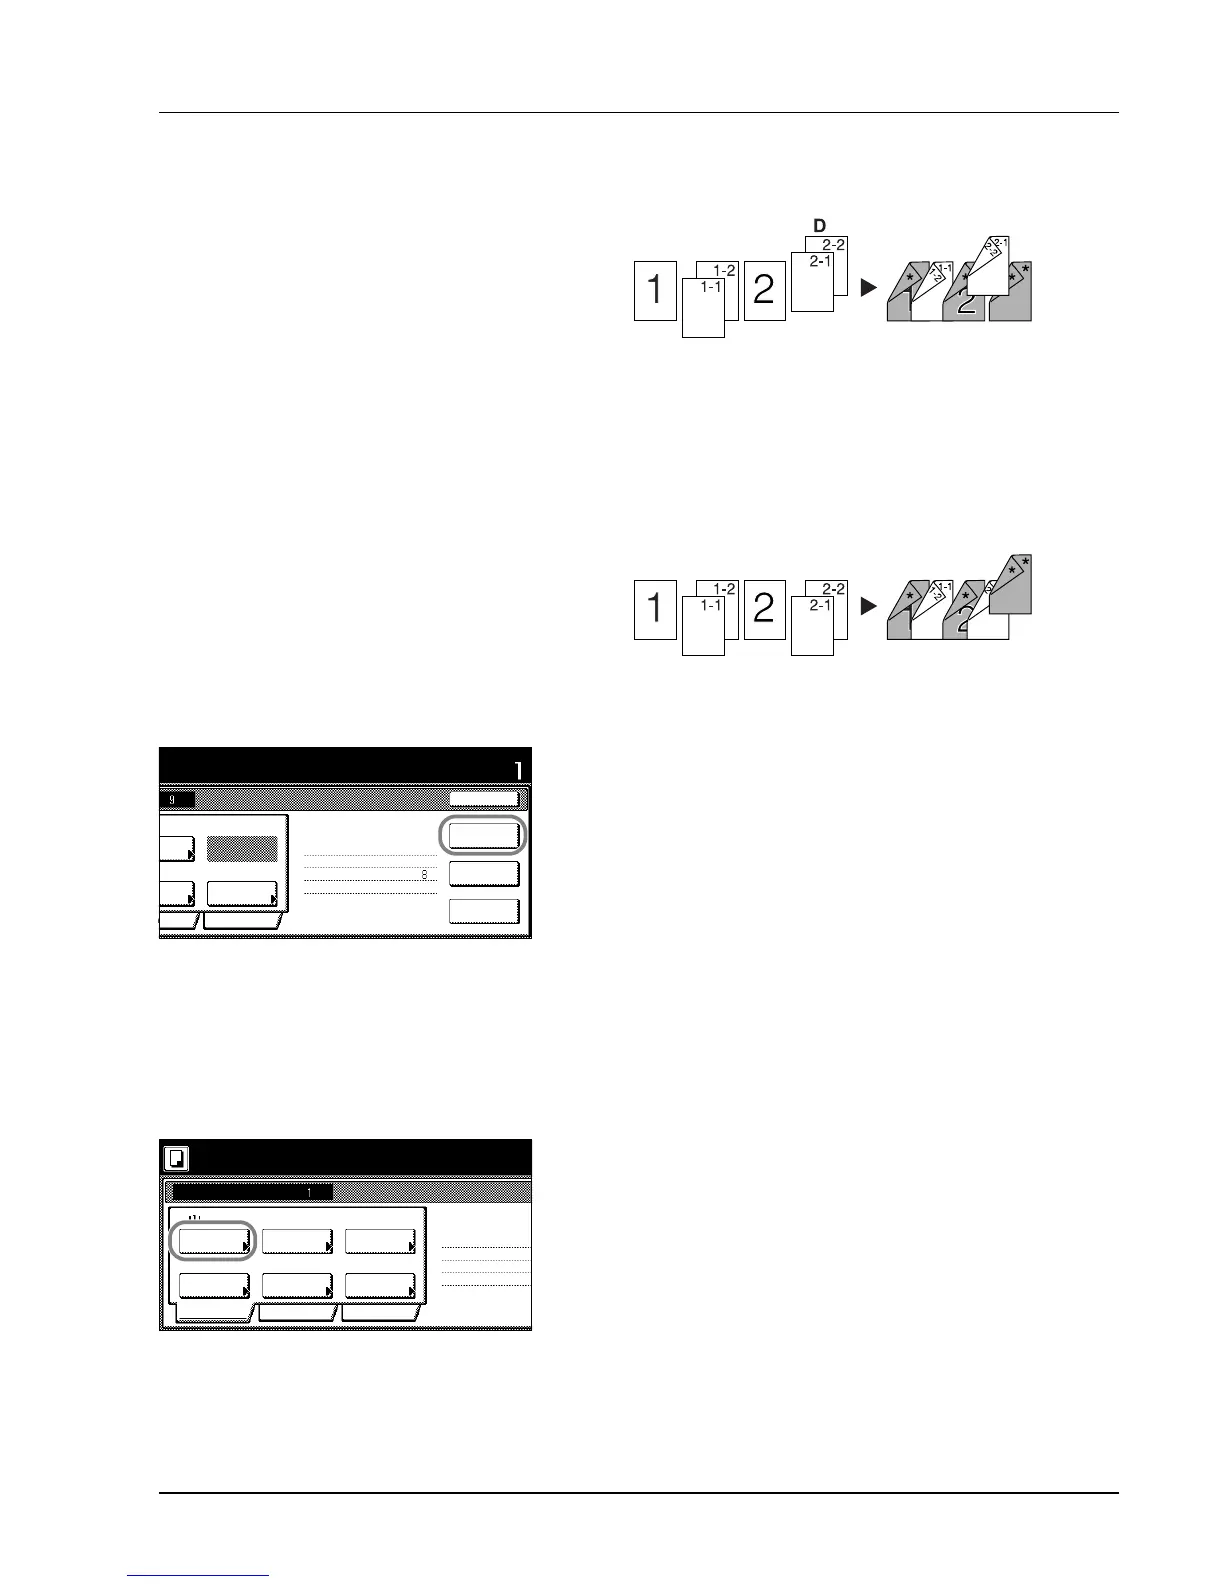
17Press [Paper Selection].
18Select Cassette 1 and press [Close].
19Place the Original D and press the Start key. Scanning of the
original begins.
Step 7: Specify Blank Colored Paper for the Back Cover
For paper selection, set MP tray (color paper).
20Press [Paper Selection].
21Select the MP tray and press [Close].
22Press [Insert page] ([Insert blank page]).
23All originals have been scanned. Press [Scanning finished]. Printing
begins.
24If there are no problems with the output, use Repeat Copy to
produce additional copies as necessary. For further details, refer to
Repeat Copy on page 1-25.
This completes the steps for the above operation.
Setting Functions
This section explains the copying functions available when using Job
Build.
Paper Selection
Select the paper size.
1 Press [Basic]. On the next screen, press [Paper Selection].
2 Select the MP tray or a cassette and press [Close].

 Loading...