Introduction Getting Ready
Taking Pictures
Playback Set Up
GB-118
Viewing Still Images | Viewing Movies | [o] Viewing Images Automatically as a Slideshow (slideshow) | [O] Viewing Multiple Images | [INFORMATION] Viewing Image Information | [J]/[I] Erasing Unwanted
Images | [U] Protecting Images from Accidental Erasing (PROTECT) | [p] Adding Voice Messages to Still Images (POSTRECORDING) | [V] Resizing and Trimming Images (RESIZE) | [W] Rotating an Image |
[T] Using DPOF to specify print settings | [G] Printing by Connecting the Camera Directly to a Printer (PictBridge) | Connecting to a Windows PC | Connecting to a Macintosh
NEXTBACK
Contents (Top page) Detailed Contents Index Nomenclature Menus and Settings Troubleshooting
6
Check the images and then press the OK
button E.
7
Press the MENU button K.
Erasing all resized images
This procedure erases all resized images.
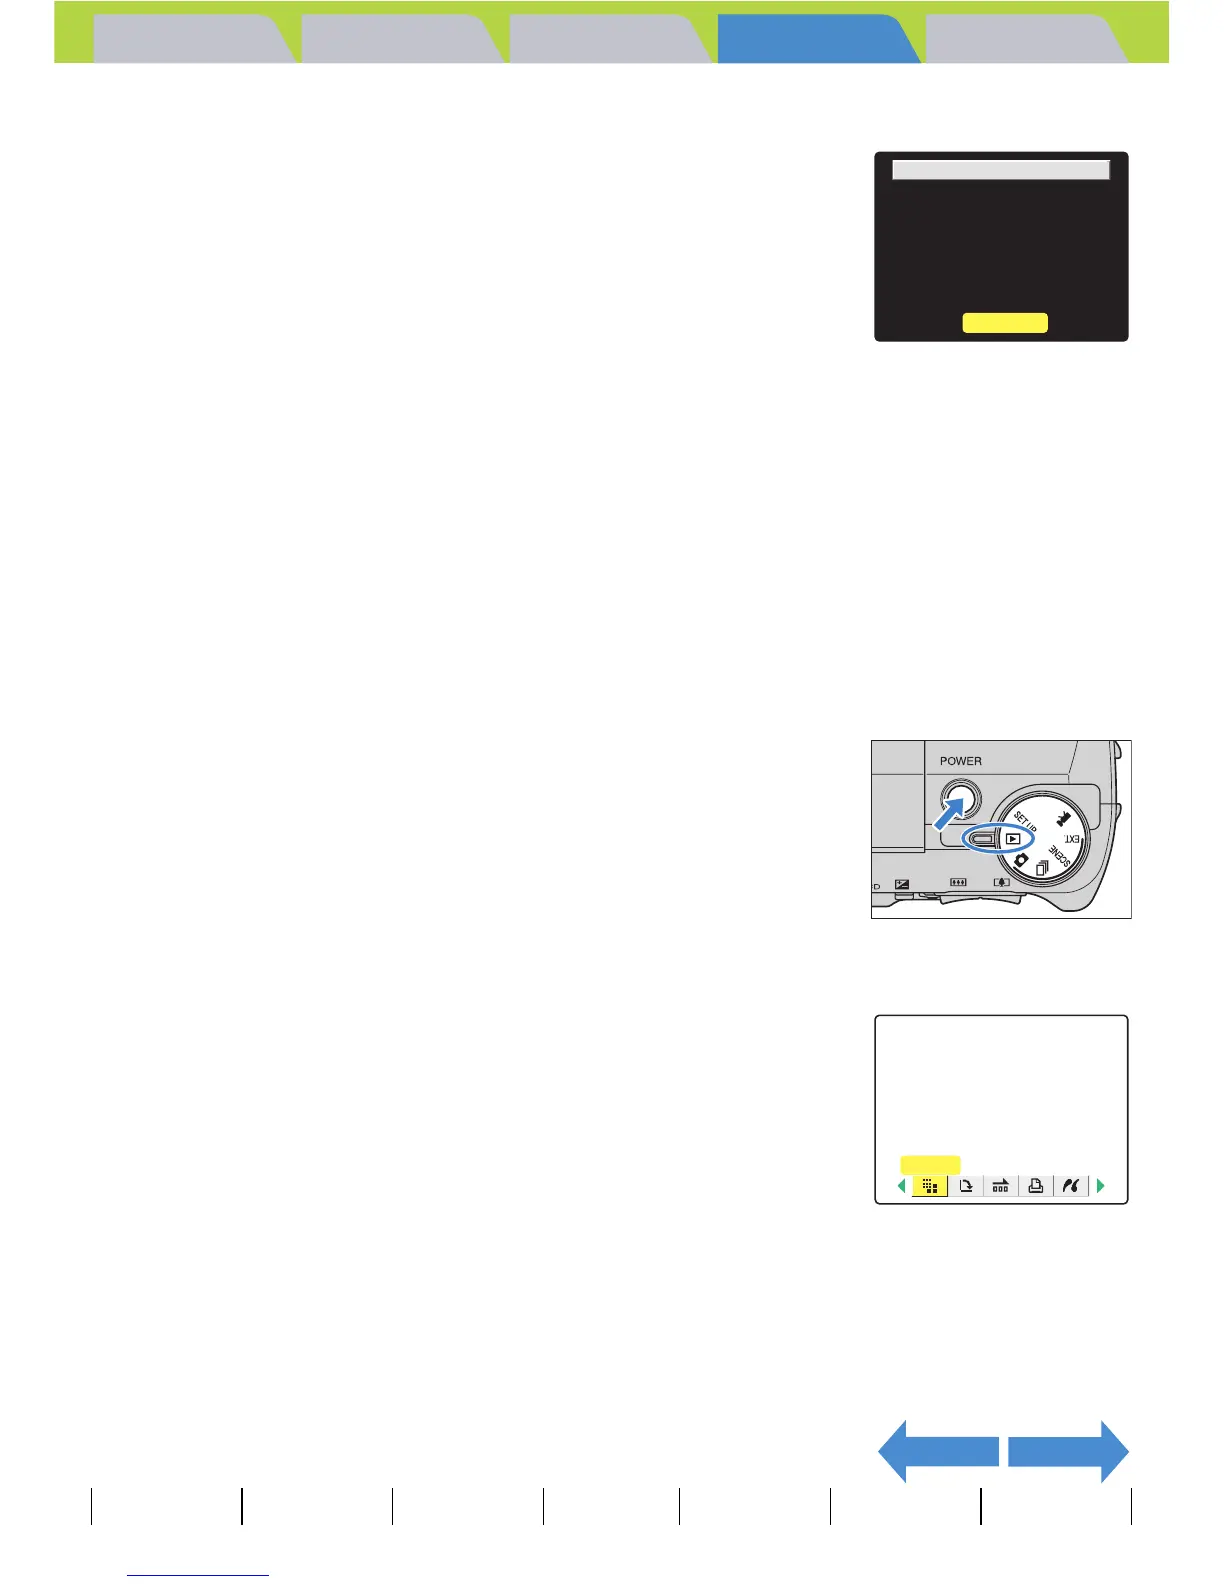
1
Set the mode select dial to "P" and turn
the camera on.
2
Press the MENU button K to display the menu icons.
3
Use the left l or right r button to select
[RESIZE]
V
and then press the OK button
E.
The resizing menu appears.
A Important
• Images shot on a third-party digital camera and movies are not resized.
• If the memory card becomes full during resizing of all the images, resizing stops and
only the images resized up to that point are saved.
• You cannot resize a specified area (trimming).
OK
RESIZE
DONE
18
IMGS
RESIZE
 Loading...