D9U004GKC-0101
62
This accessory is used to create a at patient surface, suitable for patients in a lying posi-
tion for longer procedures.
WARNING!
► Improper handling can cause injury to the patient or operator!
► The patient surface is a detachable accessory!
► Only trained personnel can handle and operate the patient surface!
► The patient surface must not be tted in the opposite direction! Before tting the patient sur-
face onto the chair, the upholstery must face upwards.
► The chair must be in the lowest position before the patient surface is retracted.
► The patient surface may only be used in the chair's lowest position.
► The patient surface must always be unloaded when sliding it in/pulling it out.
► The maximum load of the patient surface is 45 kg/99 lb.
► Always make sure that the patient surface is sufciently
secured before use.
► Take extra care when getting on and off the chair.
► It is only possible to get onto the chair from the side of the
chair, over the seat.
► Patients should not get onto the chair via the front of the
chair because there is a risk of chair instability.
► The patient surface is intended to be used for placing the
patient's legs on when the patient is lying down.
► Take extra care when handling the patient surface — risk of
collisions with surrounding objects (e.g. footrest).
► Transportation of the chair is prohibited while the patient surface is installed.
► Transportation of the patient is prohibited while the patient surface is installed.
► The patient surface must not be used to activate the castors. Only the footrests should be
used for lifting and subsequently activating the castors.
► Take extra care when removing the patient surface from the chair. There is a risk of damag-
ing the padded area as well as a risk of injury by tripping over or crashing into the removed
patient surface.
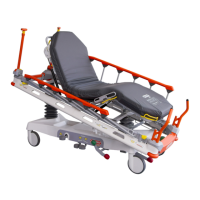
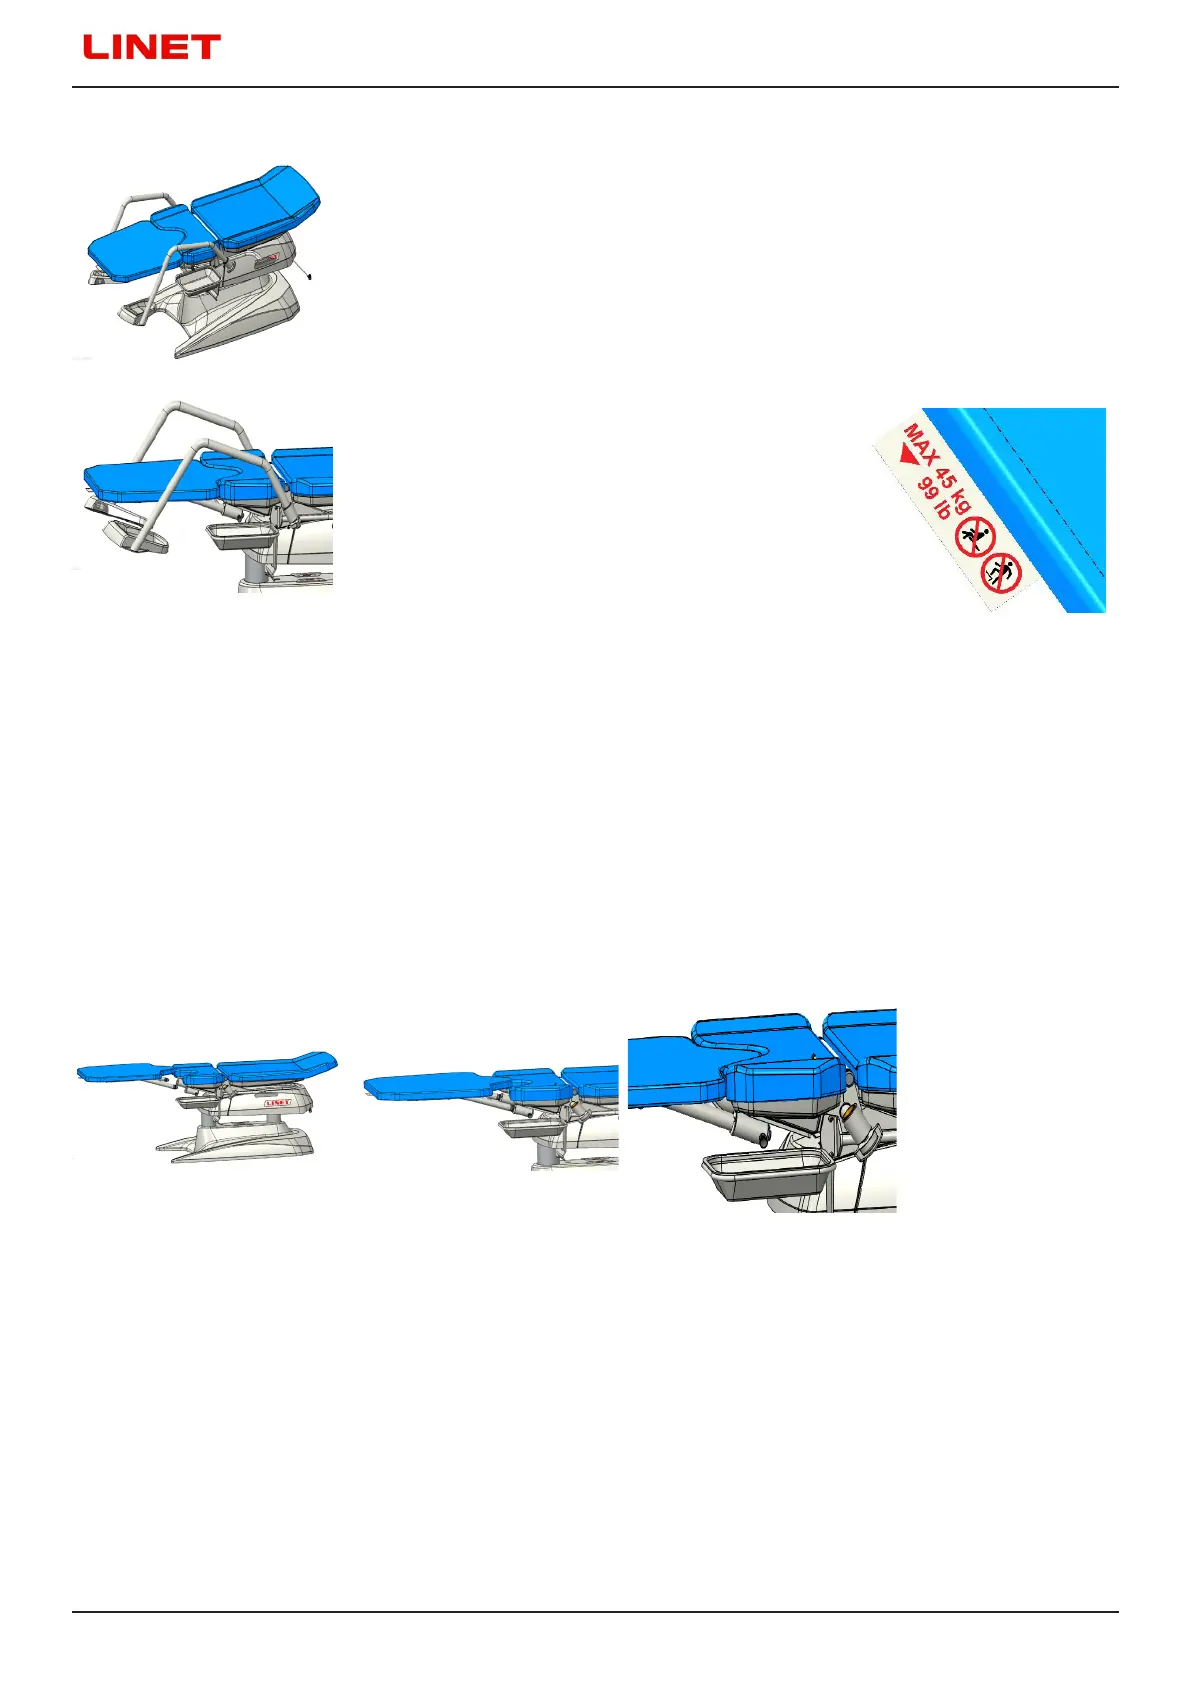
13.10 Patient surface extension
Fig. Patient surface
Fig. Patient surface
Fig. Load capacity plate
Handling:
Installation:
1) Hold the patient surface extension with both hands on the long sides of the upholstery, with the upholstery facing upwards and
the guide bars facing away from you
2) Insert the guide bars into both holes in the bracket under the seat (Fig. 1)
3) Slide the patient surface extension as close as possible to the seat cushion (Fig. 2) until the locking pin clicks into place (Fig. 3)
4) Before use, try to pull the extended patient surface away from the seat to ensure that the patient surface extension is properly
secured.
Fig. 1 Fitting the patient surface Fig. 2 Fitting the patient surface Fig. 3 Locking pin details
 Loading...