Installation and connection
38
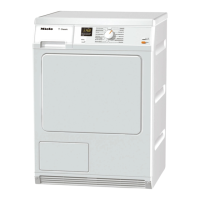
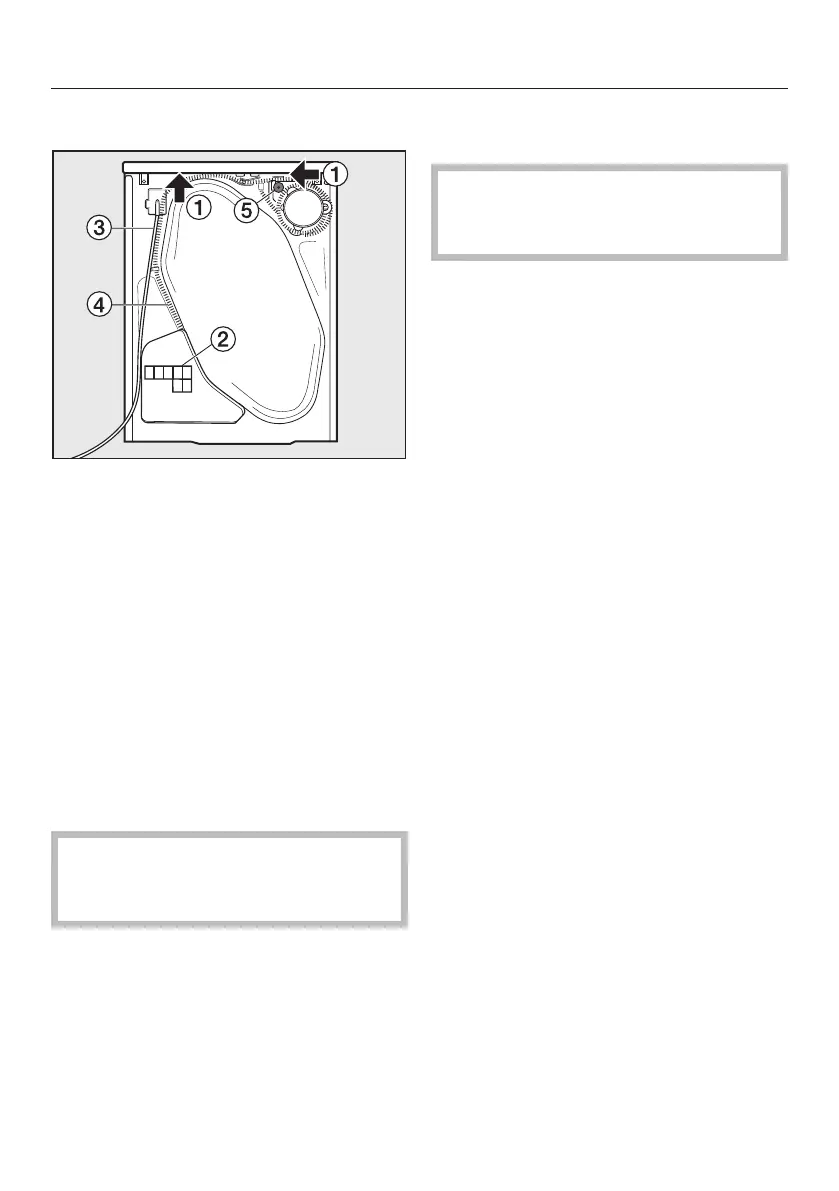
Rear view
a
Protruding lid for holding when
movin
g the dryer (see arrows)
b
Air inlet vent for cooling the
condenser unit
c
Mains connection cable
d
Hose for external drainage of
conden
sed water
e
Accessories for external drainage of
conden
sed water: hose clip, adapter
and hose holder
Installation site
Mak
e sure the dryer door can be
opened without hindrance after
installation.
Transporting the tumble dryer to its
installation
site
When moving the dryer, hold it by the
lid where it protrudes to the rear. To
manoeuvre the dryer out of its packing
case to its installation site you will also
need to hold it by the front feet.
Building under a continous worktop /
in a kitchen run
Building under kits must only be
installed/dismantled by a suitably
qual
ified fitter.
– A special building-under conversion
kit* with a cover plat
e to replace the
appliance lid is required. It must be
fitted by a suitably qualified fitter to
ensure electrical safety. N.B. If you
wish to push your appliance under a
worktop and there is space to do this
without removing the lid, the building
under kit is not necessary. Otherwise
it is essential.
– Fitting instructions are supplied with
the building-under kit.
– N.B. When built under, drying times
may be long
er.
– The electrical socket must be located
in an accessible position near the
appliance.
With niche heights of:
– 830-840 mm, longer screw feet* are
r
equired.
– 870-885 / 915-930 mm, one or two
r
aising kits* are required.
Washer-dryer stack
The tumble dryer can be combined with
a Miele
washing machine in a washer-
dryer stack. The appropriate Miele
washer-dryer "WTV" stacking kit* is
required.
* Miele accessory available to order
 Loading...