VS 8/VS 8A Vital Signs Monitor Operator’s Manual 16 - 19
3. Switch on Outline Font for Suspected Values.
16.9 Setting Parameter Units
To set parameter units, follow this procedure:
1. Select the Main Menu quick key → from the System column select Maintenance
→ input the required password → select .
2. Select the Unit tab.
3. Select a parameter, and from the popup list, select the unit to be used.
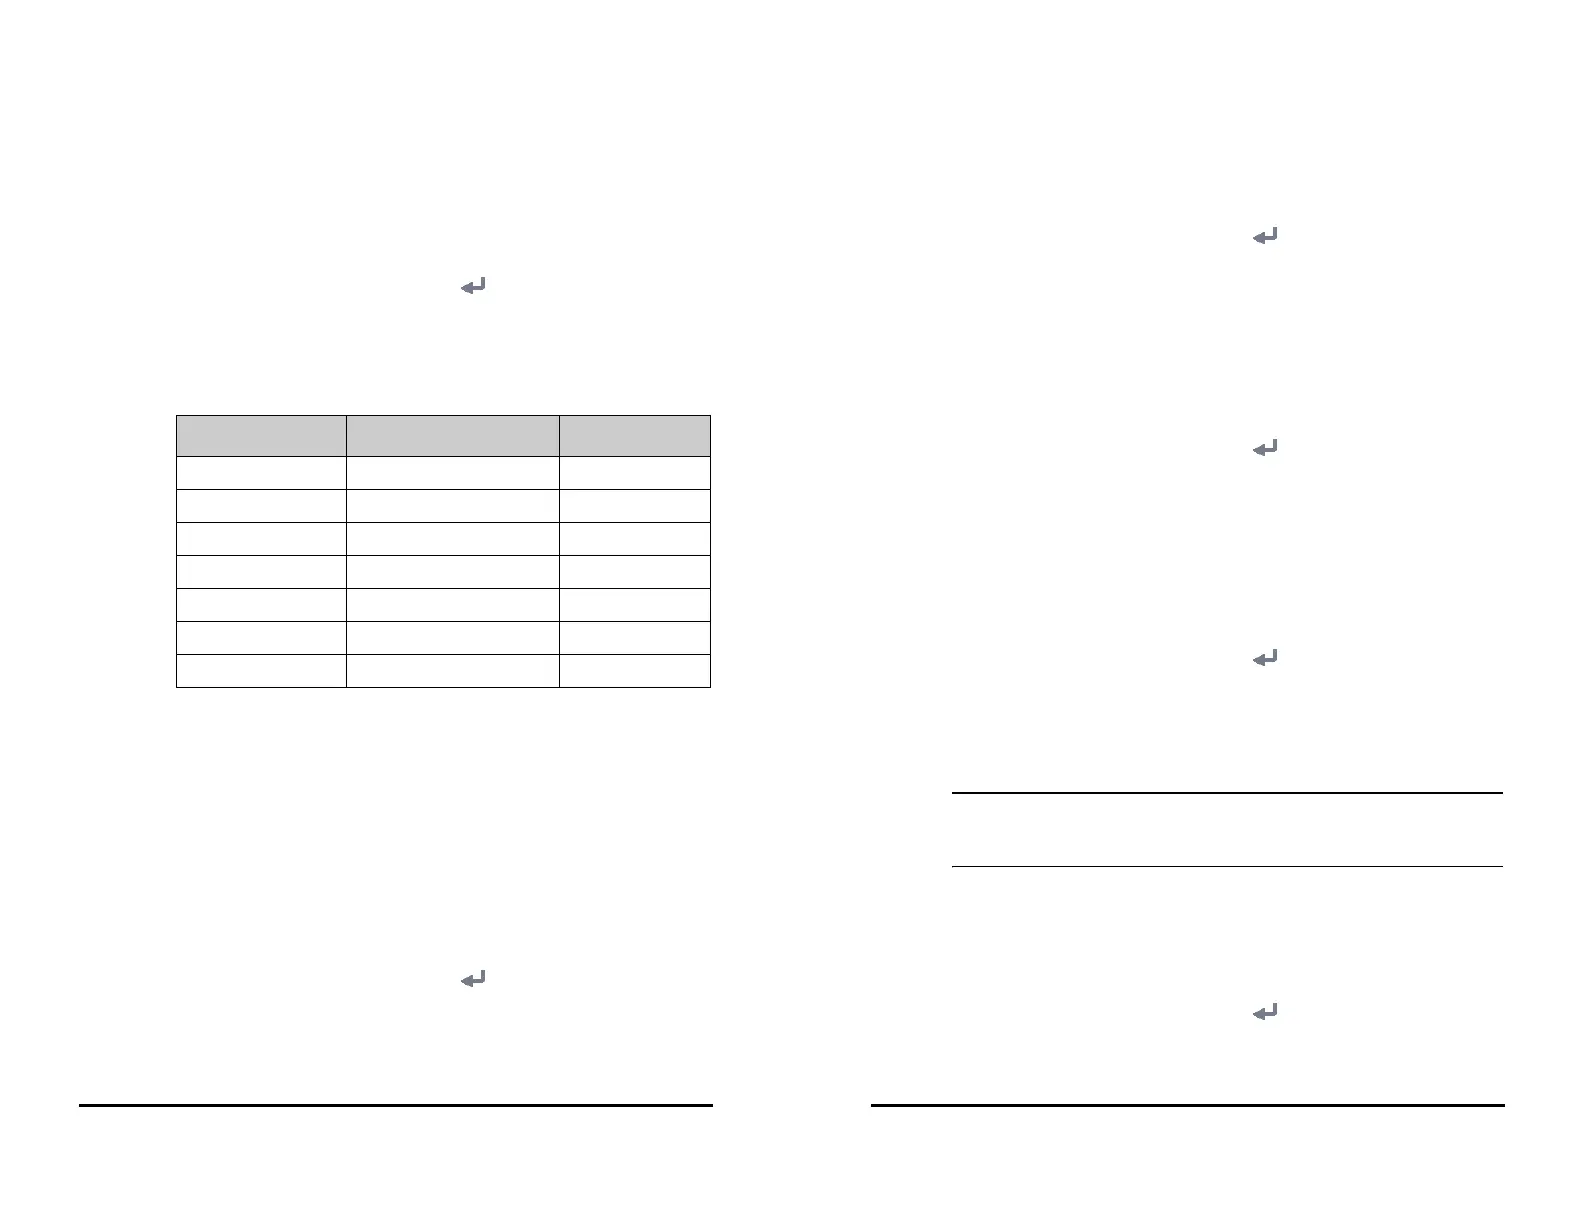
Below is a list of the units you can set:
16.10 Setting the Time
16.10.1 Setting the Time Synchronization
If the NTP Time Synchronization function is enabled, the monitor can automatically
synchronize its time with a time server on which NTP (Network Time Protocol) is
implemented. If there are many monitors connected within one network, you can
enable the time synchronization to synchronize the time, and make it unnecessary to
manually set the time for individual monitors.
16.10.1.1 Enabling NTP Time Synchronization
To enable the NTP Time Synchronization function, follow this procedure:
1. Select the Main Menu quick key → from the System column select Maintenance
→ input the required password → select .
2. Select the Time tab→ Time Synchronization tab.
3. Switch on Start NTP Time Sync.
Parameter Options Default
Height Unit cm, inch cm
Weight Unit kg, lb kg
Glucose Unit mg/dl, mmol/L mg/dl
I/O Fluid Unit ml, L ml
CO2 Unit mmHg, kPa, % mmHg
Temp Unit °C, °F °C
Pressure Unit mmHg, kPa mmHg
16 - 20 VS 8/VS 8A Vital Signs Monitor Operator’s Manual
16.10.1.2 Setting the Time Server Address
To set the DNS name of the time server address, follow this procedure:
1. Select the Main Menu quick key → from the System column select Maintenance
→ input the required password → select .
2. Select the Time tab→ Time Synchronization tab.
3. Input the name or IP address of the time server.
After configuring the NTP time server, select Network Test to verify that the NTP server
is properly connected.
16.10.1.3 Setting the Time Synchronization Interval
To set the time synchronization interval, follow this procedure:
1. Select the Main Menu quick key → from the System column select Maintenance
→ input the required password → select .
2. Select the Time tab→ Time Synchronization tab.
3. Set Interval.
16.10.2 Enabling Auto Daylight Savings Time
By default, daylight savings time is disabled. If this function is needed, you need to
manually enable the daylight savings time. To auto start the daylight savings time,
follow this procedure:
1. Select the Main Menu quick key → from the System column select Maintenance
→ input the required password → select .
2. Select the Time tab → Daylight Savings Time tab.
3. Switch on Auto Daylight Savings Time.
4. Adjust daylight savings time settings as necessary.
• If you enable Auto Daylight Savings Time you cannot manually switch it on or
off from the System Time dialog. For more information, see 3.9.5 Setting the
Date and Time.
16.11 Viewing Version Information
To view the system software version, module hardware and software version, and
firmware version, follow this procedure:
1. Select the Main Menu quick key → from the System column select Maintenance
→ input the required password → select .
2. Select the Version tab.
 Loading...