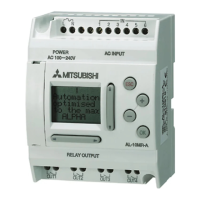
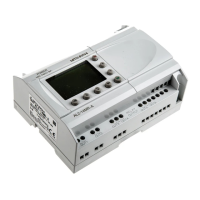
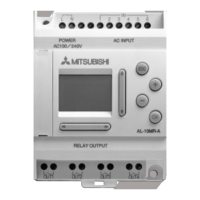
α
Simple Application Controllers
What You Should Know Before Starting to Program 4
4-4
4.4 The Programming Mode
This is the mode in which all pro
rams are created and s
stem components added or deleted.
Also known as the Drawin
mode, all the toolbars and the menu options will be enabled for
pro
rammin
or drawin
. The FBD window and S
stem sketch windows will default to the Pro-
rammin
mode when files are created or opened. The indication title will be displa
ed as
“FBD” in the FBD base and as “Monitor in S
stem sketch” in the S
stem sketch window.
4.4.1 The FBD base in Programming Mode
As the name su
ests, all the functions necessar
to build a pro
ram can be accomplished in
the pro
rammin
mode. The user ma
add FBs or other si
nals, set or chan
e parameters,
move components, and perform wirin
operations in the pro
rammin
mode.
See Chapter 6
for more details.
The Auto Wizard Function is also available in this mode. The main purpose of Auto FBD Wiz-
ard is to educate inexperienced users so that the
can
et ac
uainted with Si
nals, Function
Blocks, Wirin
and related pro
rammin
items.
4.4.2 “Monitoring in System Sketch window” in the Programming Mode
The user is allowed to add, modif
, move, and resize the drawin
ob
ects in S
stem sketch win-
dow. Use the Accessories Tool bar to add components as in the FBD base. Cop
components
to or from the FBD base. Select an
component in the window b
pressin
the mouse left but-
ton and dra
the ob
ect to the desired location. Double click on a Function Block to open the
parameter settin
dialo
.
Ob
ects can be drawn via the Drawin
Tool bar with the Line, Oval, and Rectan
le commands
and/or import ob
ects with the commands in the Insert Menu.
4.5 The Simulation Mode
The Simulation mode will mimic the conditions under which a pro
ram is run without hookin
up an
of the actual hardware. This can be a ver
powerful tool for debu
in
pro
rams prior
to writin
the contents to an actual tar
et controller.
The information
enerated b
the pro
ram will be continuousl
read from the Simulator. The
On/Off status and current values of the Si
nals and Function Blocks will be updated b
the
VLS software or the user can input values for simulation purposes. The user can control the
On/Off state of Inputs with the click of a mouse and can directl
set analo
values.
4.6 The Monitor Mode
The Monitor Mode can monitor and test the actual tar
et controller hardware which is con-
nected to the PC throu
h an RS232 interface. The information re
ardin
state and current
value of Si
nals and Functions will be continuousl
read from the tar
et controller and updated
accordin
l
in the VLS software.
If the controller contents are updated via the controller front panel ke
s, a messa
e box will
pop up statin
that the controller contents are updated and monitorin
will be stopped. The
application will automaticall
switch to Pro
ram mode.
4.7 Cable Connection
The AL-232CAB cable is used to connect the
α
controller and the PC in order to communicate
with the VLS software.
 Loading...