34
Operation of Each Part
CAUTION
• Before using the microscope, please set up the entire system of the microscope with a
PC using “LVSetup” contained in “LV Series Support Tools.”
• For details about operations of the “LVSetup,” see “LV Series Support Tools software
manual.”
• When the digital camera for microscopes is used, motorized units of this product can
be operated using the software for the digital camera “NIS-Elements.” For details, see
the instruction manual for the “NIS-Elements.” The items that can be controlled using
the “NIS-Elements” are marked with .
- High Temperature -
CAUTION !
HALOGEN 12V50W
Do not touch the lamphouse while the lamp is lit.
The surface of the lamphouse becomes hot when
the lamp is on.
Turn off the power and allow the lamp and lamp-
house to cool enough before replacing the lamp.
Wait for at least 30 minutes after turning off
the lamp
Use 12V50W HALOGEN lamp only.
1.
2.
3.
LV-LH50PC
JAPAN
652702
LAMP
DC12V 50W
Power switchAC inlet
O
B
J
.
C
UB
E
A.
S
.
EP
I
D
I
A
E
P
I
D
I
A
A
ch
r
N
.
A
0
.
9
0
.
2
0.
3
0
.4
0.
5
0
.
6
0
.
7
0.8
=
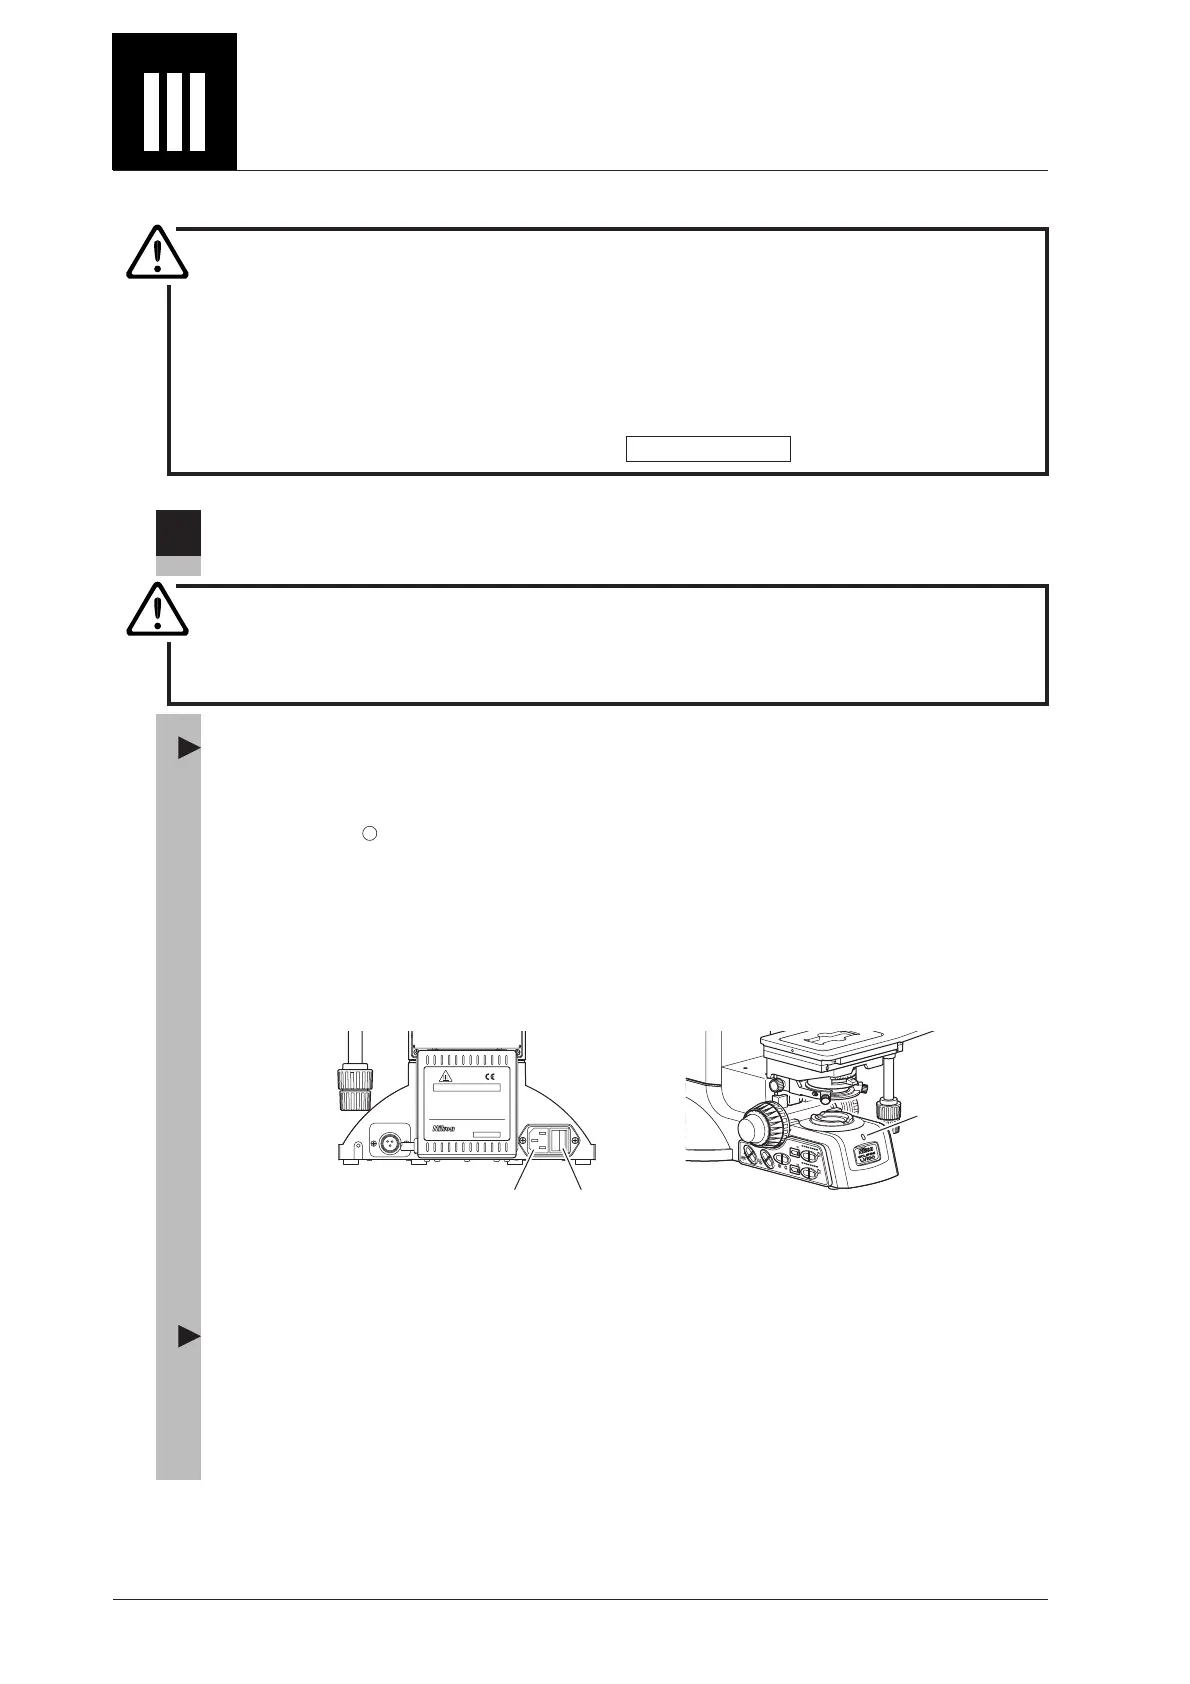
Power
indicator
1
Power On/Off
Power supply of the microscope main body
The power switch for the product is located beside the AC inlet on the rear of the product. To turn
on the product, push the power switch to the “ I ” side. To turn off the product, push the power
switch to the “ ” side.
• Initialization of the microscope
When the product is turn on, a long beep sounds, the power indicator blinks, and the initialization of
the product starts. In the initialization, the product communicates with each electrical device. Each
device is set to the predetermined initial conditions. When the initialization ends, a short beep
sounds. The power indicator lights up to show the normal condition of the product. (When the lamp
is off, the indicator color is orange. When the lamp is on, the indicator color is green.)
It takes about 15 to 20 seconds to initialize the microscope. The time for the initialization varies
depending on the settings of the setup.
Microscopy method setting at the initial condition
When the microscopy method at the initial condition has been set with LVSetup, the microscope
starts with the predetermined microscopy method settings when the power of the product is turned
on. When the microscopy method at the initial condition has been disabled with “LVSetup,” the
product starts with the same microscopy method settings used at the last time.
CAUTION
When an external power supply and/or an external light source is connected to the
product, perform the following: Turn on the external device. Check that the external
device starts normally. Turn on the power of the product.
NIS-Elements compatible

 Loading...