13 Partitions
A partition is a way to divide the premise to subsets of zones, for example, a floor, an office, and
perimeter detectors. A partition can be armed separately, while other partitions are not. Users can
be assigned to partitions (with the same user code) - they will be able to operate the system only
via keypads that are assigned to the same partitions, and control only the zones that are assigned
to these partitions.
Keypads that are assigned to partitions, display only the zones that are assigned to the same
partitions.
There can be up to 16 partitions in Hunter-Pro Series and 4 in Captain 8.
13.1 Examples
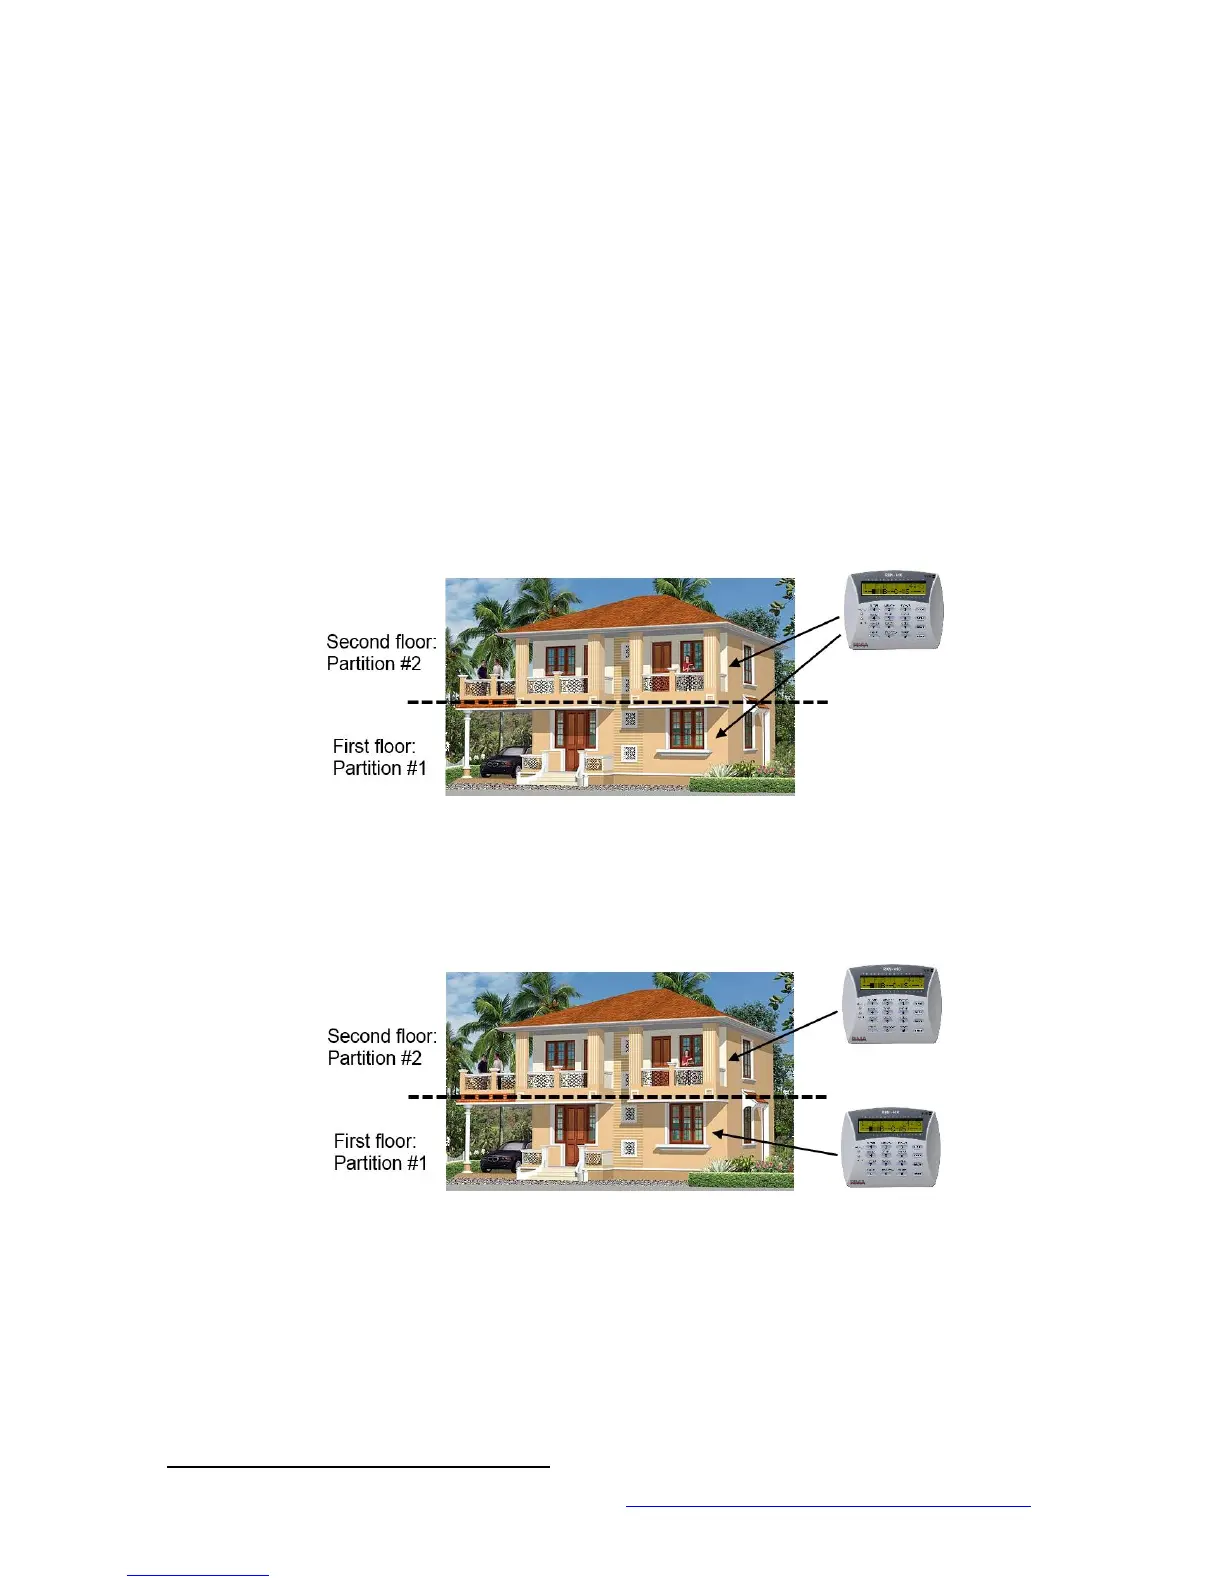
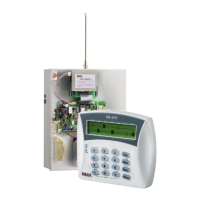
13.1.1 Example A: 2 partitions, one keypad
Figure 2. Partitions - example A
10
In this example, a house is divided into 2 partitions, each occupies a separate floor. One keypad
controls the two partitions, by assigning the keypad to partitions #1 and #2 (by the Installer).
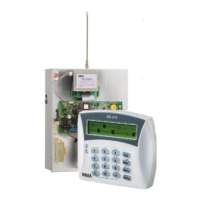
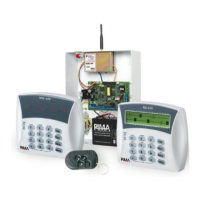
13.1.2 Example B: 2 partitions, 2 keypads
Figure 3. Partitions - Example B
In this example, a two-floor house is divided into 2 partitions, each occupies a separate floor. Two
keypads, each assigned to a different partition, control the partitions. The users can be assigned
to one partition only, or be assigned to both.
10
Published under Creative Commons license (source: http://www.flickr.com/photos/axiomestates/3081558445/)