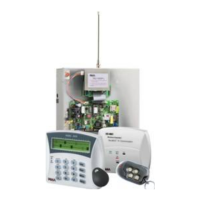
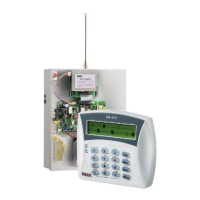
2: The Control Panel
PIMA Electronic Systems
13
2.7 Relay
Connect devices such as electric doors and lights to the relay terminals.
The terminals are NC-Normally Close, C-Common, and NO-
Normally Open.
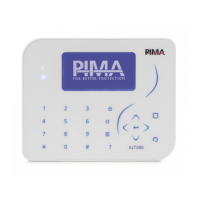
2.8 Wired keypads
Keypads and other peripherals connect to the bus in the FORCE BUS terminals (see
section 2.3.1). Up to 16 addressable KLT/KLR/KLA keypads with ID=1-16 (or un-addressable
keypads with ID=0) can be used. FORCE Lite/32: up to 8 keypads.
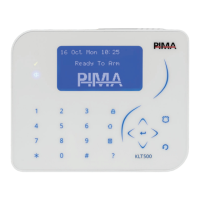
2.8.1 Keypad ID number
To set the keypad ID number:
1. Press and hold the # + ? keys to display the
Keypad ID screen.
2. Enter a number between 1 and 16
3. Press to save and exit.
The keypad’s version is also displayed in this screen.
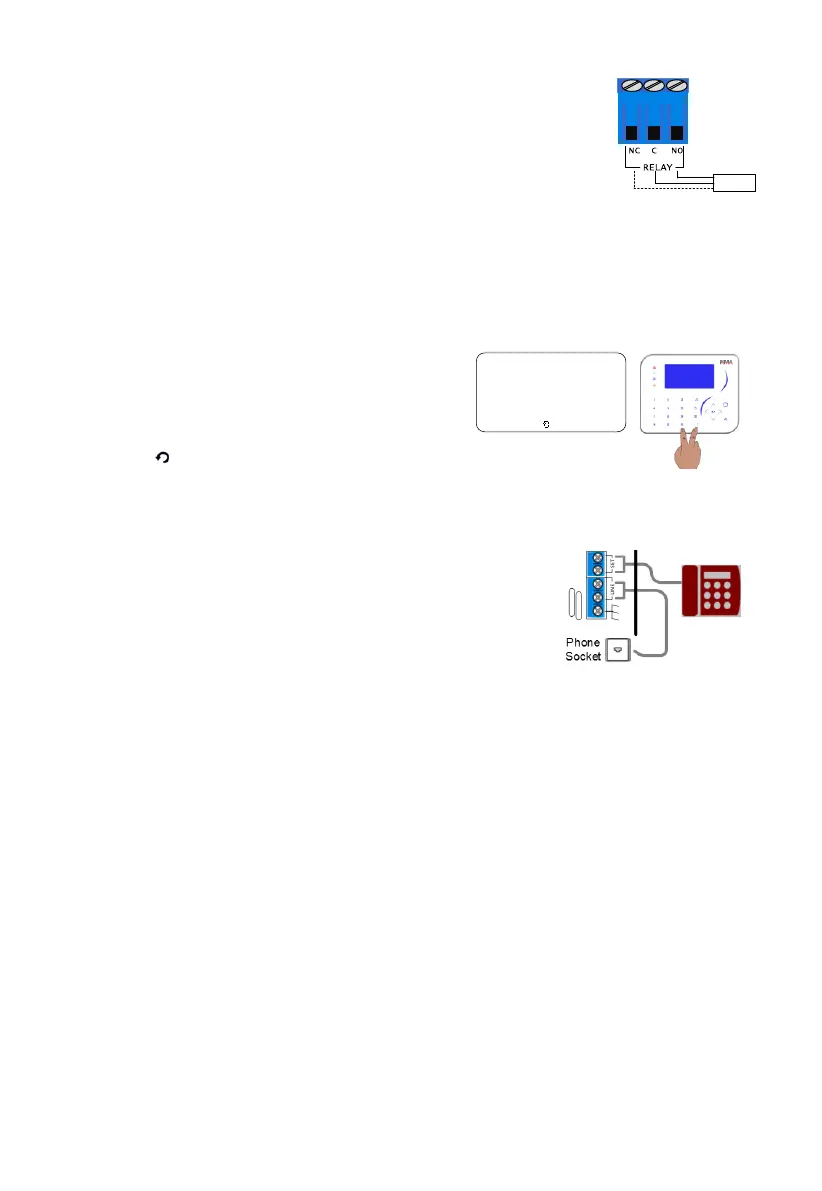
2.9 Phone line and set
1. Connect the phone line cords to the LINE terminals. If
the line is shared with an ADSL modem, use an
appropriate filter.
2. Connect phone set, fax machine or answering machine
to the SET terminals - this will enable the control panel
to answer any incoming call.
Figure 8. Line and Set connections
FORCE L
ite
: not available
Keypad ID:
(0 ... 16)
01
Press to Exit
Version: - xx.xx.xx
 Loading...