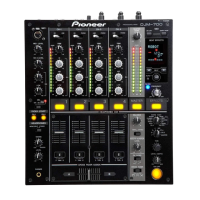
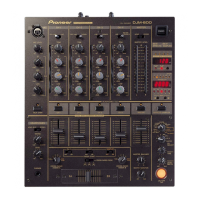
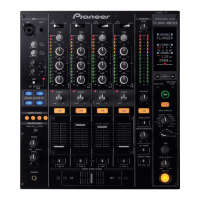
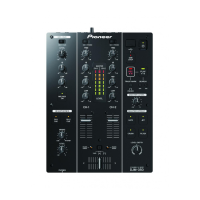
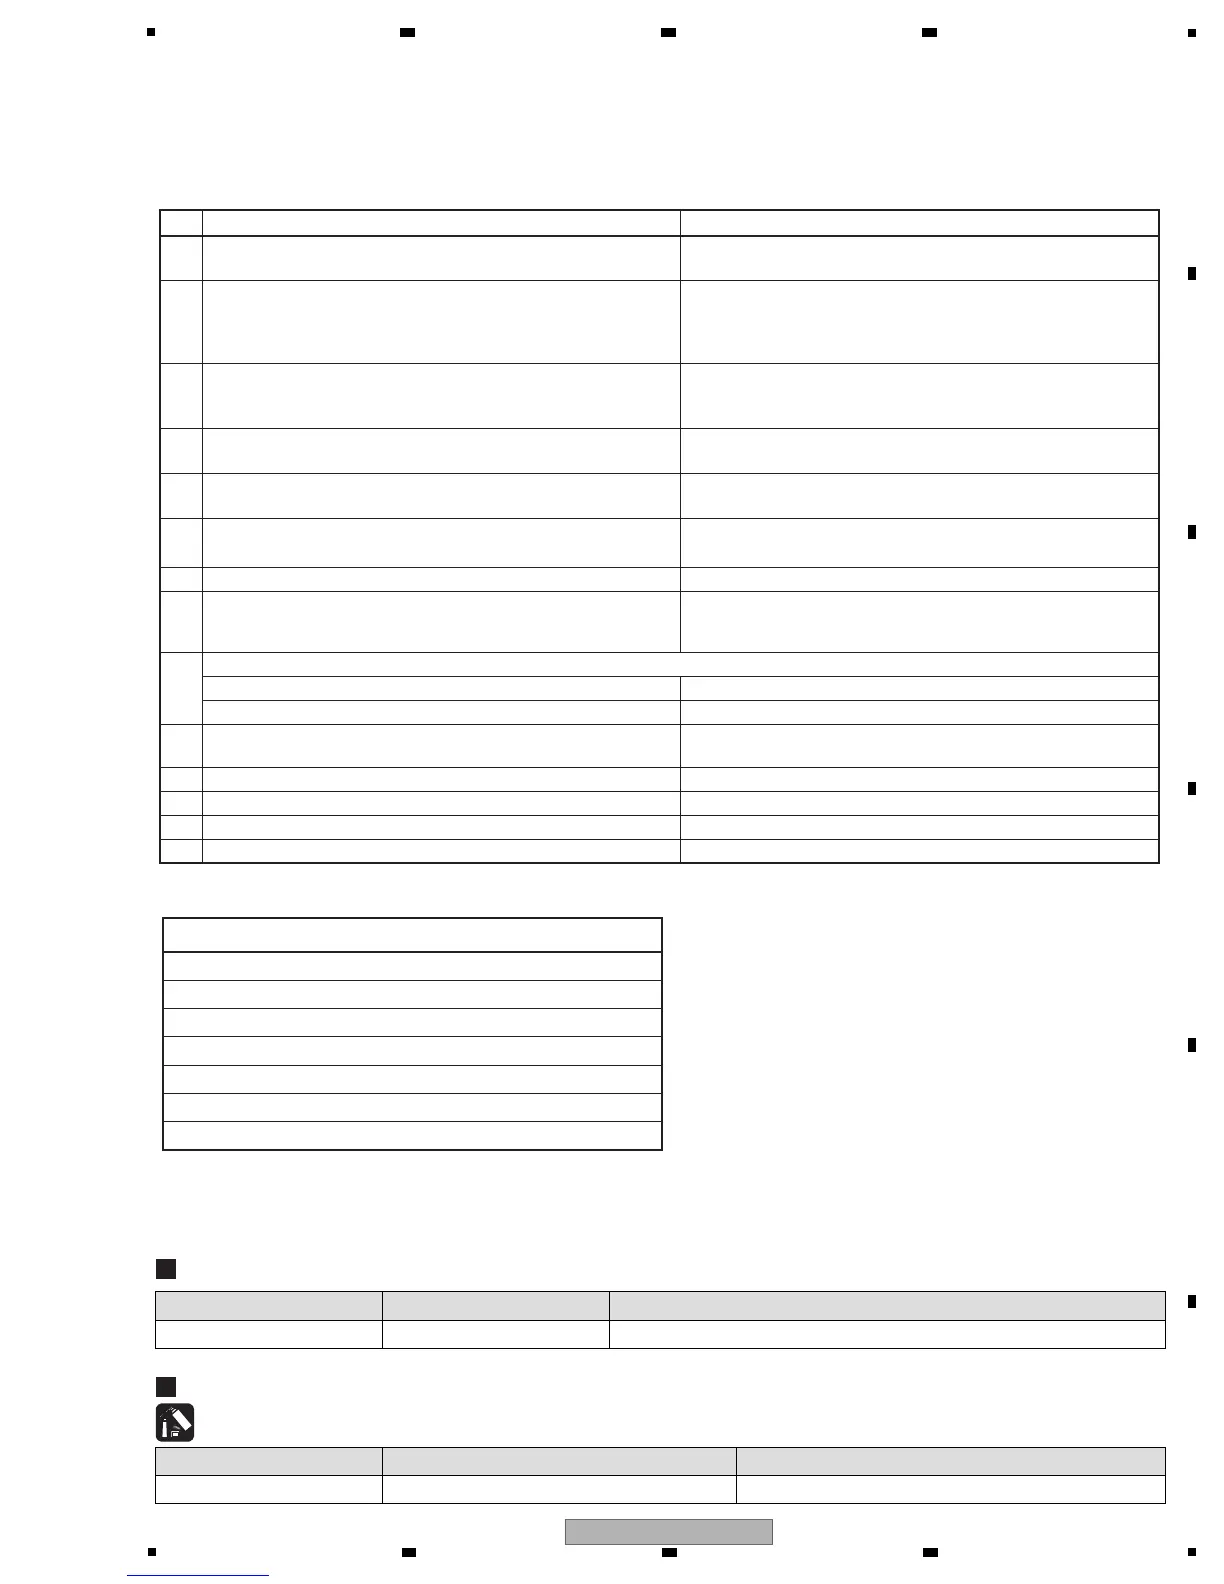
3. BASIC ITEMS FOR SERVICE
No. Procedures Check points
1 Check the firmware version in Test mode.
The firmware version must be the latest one.
If it is not the latest one, be sure to update it.
2
Confirm whether the customer complain has been solved.
If the customer complain occurs with the specific source, such as
Mic, each Input, Fader, Equalizer, and Trim, input that specific
source for checking.
The customer complain must not be reappeared.
Audio and operations must be normal.
3
Check the analog audio input
(Check the MIC1, MIC2 and RETURN.) (Make the analog
connections with CDJ player, analog player and MIC.)
Audio and operations must be normal.
4
Check the analog audio output (MASTER1, 2, REC, BOOTH and
SEND.) (Make the analog connection with CDJ player.)
Audio and operations must be normal.
5
Check the digital audio input/output
(Make the dgital connection with CDJ player.)
Audio for each channel and operations must be normal.
6 Check DVS.
Make sure that PC applications function properly and that the
audio signals and operations of each channel are normal.
7 Check the headphones output. There must be no errors, such as noise, in the audio output.
8
Check playback, using the fader function. (Select the fader
function then check operations of each channel with audio signals
via the DSP.)
There must be no errors in audio output and operations of each
channel.
9
Check the connection of each interface.
USB B The device must be properly recognized by the PC.
LINK The LAN must be properly connected in Test mode.
10 Check the buttons and controls.
Make sure that all buttons and controls on the main unit
function properly.
11 Check operations of the X-PAD.
Touch the X-PAD in Test mode and check that it operates properly.
12 Check the FL displays and LEDs. Check that all the FL displays and LEDs light in Test mode.
13 Check the user settings. They must be returned to those set before repair.
14 Check the appearance of the product.
No scratches or dirt on its appearance after receiving it for service.
Item to be checked regarding audio
Distortion
Noise
Volume too low
Volume too high
Volume fluctuating
Sound interrupted
Items to be checked after servicing / DJM
To keep the product quality after servicing, confirm recommended check points shown below.
See the table below for the items to be checked regarding audio.
 Loading...