This is useful to copy different size originals to the same size paper.
To ensure the print result you require is produced, specify the original orientation before using Auto
Reduce / Enlarge. Make sure that the original orientation setting matches the actual orientation of your
original. For details, see "Original Orientation", Copy/ Document Server.
The original sizes and orientations you can use with this function are as follows:
(mainly Europe)
A0 , A1 , A2 , A3 , A4 , B1 JIS , B2 JIS , B3 JIS , B4 JIS
(mainly North America)
• Engineering
E (34 × 44) , D (22 × 34) , C (17 × 22) , B (11 × 17) , A (8
1
/
2
× 11) , 8
1
/
2
× 14
• Architecture
E (36 × 48) , D (24 × 36) , C (18 × 24) , B (12 × 18) , A (9 × 12)
• Others
8
1
/
2
× 13 , 30 × 21 , 30 × 42
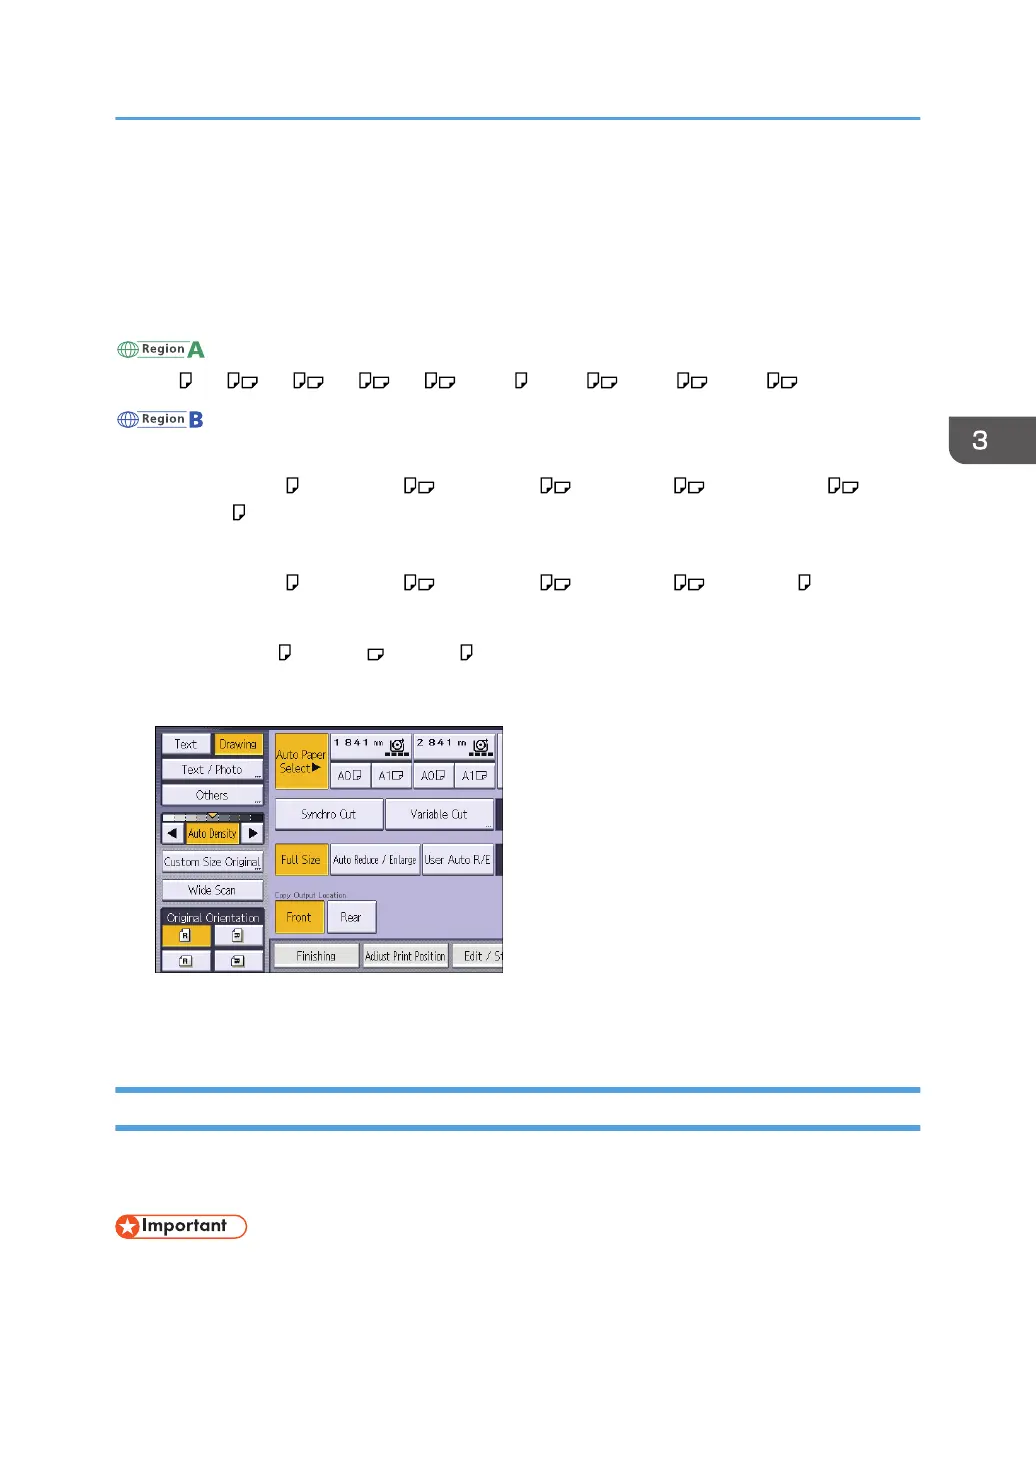
1. Press [Auto Reduce / Enlarge].
2. Select the paper size.
3. Place the original, and start scanning.
User Auto Reduce / Enlarge
When the original is placed, the machine automatically enlarges or reduces the image to fit the paper
size specified in advance.
• You cannot use the bypass tray with this function.
Using User Tools allows you to specify how much each original is enlarged or reduced.
You can select the following combinations:
Reducing or Enlarging Originals
55
 Loading...