• If it is difficult to check and adjust the image position on the printed sheet, print one side of the
format used in page 170 "Aligning the Image Position on Side 2 to That on Side 1 (Using a
Template to Align the Image Position on Side 1 and 2)".
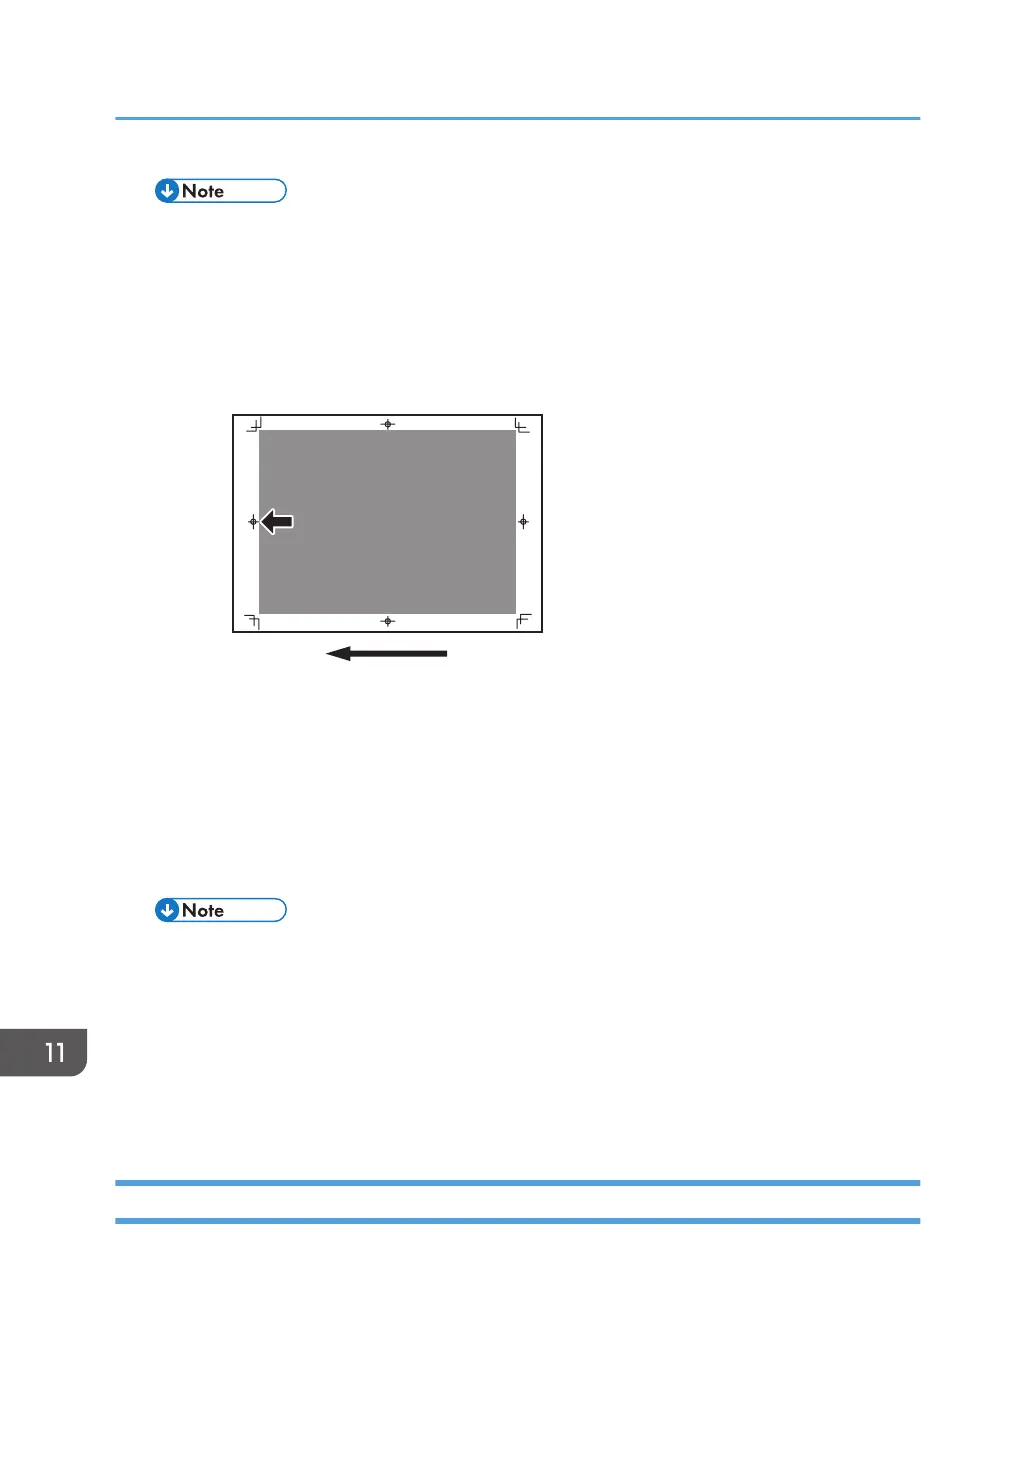
(e) Adjust the image position (If custom paper is not used)
Adjust the vertical and horizontal image position so that the center (A) of the leading edge of the
image is aligned to the registration mark.
In the [Machine: Image Position] group on the [Adjustment Settings for Operators] menu, adjust the
image position.
• 0101: [Image Position: Across Feed: Side 1]
• 0102: [Image Position: Across Feed: Side 2]
• 0103: [Image Position: With Feed: Side 1]
• 0104: [Image Position: With Feed: Side 2]
• For details about specifying settings in the [Adjustment Settings for Operators] menu, and
[Advanced Settings] menu, see the Adjustment Item Menu Guide.
• If the problem persists even though you have adjusted the setting to its maximum and minimum
values, contact your service representative.
• If it is difficult to check and adjust the image position on the printed sheet, print one side of the
format used in page 170 "Aligning the Image Position on Side 2 to That on Side 1 (Using a
Template to Align the Image Position on Side 1 and 2)".
Adjusting the Image Position on Side 2
If you want to align an image position on Side 2 to an image position on Side 1 that has been adjusted,
see page 170 "Aligning the Image Position on Side 2 to That on Side 1 (Using a Template to Align the
Image Position on Side 1 and 2)".
11. Advanced Instructions
166
 Loading...