BEFORE YOU START
After you have completed all the connections, you must find the viewing channel (external input channel) on your TV.
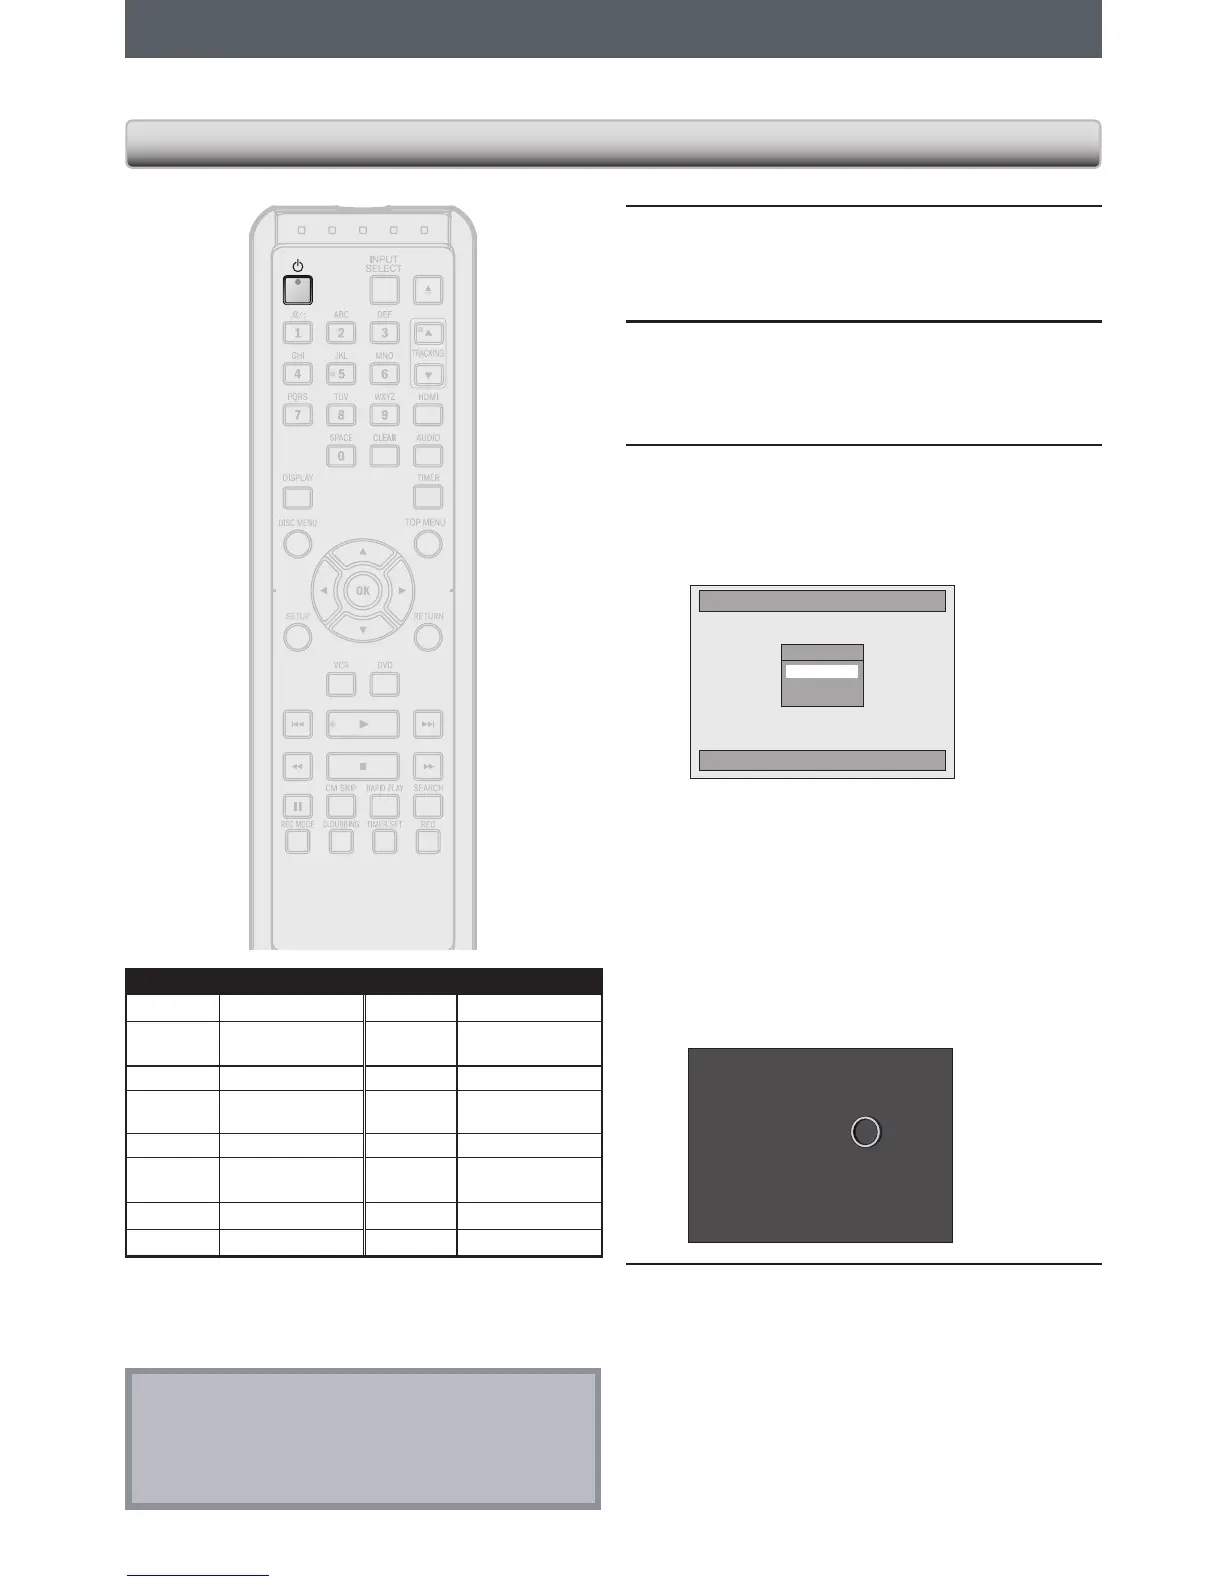
1
After you have made all the necessary
connections, press [y] to turn on the
unit.
2
Turn on your TV.
•
If connected to your VCR make sure it is
switched off or in standby mode before
proceeding.
3
Press “2” on the TV’s remote control,
then press channel down button
repeatedly until you see “Initial Setup”
menu.
Initial Setup
Select the language for Setup display.
OSD Language
English
Français
Español
This is the correct viewing channel (external input
channel) for the recorder.
•
For some TVs, there may be a button on the
TV’s remote control that accesses the external
input channel. It may be labeled “SOURCE”,
“AV” or “SELECT”. In such case, press it
repeatedly. Refer to your TV’s user manual for
details.
•
If more than 10 minutes have passed since
you have turned on the unit, you may see the
screen saver instead of “Initial Setup” menu.
Screen saver:
4
Proceed to step 2 in “INITIAL SETTING”
on page 25.
Finding the Viewing Channel on Your TV
Note
•
Video input selection varies for different brand’s models
of TVs.
•
Consult your TV manufacturer if none of the above are
successful.
Input Mode Names for Common TV Brands (Example)
Admiral AUX Panasonic TV/VIDEO
Curtis
Mathis
LINE1, LINE2,
00, 90, 91, 92, 93
RCA INPUT, TV/VCR,
00, 90, 91, 92, 93
Funai AUX CHANNEL Samsung TV/VIDEO
GE INPUT, TV/VCR,
00, 90, 91, 92, 93
Sanyo VIDEO
Hitachi INPUT, AUX Sharp 00
JVC VIDEO, VIDEO 1,
VIDEO 2, VIDEO 3
Sony VIDEO1, VIDEO2,
VIDEO3
Kenwood AUX Toshiba TV/GAME
LXI-Series 00 Zenith 00
 Loading...