14
| Instructions for unloading on the site as well as installation and connection
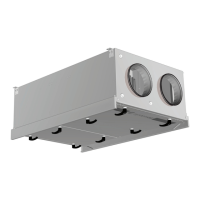
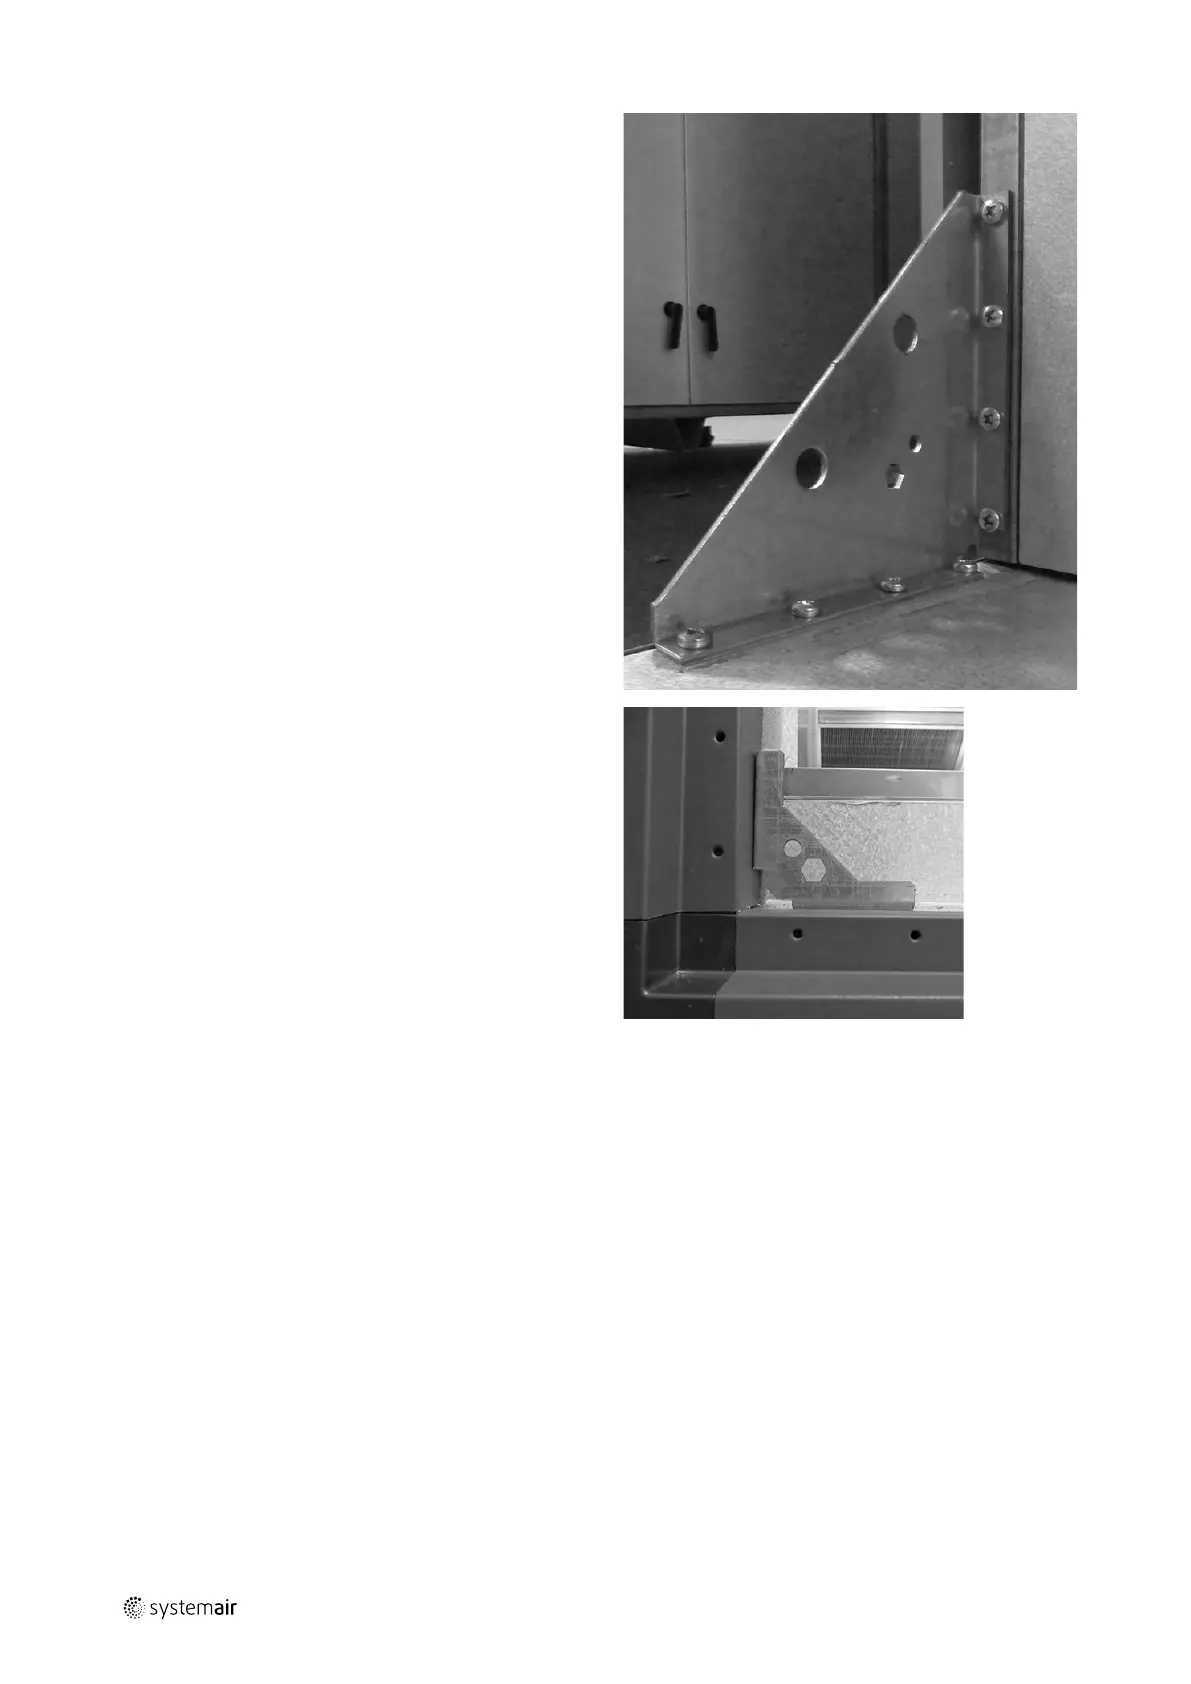
Look at the backside of the bracket for lifting and assem-
bling Geniox units in the sizes 20 — 31. Check that each
of the 4 brackets is mounted on the horizontal profiles by
screws with M6 mm thread and on the vertical profiles by
6 mm tap tights. Only brackets that are mounted in this
way are suitable for lifting.
This bracket at the bottom of Geniox units in the sizes 16
and 18 is not reinforced for lifting the unit. Furthermore,
this bracket is not firmly fastened for lifting the section.
This bracket is only for the assembly of sections.
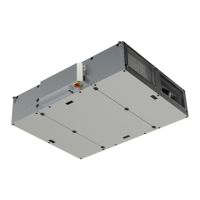
I.1.7 Roof unit with PVC roof
Avoid damaging the drip nose profiles along the PVC roof. Keep the protection profiles of Styrofoam on the unit until
the installation has been completed. If the unit is lifted by straps, the straps must be kept away from the drip nose pro-
files by bars to avoid damage to roofing profiles.
output |
 Loading...