Maintenance—465B Service
The di pped tantal um
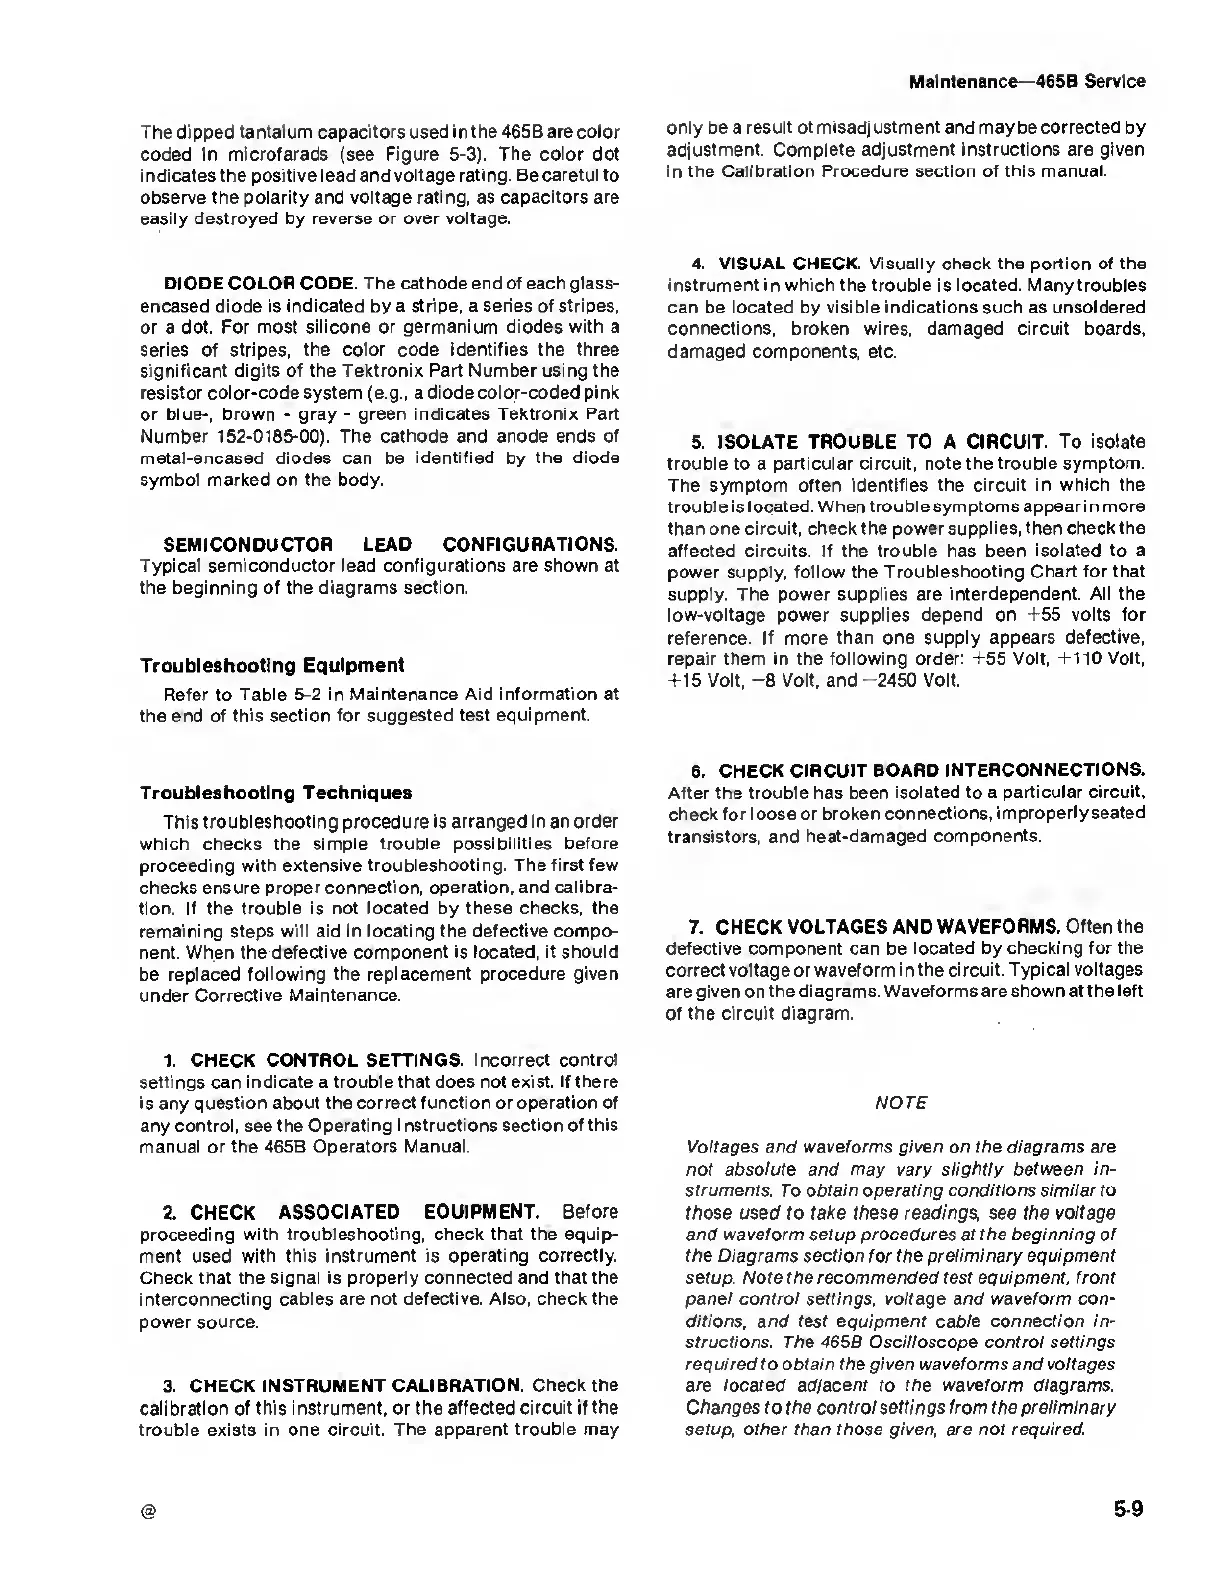
capacitors
used i n the 465B are color
coded in
microfarads (see Figure 5-3). The color dot
i ndicates the positive lead and voltage rating. Be careful to
observe the polarity and voltage rating, as capacitors are
easily destroyed by
reverse or over voltage.
DIODE COLOR CODE. The cathode
end
of
each glass-
encased diode is
indicated
by a
stripe,
a
series
of stripes,
or a dot. For most silicone or germanium diodes with a
series of
stripes,
the
color
code
identifies the three
significant digits
of the Tektronix Part Number using the
resistor color-code
system
(e.g., a
diode color-coded pink
or blue-, brown -
gray - green indicates Tektronix Part
Number
152-0185-00).
The cathode and anode ends of
metal-encased diodes can be identified by the diode
symbol marked on the body.
SEMICONDUCTOR LEAD
CONFIGURATIONS.
Typical
semiconductor lead configurations are shown at
the
beginning
of
the diagrams section.
Troubleshooting Equipment
Refer to Table
5-2
in
Maintenance Aid information at
the end of this section for
suggested test equipment.
Troubleshooting Techniques
This troubleshooting procedure
is arranged in an order
which checks the simple trouble possibilities before
proceeding with extensive
troubleshooting. The first few
checks ensure proper connection, operation,
and calibra-
tion. If the
trouble
is not
located
by
these checks, the
remaining
steps will aid in locating the defective compo-
nent. When the defective component is
located,
it
should
be replaced following
the replacement
procedure
given
under Corrective
Maintenance.
1. CHECK
CONTROL SETTINGS.
Incorrect control
settings can
indicate
a
trouble that does not exist. If there
is any
question
about
the correct function or operation of
any
control, see the Operating Instructions
section of this
manual
or
the
465B
Operators Manual.
2. CHECK
ASSOCIATED EQUIPMENT. Before
proceeding with
troubleshooting,
check
that the equip-
ment used with this
instrument is operating correctly.
Check that the signal is properly connected and that the
interconnecting cables are not
defective. Also, check the
power source.
3. CHECK
INSTRUMENT CALIBRATION. Check the
calibration
of
this instrument, or the affected circuit if
the
trouble exists in one circuit. The
apparent trouble
may
only
be a
result of misadjustment and may be corrected by
adjustment. Complete adjustment instructions are given
in the
Calibration Procedure section of this manual.
4. VISUAL CHECK. Visually check the portion of the
instrument
in which
the trouble
is located. Many troubles
can
be
located
by
visible indications such
as
unsoldered
connections,
broken wires, damaged circuit boards,
damaged components, etc.
5.
ISOLATE TROUBLE TO A CIRCUIT.
To isolate
trouble to a particular circuit, note the trouble symptom.
The symptom often identifies the circuit in
which the
trouble is located. When trouble
symptoms appear i
n
more
than
one circuit, check the power supplies, then check the
affected circuits. If the trouble has been isolated to a
power
supply,
follow the Troubleshooting Chart for that
supply. The power supplies
are
interdependent.
All the
low-voltage power supplies depend
on +55 volts
for
reference. If
more than one supply appears defective,
repair them in the following order: +55 Volt, +110 Volt,
+15 Volt,
-8
Volt, and
-2450
Volt.
6.
CHECK
CIRCUIT BOARD
INTERCONNECTIONS.
After the trouble has been
isolated
to a
particular circuit,
check for loose
or broken
connections, improperly seated
transistors, and
heat-damaged components.
7.
CHECK VOLTAGES AND
WAVEFORMS. Often the
defective component can be located by
checking for the
correct voltage or waveform i n the ci rcuit. T
ypical voltages
are given on the diagrams.
Waveforms are shown at the left
of
the circuit diagram.
NOTE
Voltages and waveforms given on the diagrams are
not absolute and may vary slightly between in-
struments. To obtain operating conditions similar to
those used to take these readings, see the
voltage
and waveform setup procedures at the beginning of
the Diagrams
section for the preliminary equipment
setup. Note the recommended test equipment, front
panel control settings, voltage and waveform con-
ditions, and test equipment cable connection in-
structions. The 465B Oscilloscope control settings
required to obtain the given waveforms and voltages
are located adjacent ro the waveform diagrams.
Changes to the control
settings
from the preliminary
setup, other than those given,
are
not
required.
5-9

 Loading...


