Removal and Installation Procedures
CSA7404B, TDS7704B, TDS7404B, TDS7254B & TDS7154B Service Manual
6-11
Procedures for External Modules
The following procedures are found here and are listed in order presented.
H Line Fuses and AC Power Cord
H Front Panel Knobs
H Trim (all)
H Bottom cover
H Left and Right covers
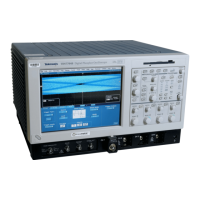
1. Assemble equipment and locate modules to be removed: Locate the power
switch, line fuses, and AC power cord connector in Figure 6--1, page 6--12.
2. The instrument has a built-in soft power-off function that safely removes
power from most of the instrument when you press the On/Standby switch.
3. Power off the rear panel power switch before servicing the line fuse or power
cord.
4. Orient the instrument: Set the instrument so its bottom is down on the work
surface and its rear is facing you.
5. Remove line cord: Find the line cord on the rear cover. Pull the line cord
away to remove from the AC power connector. Reverse procedure to
reinstall.
6. Remove the line fuse: Find the fuse caps on the rear panel. Now, remove the
fuse cap by turning it counterclockwise using a flat-bladed screwdriver, and
remove the line fuse. Reverse procedure to reinstall.
7. Reinstallation: Do in reverse steps 6 and 5 to reinstall the line cord and then
the line fuse.
Line Fuses and AC power
cord connector
 Loading...


