Removal and Installation Procedures
CSA7404B, TDS7704B, TDS7404B, TDS7254B & TDS7154B Service Manual
6-23
Procedures for Modules
You should have completed the Procedures for External Modules before doing
many of the procedures in this collection. The procedures found here are listed in
disassembly order:
H Front Panel assembly
H Front Panel Board
H Front Panel Keypad
H Display assembly
H Display Adapter Board
H On/Standby Switch Flex Circuit
H Floppy Disk Drive
H Hard Disk Drive
H CD Drive
H Front and Rear Power Distribution Boards (PA Bus Board)
H Low-Voltage Power Supply
H Micro ATX Board
H Microprocessor
H Fan assembly
H Power PC Board
H Acquisition Board
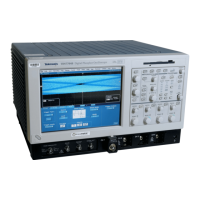
1. Locate module to be removed: Locate the Front-panel assembly in
Figure 6--9, on page 6--24. Additional modules to be Removed:
H Trim (Front panel)
H Floppy Disk Drive, or Front Hard Disk Drive
2. Remove the Front-Panel assembly: See Figure 6--9, page 6--24.
3. Orient the instrument: Set the instrument so its bottom is down on the work
surface and its front panel is facing you.
a. Remove the six T-15 Torxdrive screws that secure the Front-Panel
assembly to the front chassis.
Front Panel A ssembly

 Loading...


