e-STUDIO162/162D/151/151D FIRMWARE DOWNLOAD PROCEDURES 15 - 1
[15] FIRMWARE DOWNLOAD
PROCEDURES
[Preparation]
Write the download data (extension .dwl) into the main unit.
A USB port is required for the PC.
Create "MaintenanceTool " flooder in the PC, and copy the following
files to the folder.
Necessary for program download
• Maintenance.exe (
←
Tool program)
• ProcModelB.mdl
• ProcModelC.mdl
• ProcModelE.fmt
• ProcModelE.ini
• ProcModelE.mdl
Driver
• Drivers/2kXP/Mainte.inf (For Windows XP/2000)
• Drivers/Win9xME/Mainte.inf (For Windows Me/98SE)
• Drivers/Win9xME/UsbScan.sys (For Windows Me/98SE)
Download file
• Download file (extension .dwl)
Note: Copy the download data file (extension .dwl) to the folder in
which the maintenance program is included.
When making a folder for the maintenance tool in the PC, do not
put a long folder name in the absolute path.
[Example]
Erroneous case: c:\Mainte nance Tool Download
Proper case: c:\MaintenanceTool
1. Initial setting
(Serial number setting procedures)
The serial number is set to the PC which is used for downloading. Set-
ting is required once only, and there is no need to set again when
rebooting the program.
Note: This setting is required only when downloading the default data
of E2PROM, and is not required when downloading firmware
only.
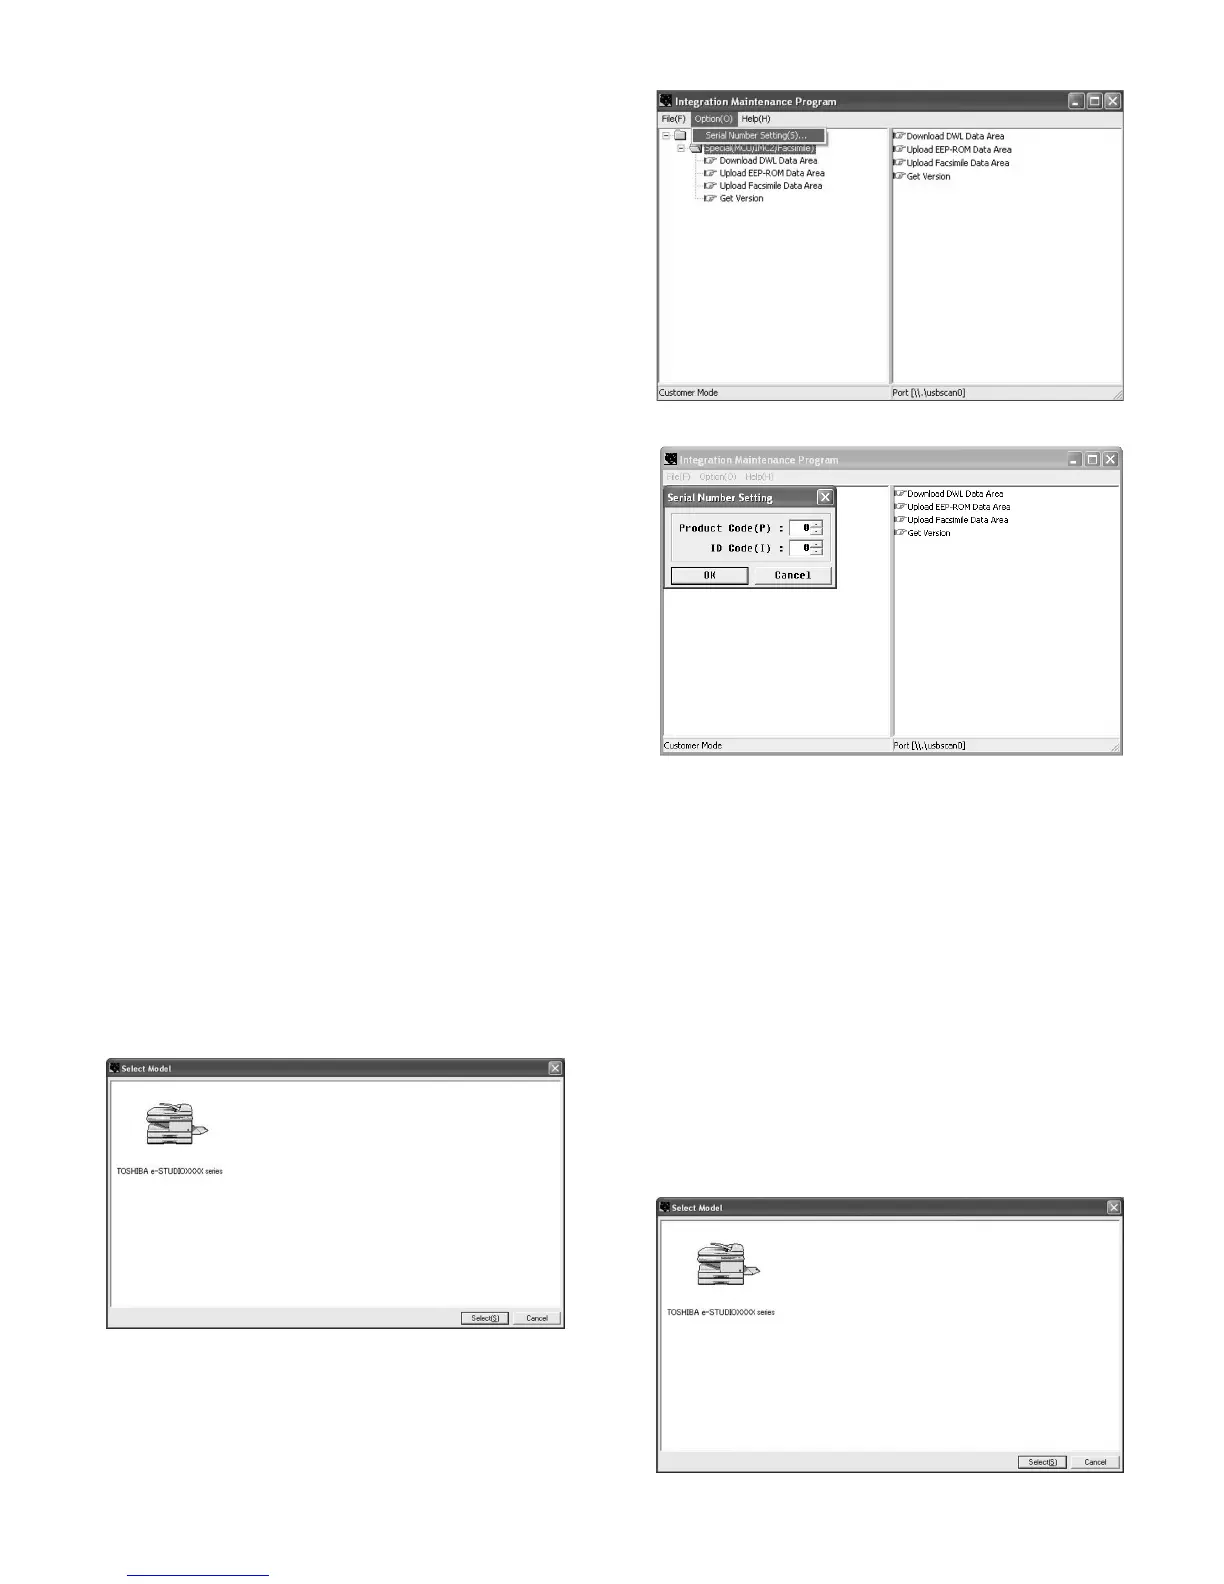
1) PC side: Boot "Maintenance.exe" and select "e-STUDIO162/151
series" in the "Select Model" menu.
(Only to set the serial number, the PC should not be connected to
the machine.)
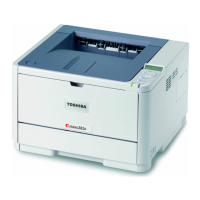
2) Select "Option"
→
"Serial Number Setting" on the menu bar.
3) Set the serial number according to the following.
After completion setting, press [OK] key.
4) The serial number has been assigned.
2. Download procedures
1) Main unit side: Execute Test command No. 49-01 (Flash ROM pro-
gram write mode).
Check that "DOWNLOAD MODE" is displayed on the LCD of the
operation panel. (Press and hold [CA] key and [DOWN] key (left
key) together, and turn on the power simultaneously.)
2) Connect machine and the PC with a USB cable. (Connect it to the
USB port on the main unit without fail.
3) PC side: Boost "Maintenance.exe" and select "e-STUDIO162/151
series" in the Select Model menu.
Product Code (P): Enter number (0 – 99)
Enter the product code of “3.”
ID Code(I): Enter number (0 – 99)
Assign an individual code to each PC uses
“Maintenance.exe.”
e-STUDIO162_151.book 1 ページ 2004年12月2日 木曜日 午後9時48分
 Loading...