142
4.SETTING ITEMS (ADMIN)
5.SETTING FAX FUNCTIONS (Cont.)
4
Setting the Fax Initial Setup
The [INITIAL SETUP] button in the [ADMIN] menu will be available only when the optional Fax unit is
installed.
Set the initial settings for the fax functions such as the volume settings and reception mode.
• Reception mode: AUTO, MANUAL
• Monitor tone volume: Adjustable 0-7 steps (0: tone OFF)
The “monitor tone” is the line monitor tone which is heard when the [MONITOR/PAUSE] button is
pressed.
• Completion tone volume: Adjustable 0-7 stages (0: tone OFF)
The “completion tone” is the ringer tone which is heard when original printing has been completed. It
can be heard when all originals have been printed out.
• Dial type (Line 1 /Line 2): DP, MF (not available for the European version)
There are two types of telephone lines: Dial pulse lines (DP) and multi frequency lines (MF). Change
the telephone line setting to match the type of the line you are using, for example, when you first install
the system or when you change the connected telephone line.
1
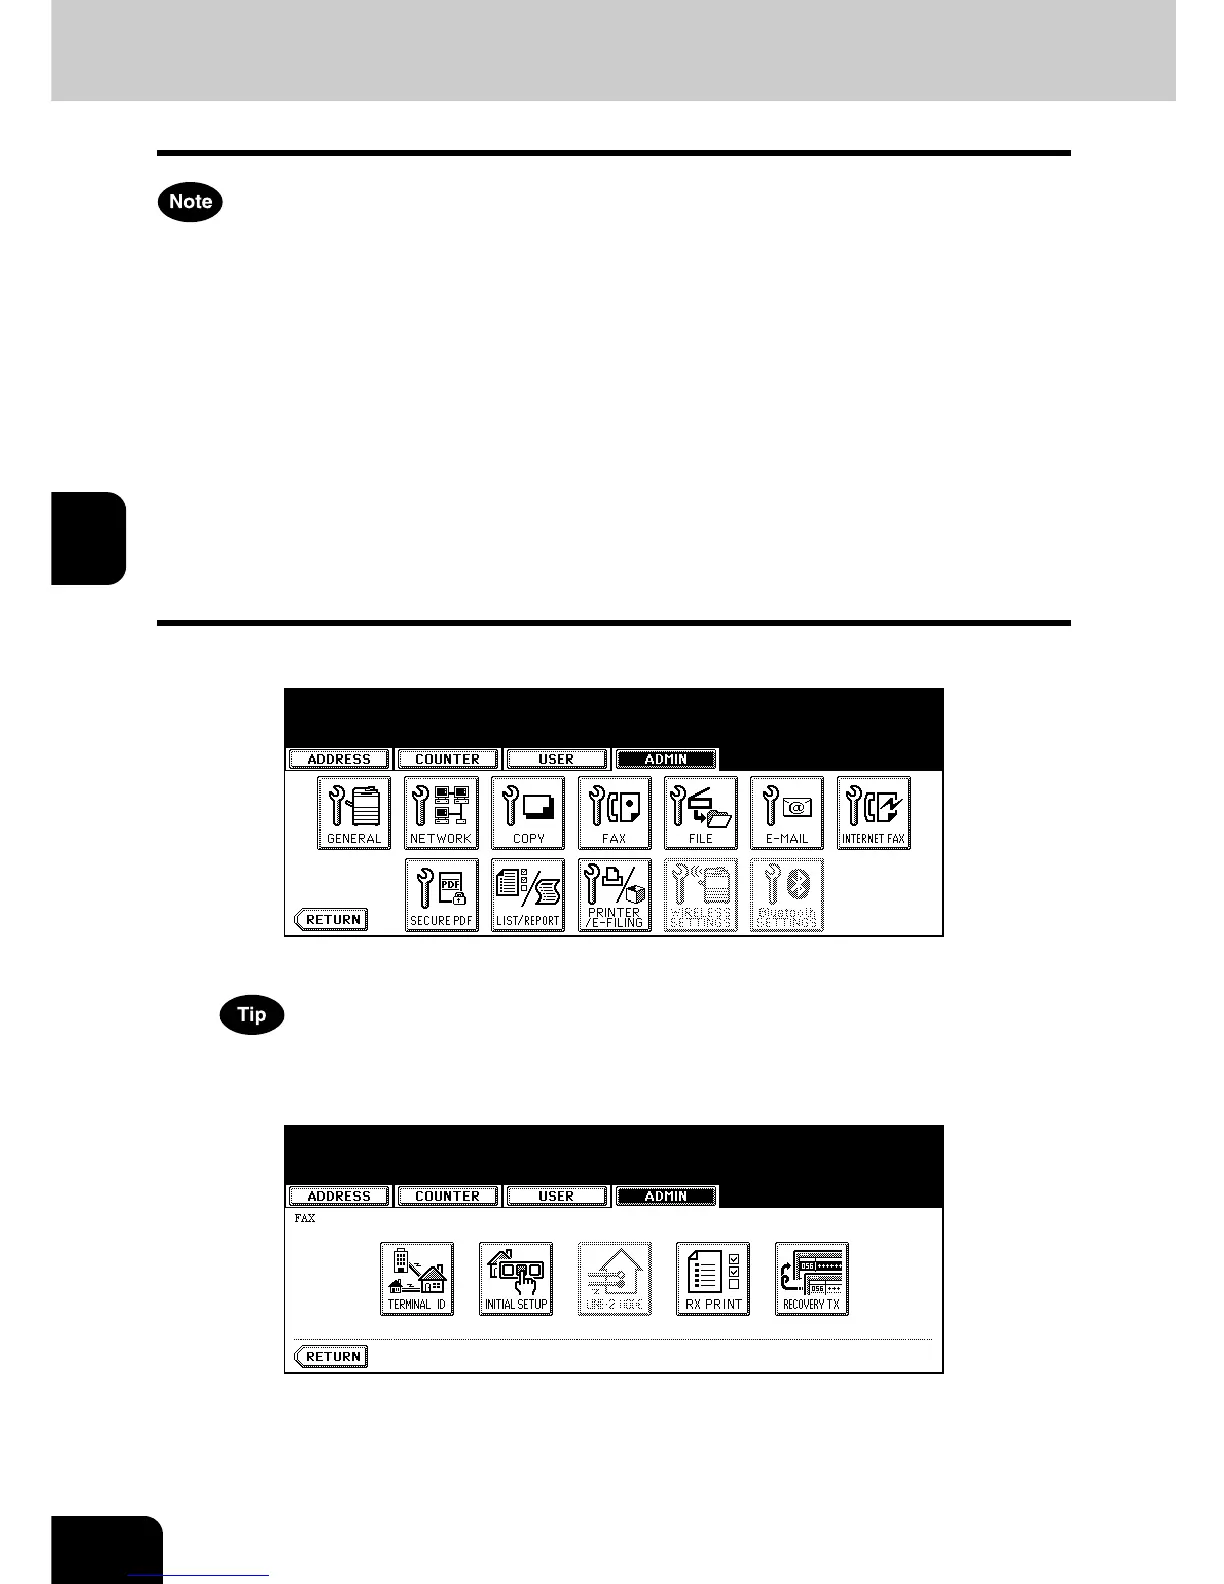
Press the [FAX] button in the ADMIN menu.
• The FAX menu is displayed.
To display the ADMIN menu, see “1.ENTERING TO ADMIN MENU”. P. 8 7
2
Press the [INITIAL SETUP] button.
• The INITIAL SETUP screen is displayed.

 Loading...


