89
4
2. SETTING GENERAL FUNCTIONS
Setting the Device Information
You can set the device information of this equipment. These items appear in the Device page of TopAc-
cess, that is the web-based device management utility.
1
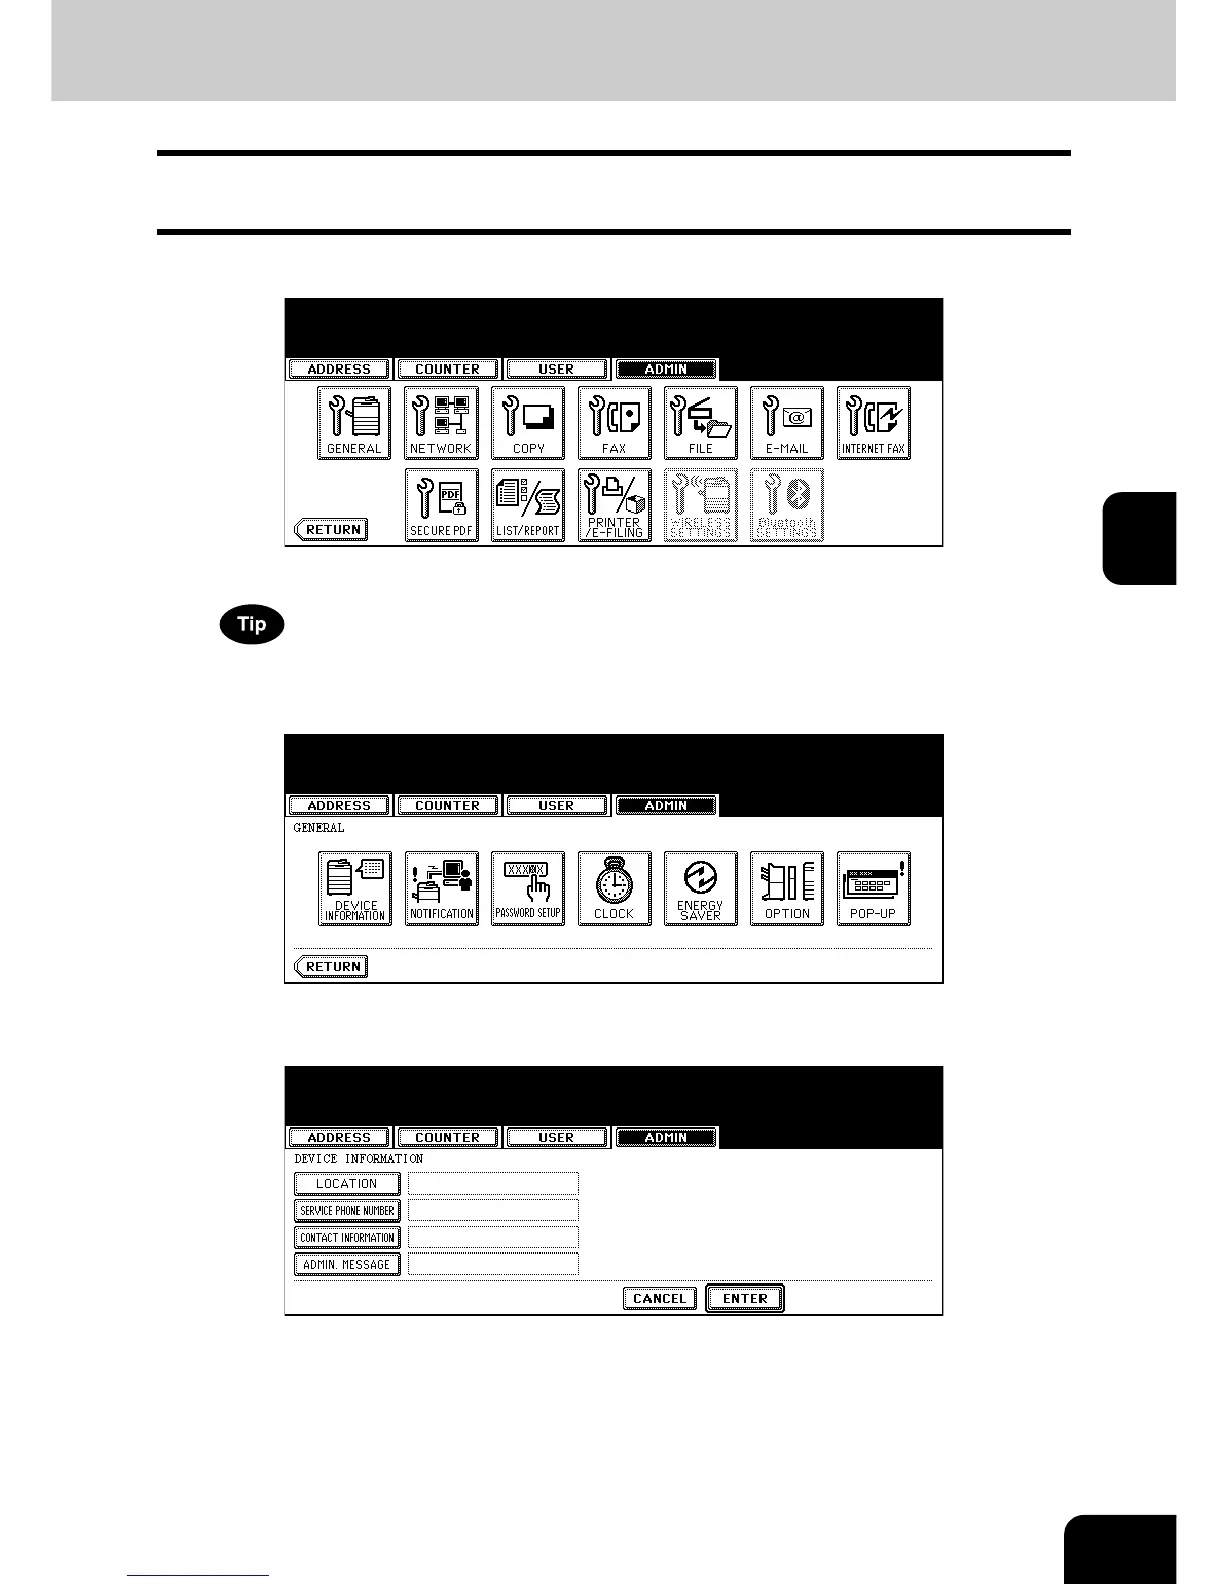
Press the [GENERAL] button in the ADMIN menu.
• The GENERAL menu is displayed.
To display the ADMIN menu, see “1.ENTERING TO ADMIN MENU”. P. 8 7
2
Press the [DEVICE INFORMATION] button.
• The DEVICE INFORMATION screen is displayed.
3
Press each button on the touch panel to enter following items.
• [LOCATION] — Press this button to enter the location where this device is located.
• [SERVICE PHONE NUMBER] — Press this button to enter the service call number.
• [CONTACT INFORMATION] — Press this button to enter the name of the service technician.
• [ADMIN. MESSAGE] — Press this button to enter the administration message for users.

 Loading...


