77
3
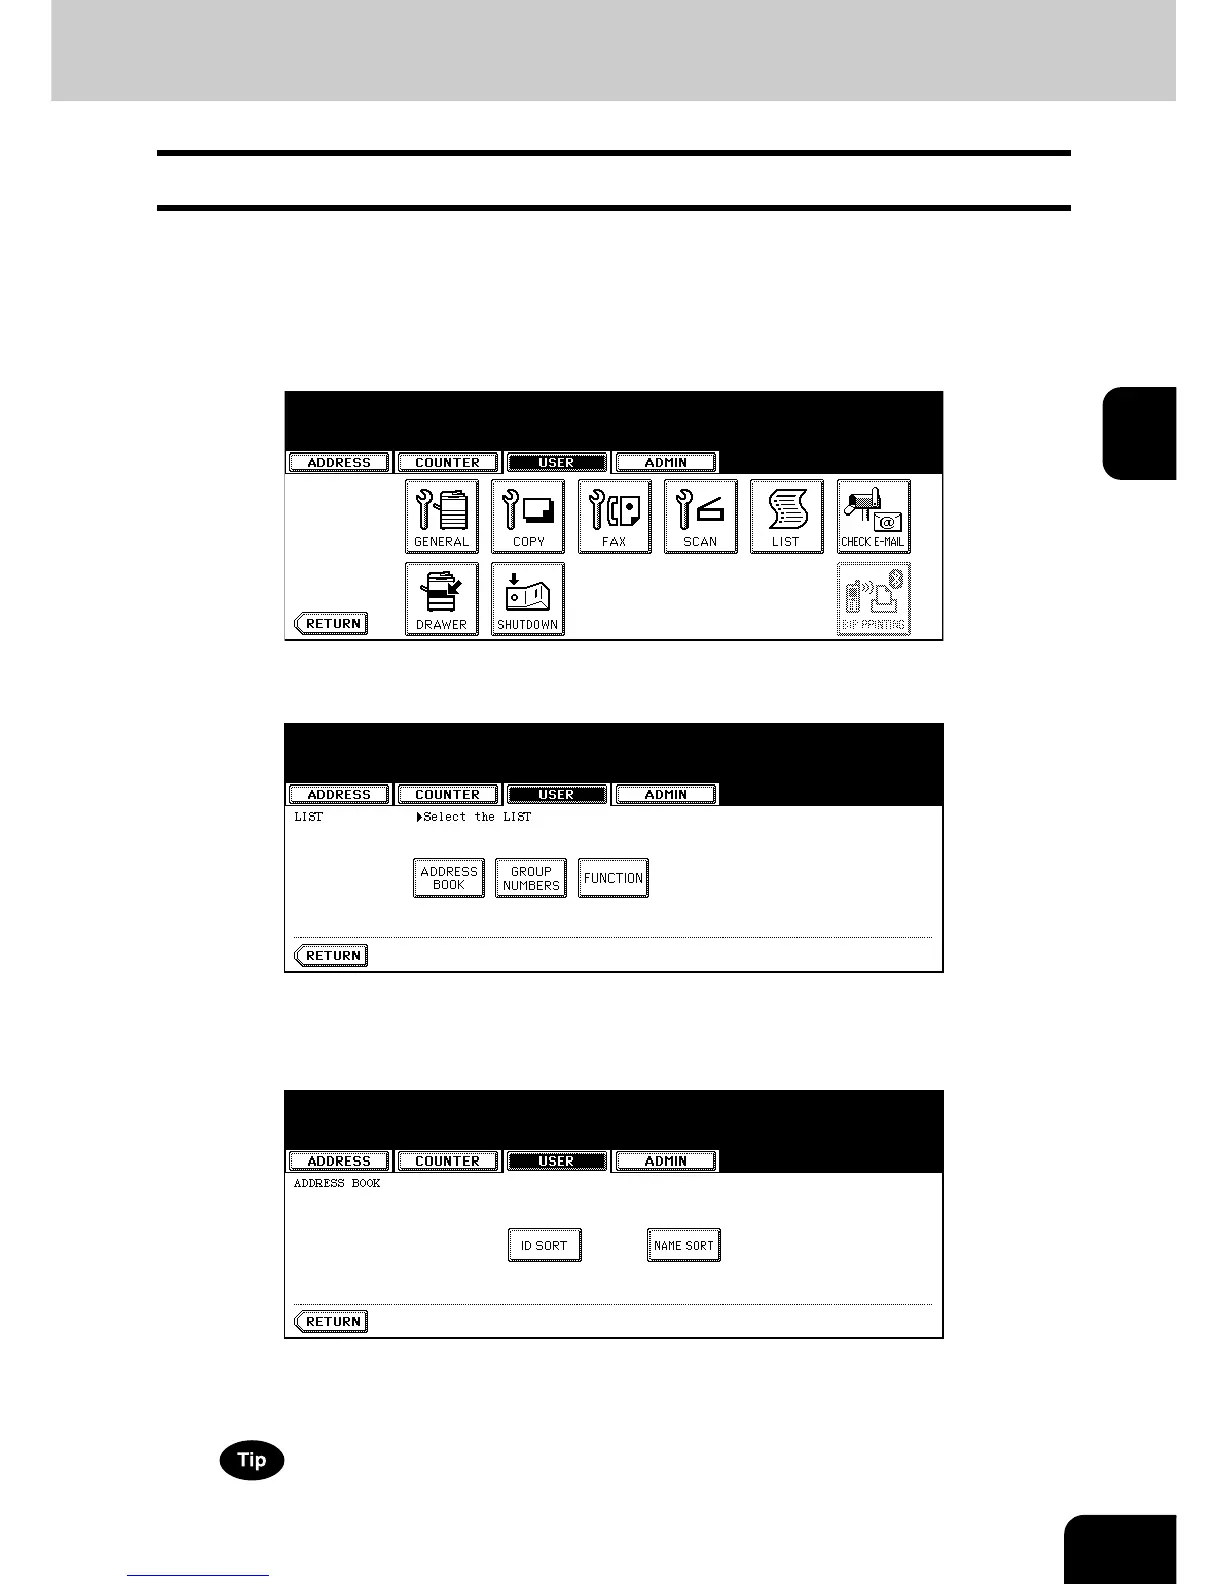
5. PRINTING LISTS
Printing the Address Book List
You can print the address book list that shows all registered contacts and groups in this equipment.
1
Press the [USER FUNCTIONS] button on the control panel to enter the
User Functions menu.
2
Press the [USER] button, and then press the [LIST] button on the
touch panel.
• The LIST menu is displayed.
3
Press the [ADDRESS BOOK] button.
• The ADDRESS BOOK menu is displayed.
4
Press the [ID SORT] button to print it as sorted by the ID number, or
[NAME SORT] button to print it as sorted by the last name.
• When the department management is disabled, the address book list is printed.
• When the department management is enabled, the screen to input the department code is displayed. Enter
the department code using the digital keys and press the [ENTER] button to print the address book list.
For an output example of the address book list, see “Address Book List”. P. 1 7 2

 Loading...


