73
3
3. SETTING FAX FUNCTIONS
You can change the initial setting (default setting) of fax and Internet Fax features.
The [FAX] button in the [USER] menu will be available only when the Scanner Kit or Printer/Scanner Kit is
installed, or when the optional Fax unit is installed.
1
Press the [USER FUNCTIONS] button on the control panel to enter the
User Functions menu.
2
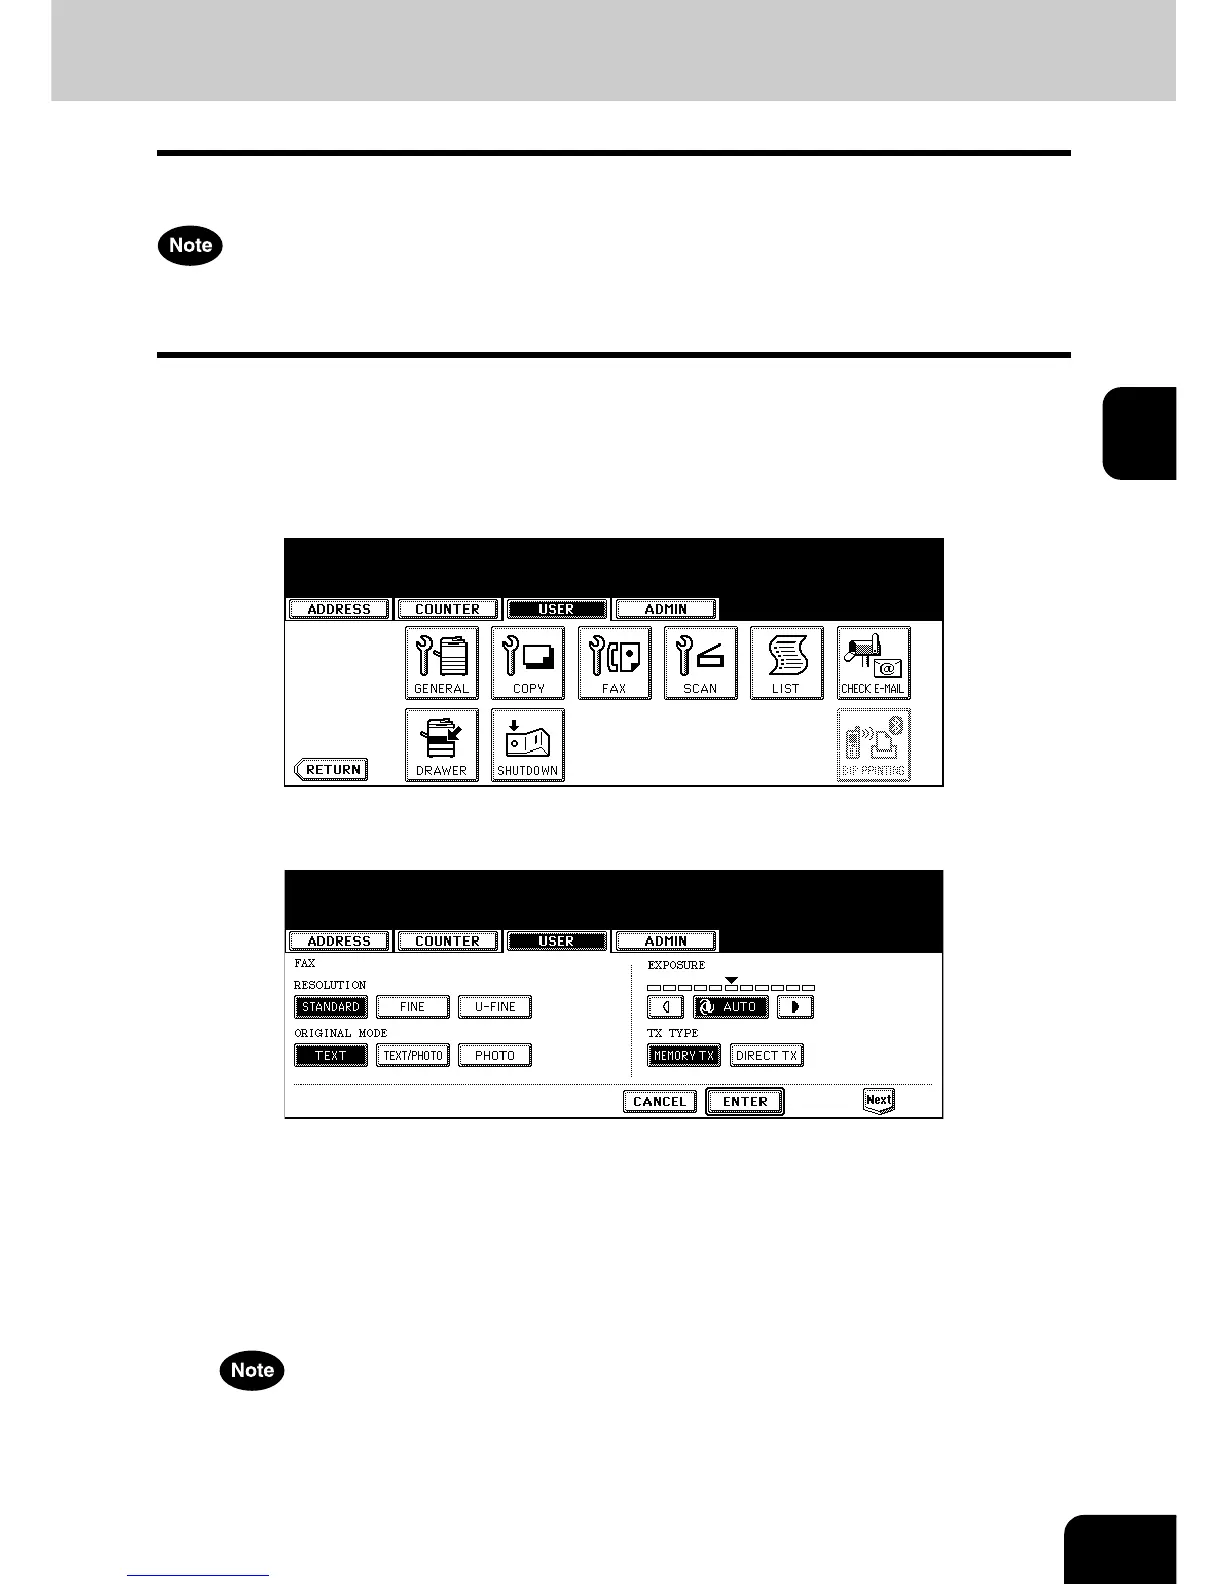
Press the [USER] button, and then press the [FAX] button on the
touch panel.
• The FAX screen is displayed.
3
Specify the following items as you require.
• In the “RESOLUTION” option, press the desired mode button.
• In the “ORIGINAL MODE” option, press the desired mode button.
• In the “EXPOSURE” option, press light or dark buttons to specify the default exposure manually, or press the
[AUTO] button to select auto mode for the default exposure mode.
• In the “TX TYPE” option, press the desired mode button.
[MEMORY TX] — Press this to set the Memory TX mode as default transmission mode that will send after
scanning and saving all originals in the memory. This mode enables multi-address transmission.
[DIRECT TX] — Press this to set the Direct TX mode as default transmission mode that will send originals
page by page after every original has been scanned. This mode disables multi-address transmission.
The “TX TYPE” option is available only when the optional Fax unit is installed.
4
Press the [Next] button to display the next screen.

 Loading...


