148
4.SETTING ITEMS (ADMIN)
5.SETTING FAX FUNCTIONS (Cont.)
4
Setting the Recovery Transmission
The Recovery transmission is available only when the optional Fax unit is installed.
This function allows you to specify how long a document will be remained in the memory after failing the
redial attempts.
You can retransmit the document held in the memory. For instructions on how to send the recovery trans-
mission, see the Operator’s Manual For Facsimile Function.
1
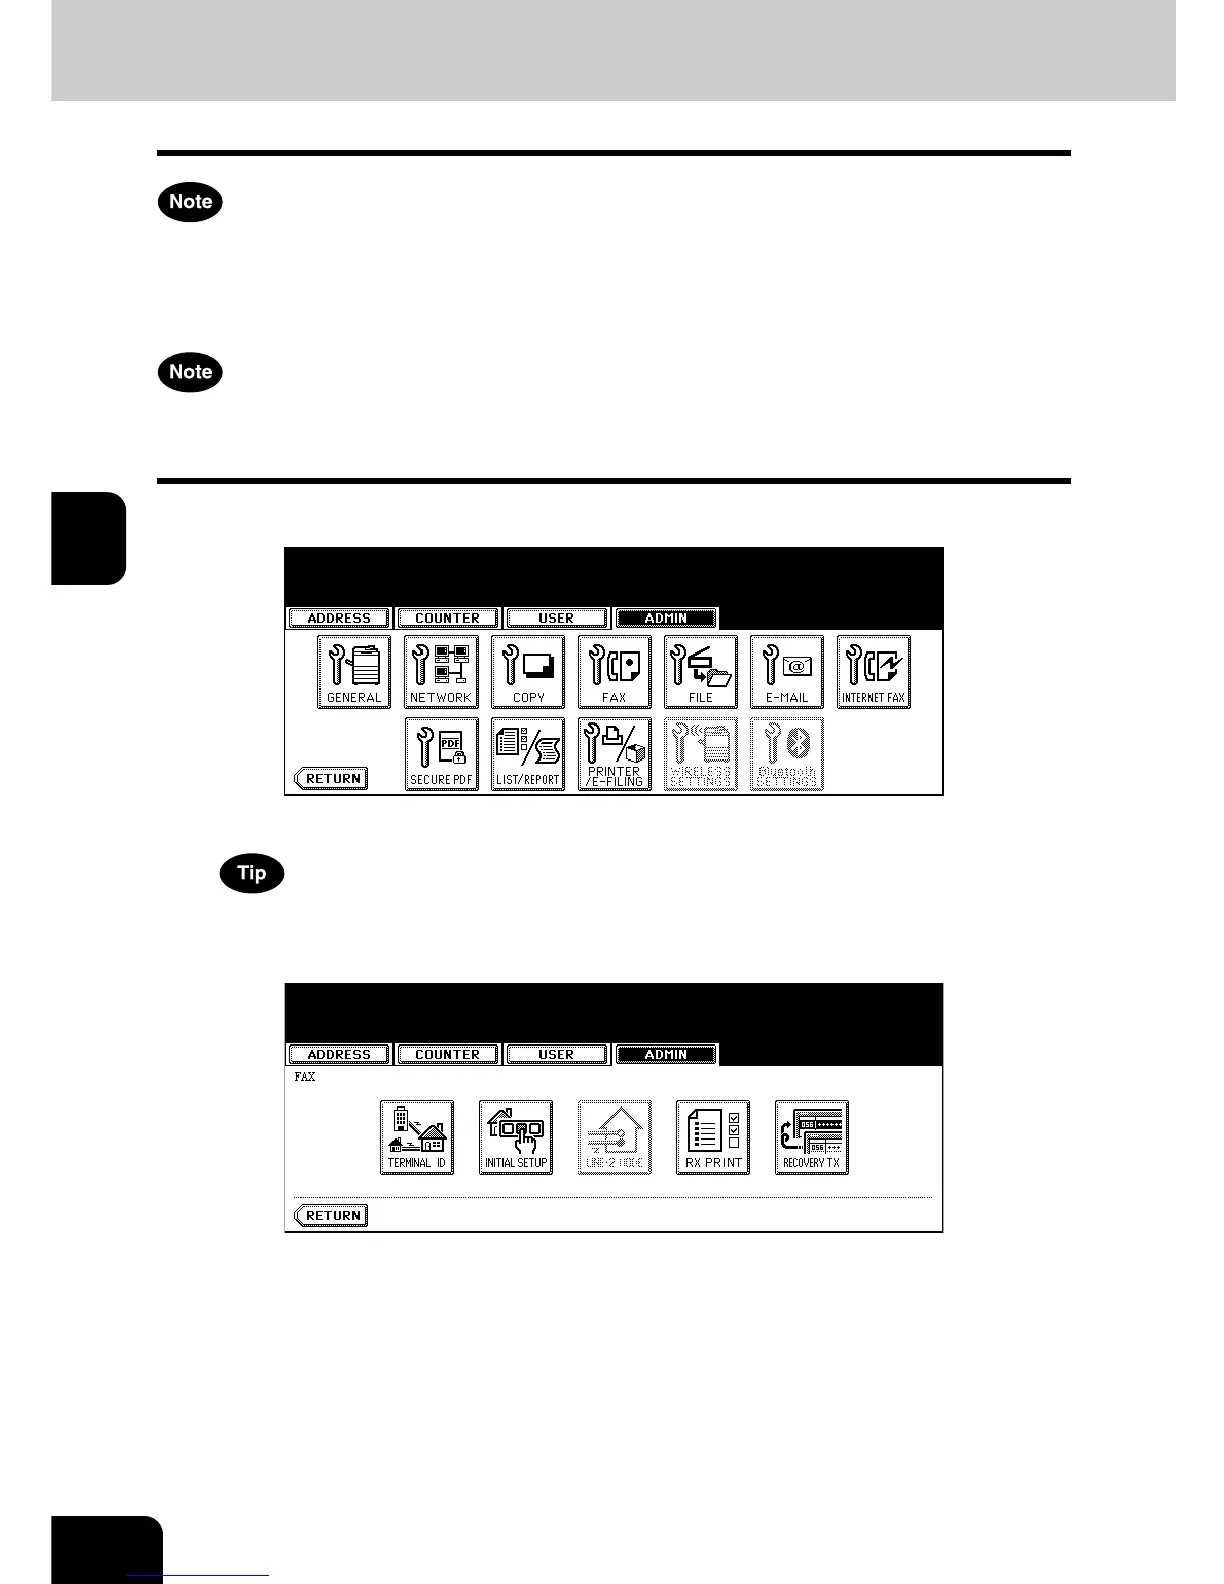
Press the [FAX] button in the ADMIN menu.
• The FAX menu is displayed.
To display the ADMIN menu, see “1.ENTERING TO ADMIN MENU”. P. 8 7
2
Press the [RECOVERY TX] button.

 Loading...


