144
4.SETTING ITEMS (ADMIN)
5.SETTING FAX FUNCTIONS (Cont.)
4
Setting the RX Printing
Setting Discard and Reduction Printing
Set print settings for received fax and Internet Fax originals that are to be printed.
Two print settings are available: discard printing and reduction printing.
Discard Printing: ON, OFF
• ON (default setting):
When originals are up to 10mm larger than the printing area; the part of the originals that exceeds the
paper printing area is discarded.
• OFF: The received original is printed on two sheets of paper if its length exceeds the paper printing
area.
* For detail of DISCARD setting, contact your service technician.
RX Reduction Printing: ON, OFF
• ON (default setting):
If the received original is longer than the recording paper, it will be vertically reduced to 90% to fit on
the recording paper.
• OFF: The received original is printed on two sheets of paper if its length exceeds the paper printing
area.
* Only drawers can be set for received FAX printing. Please see the Operator's Manual for Basic Func-
tions. Be sure to use LD, LG, LT, LT-R, A3, A4, A4-R or B4.
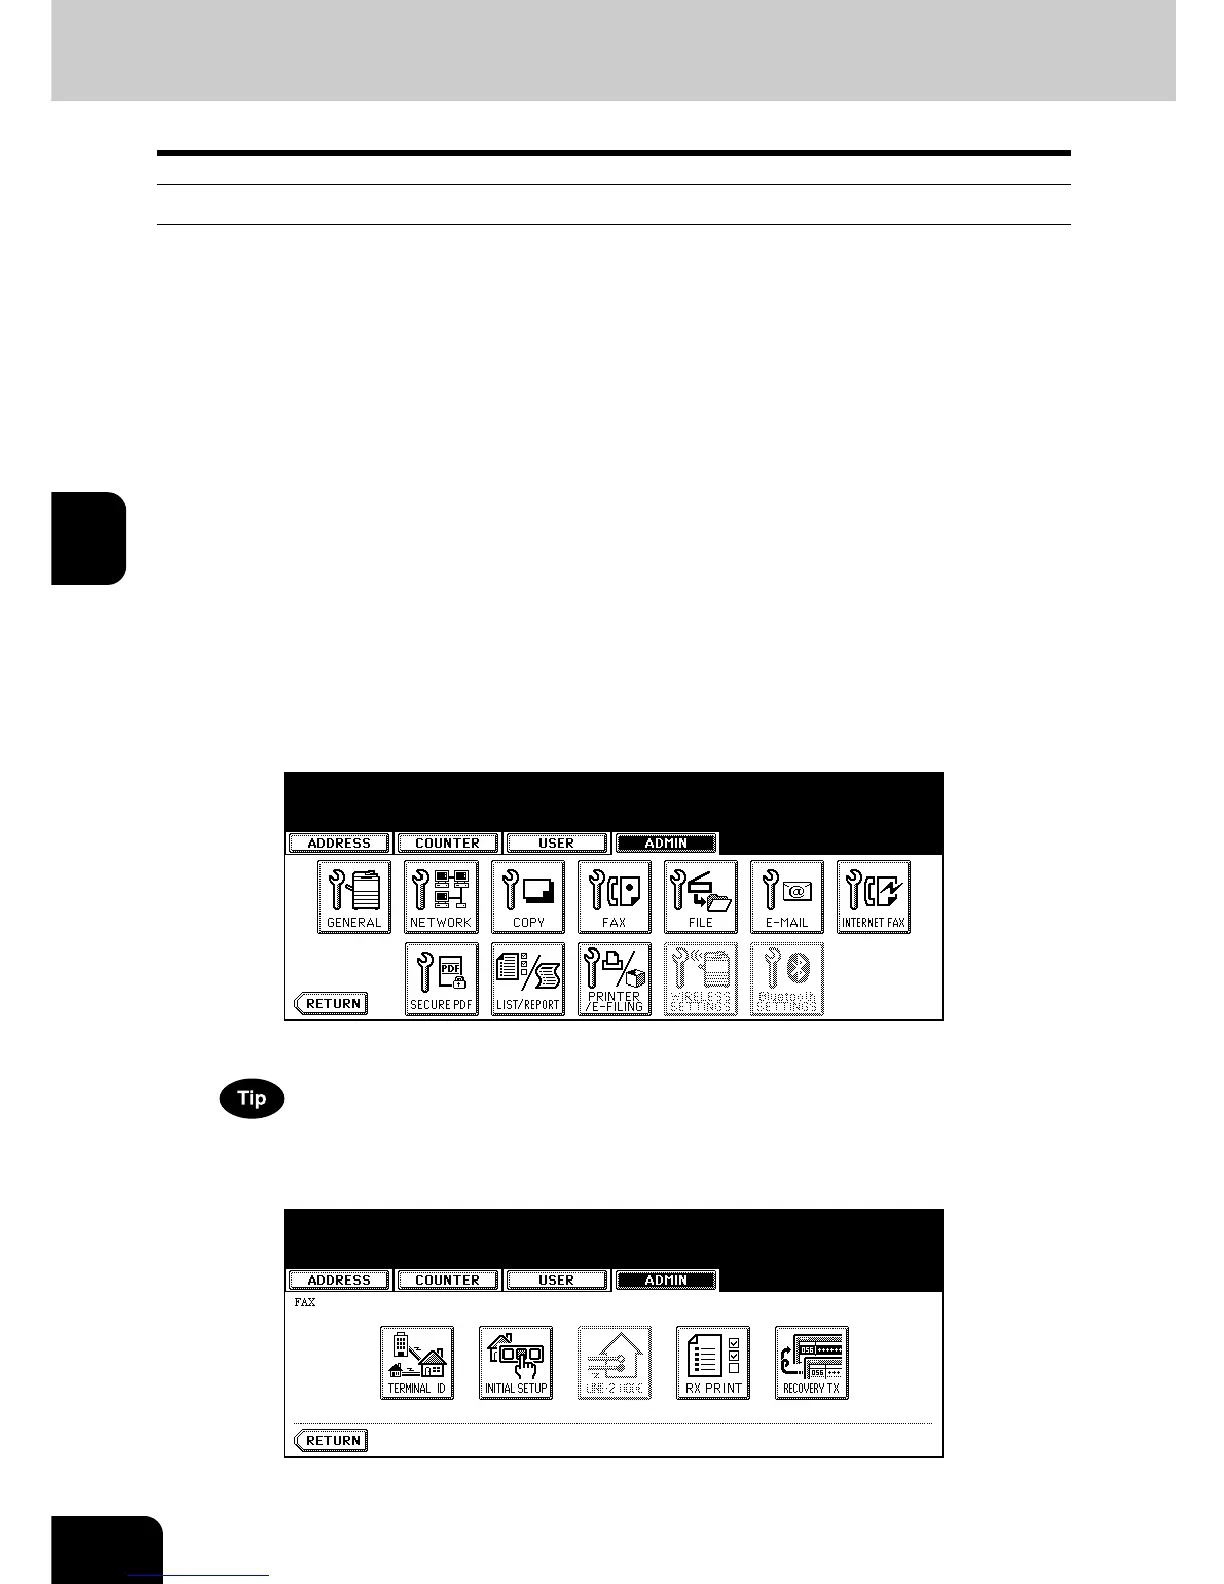
1
Press the [FAX] button in the ADMIN menu.
• The FAX menu is displayed.
To display the ADMIN menu, see “1.ENTERING TO ADMIN MENU”. P. 8 7
2
Press the [RX PRINT] button.
• The RX PRINT screen is displayed.

 Loading...


