71
3
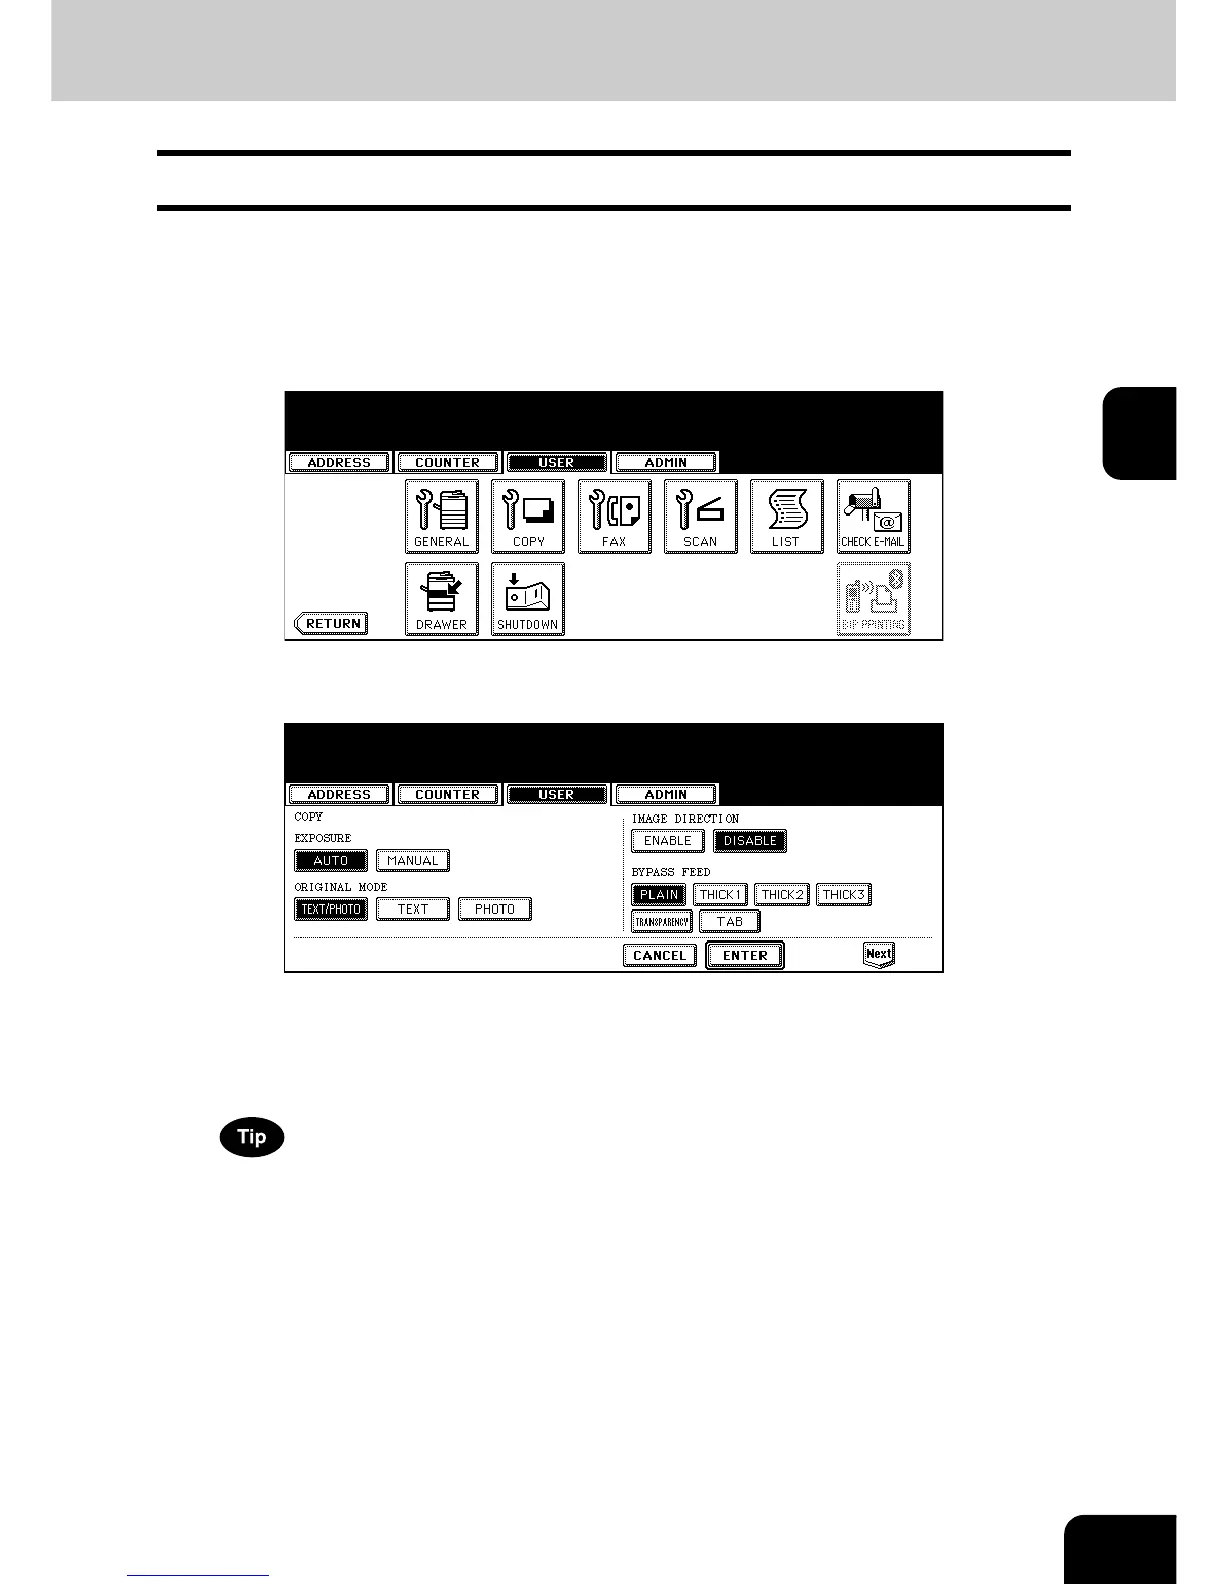
2. SETTING COPY FUNCTIONS
You can change the initial setting (default setting) of copy job.
1
Press the [USER FUNCTIONS] button on the control panel to enter the
User Functions menu.
2
Press the [USER] button, and then press the [COPY] button on the
touch panel.
• The COPY screen is displayed.
3
Specify the following items as you require.
• In the “EXPOSURE MODE” option, press the desired mode button.
• In the “ORIGINAL MODE” option, press the desired mode button.
• In the “IMAGE DIRECTION” option, press the desired mode button. For more descriptions for the IMAGE
DIRECTION option, please refer to the Operator’s Manual For Basic Function.
• In the “BYPASS FEED” option, press the desired media type button.
For more information about the paper type, please see the Operator’s Manual For Basic Functions.
4
Press the [Next] button to display the next screen.

 Loading...


