166
4.SETTING ITEMS (ADMIN)
4
12. SETTING PRINTER/E-FILING FUNCTIONS
You can configure the printer and e-Filing functions that will apply to the print jobs or e-Filing jobs.
1
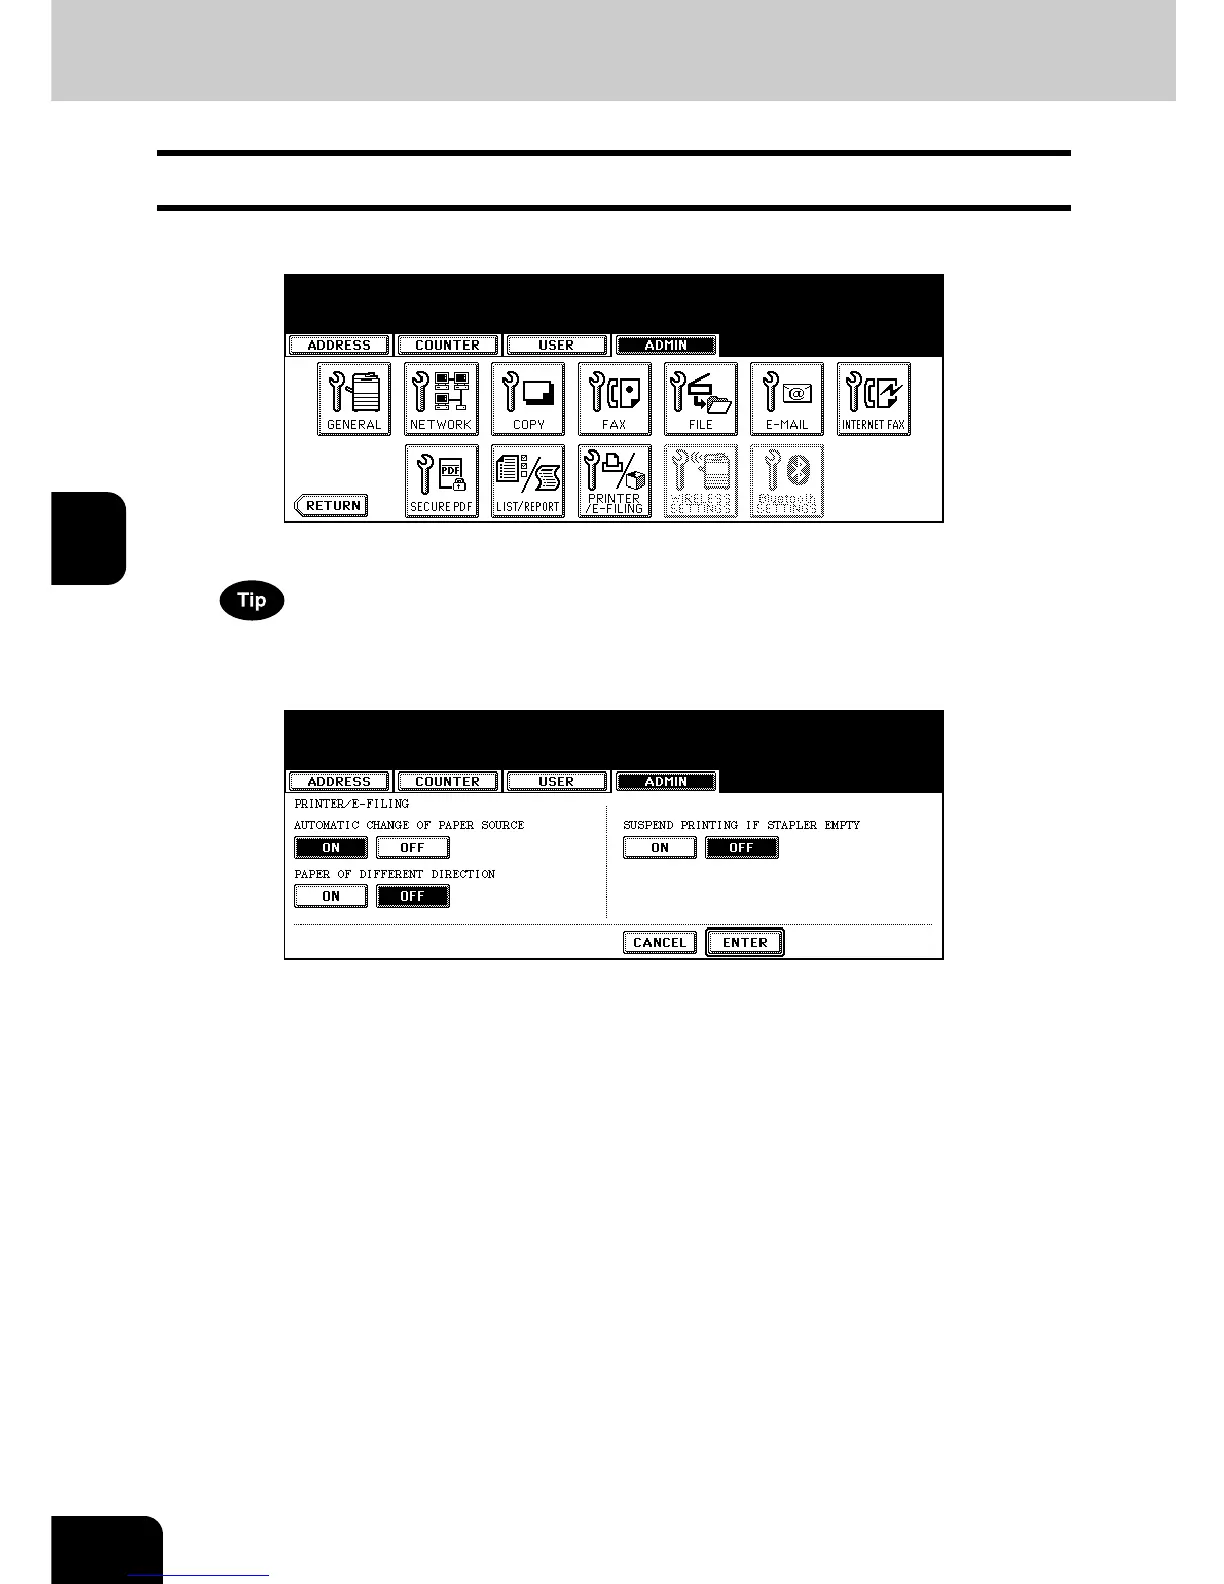
Press the [PRINTER/E-FILING] button in the ADMIN menu.
• The PRINTER/E-FILING screen is displayed.
To display the ADMIN menu, see “1.ENTERING TO ADMIN MENU”. P. 8 7
2
Specify the following items as you require.
• AUTOMATIC CHANGE OF PAPER SOURCE — Select the [ON] button to enable printing a document
intended for that one paper size can be printed on paper of a different size. For example, if a Letter size docu-
ment is printed and no Letter size paper is set, this equipment will print it on A4 size paper. When this is dis-
abled, this equipment will prompt users for the correct paper size.
• PAPER OF DIFFERENT DIRECTION — Select the [ON] button to enable printing a document in different
direction. When this is enabled, the equipment automatically rotates a document and prints it on the appropri-
ate sized paper.
• SUSPEND PRINTING IF STAPLER EMPTY — Select the [ON] button to enable suspending printing if stapler
empty occurs. When this is enabled, this equipment quit printing that stapling is specified if stapler empty
occurs. When this is disabled, this equipment will print a document without stapling even if stapler empty
occurs.
3
Press the [ENTER] button.

 Loading...


