A.4. Installing and uninstalling the interface
A.3.4 I/O action and wait
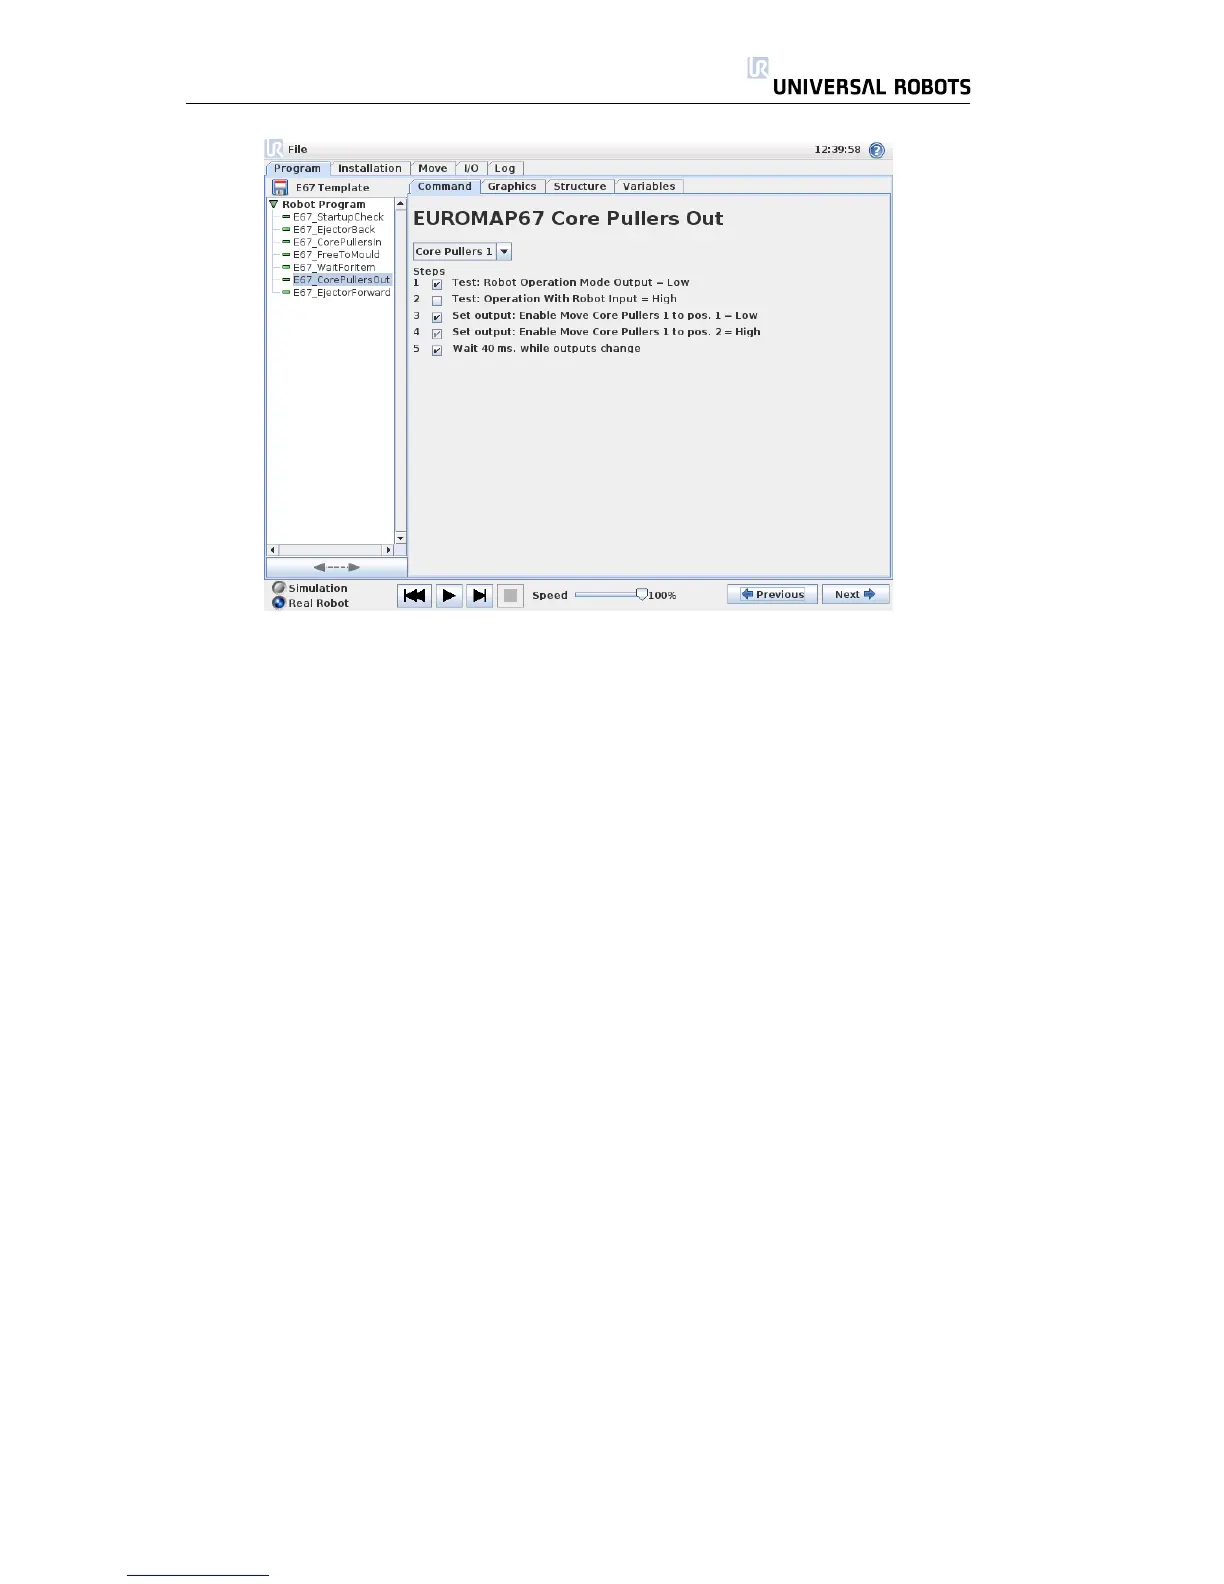
As the robot digital outputs can be set by an Action node, so can also the eu-
romap67 output signals. When the euromap67 interface is installed, the signals
appear in the menues where they can be selected. Also, as the robot digital
inputs, euromap67 input signals can be used to control the program behavior
by inserting a Wait node, which makes the program wait until an input is either
high or low.
For advanced users, an output can be set to the value of a specified expres-
sion. Such expression may contain both inputs, outputs, variables, etc., and can
be used to obtain complex program functionality. Likewise, a Wait node can be
set to wait until the value of an expression is true. Generally, the euromap67 sig-
nals will all be available on the expression screen, which means that they can
be used in all circumstances where an expression can be selected.
In order to use signals, which are not part of the euromap67 program struc-
tures, they must be either set or read ”manually” from a program, by inserting
additional Action, Wait, etc. nodes. This applies to e.g. the manufacturer de-
pendent and the reserved signals, which are all usable although not shown on
the euromap67 I/O tab. This also means that in order to make use of the in-
puts Reject and Intermediate Mould Opening Position, the template program
will have to be customized and extended.
Finally, it is recommended to NOT set the Mould Area Free signal manually,
as this may cause hazardous situations.
A.4 Installing and uninstalling the interface
To achieve redundancy of the safety functionality, the controller box knows
whether it shall expect a euromap67 interface to be present or not. Therefore,
the installing and uninstalling procedures below must be followed precisely.
Please note the orientation of the ribbon cable below.
All Rights Reserved
53 UR10

 Loading...


