A.4. Installing and uninstalling the interface
NOTE: Do not plug/unplug the ribbon cable with power on the controller box!
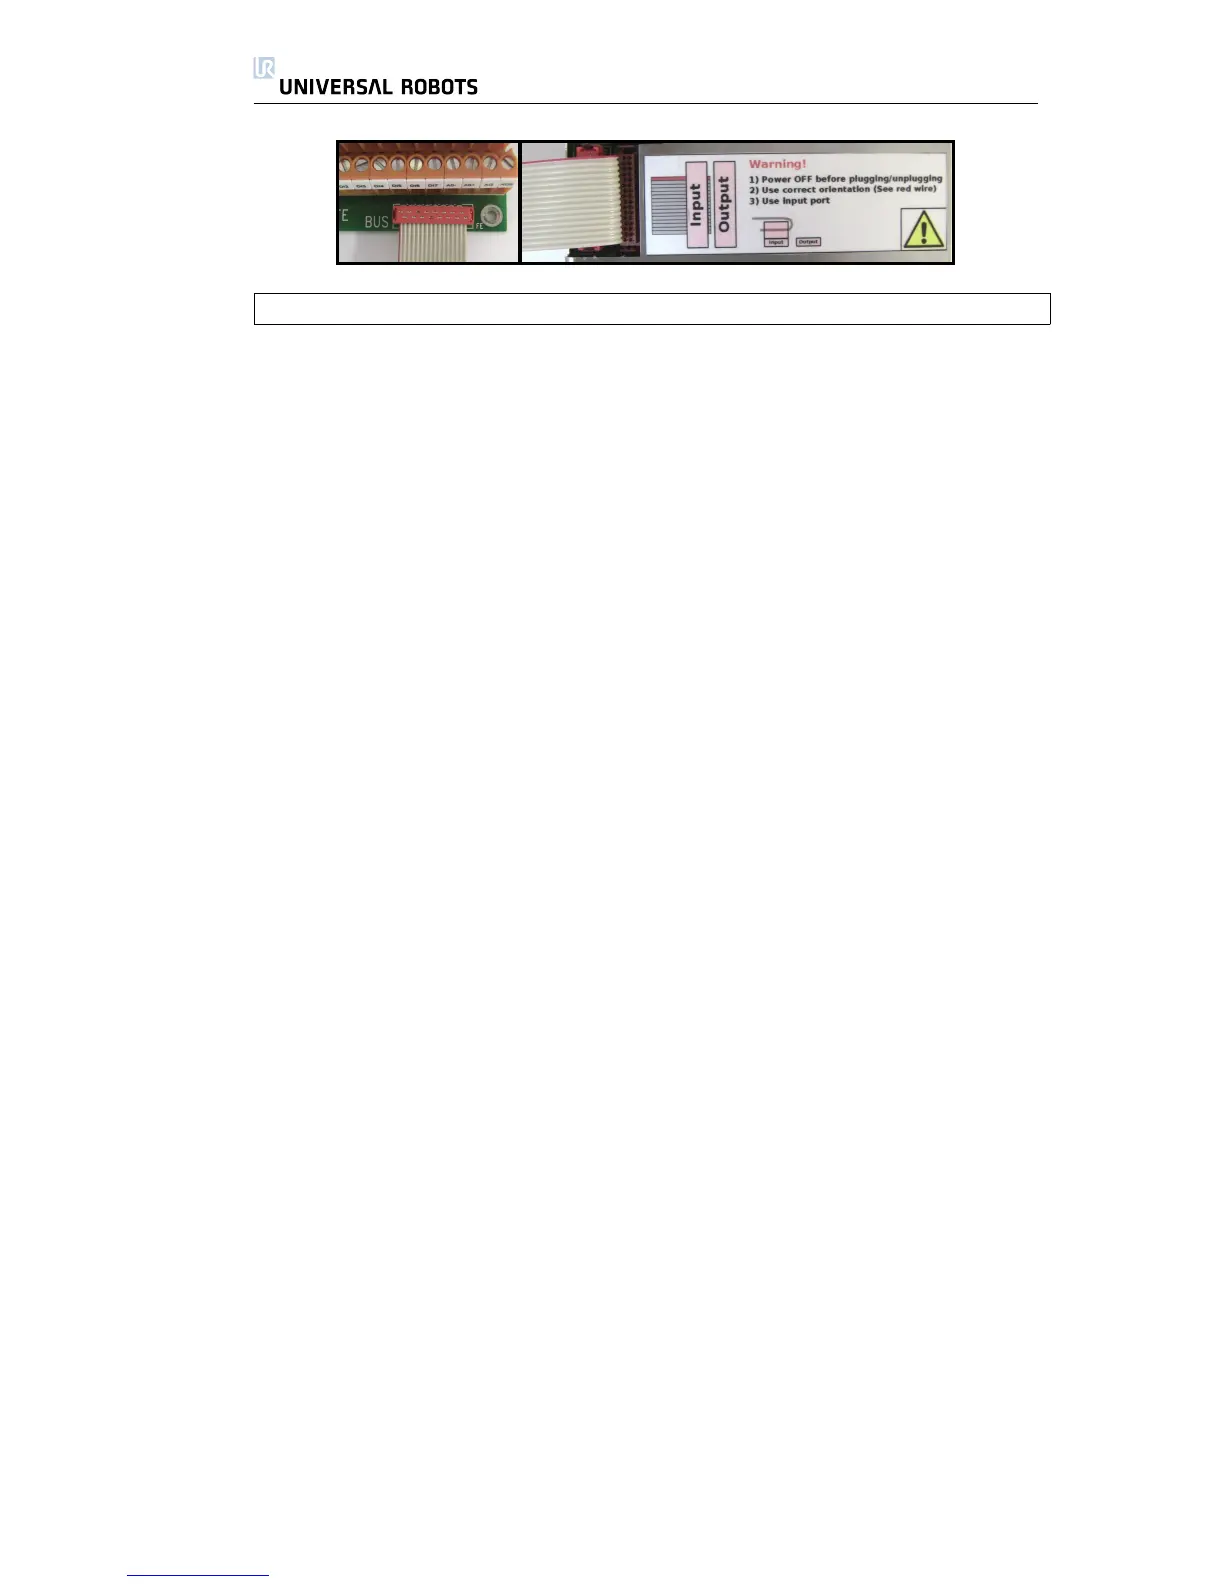
A.4.1 Installing
The interface can be placed at the bottom or in the left side of the controller
box, see pictures below and follow the procedure. It is not allowed to install the
interface in any other way.
1. Power down the controller box.
• The green light of the power button of the teach pendant must be off.
2. Mount the interface.
• Use 1 M6 nut to screw on the ground connector.
• Use 4 M4×8mm screws to screw on the interface.
• Use 4 M4×8mm screws to cover the empty holes.
• Click on the ribbon cable with the right orientation.
• Use some fixing pads to fix the ribbon cable.
3. Power up the controller box.
• The interface is automatically detected.
• The safety functionality is permanently enabled.
• The safety system reboots
A.4.2 Uninstalling
Follow the procedure below.
1. Power down the controller box.
• The green light of the power button of the teach pendant must be off.
2. Unmount the interface.
• Remove the ribbon cable.
• Remove the M6 nut from the ground connector.
• Remove all M4 screws from the outer side of the controller box.
3. Power up the controller box.
• The controller box stays in booting state.
• Some warnings might appear.
4. Disable safety functionality.
• Go to the Installation screen, then select the Settings tab.
All Rights Reserved
54 UR10

 Loading...


