7. Acquiring CEPH images
96
I
PaX-i3D Smart
During x-ray exposure, the status appears as follows.
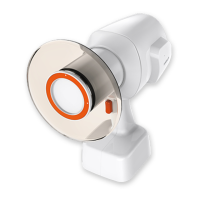
● The exposure switch LED light is orange.
● The exposure switch LED light on top of the equipment is orange.
● An alert will sound to indicate that x-ray emission is currently underway.
● In the Console Software, the x-ray On in yellow changes.
7.4
Finishing Scan
1. Leave enough spaces between the ear rods.
2. Fold the nasal positioner up.
3. Guide the patient out of the equipment.
7.5
Confirming Image
Acquired images can be reconstructed and converted to DICOM format.
The exported images can be confirmed in EasyDent / EzDent-i.
Please refer to the EasyDent / EzDent-i User manual for more information.
1. The images are transferred to EasyDent / EzDent-i automatically.
2. The images are automatically saved if automatic save is configured in the basic
settings. If automatic save is not configured in the basic settings, click the Save to
DB button to save the images.
3. Double-click the image to confirm in the Patient list.
 Loading...