EasyManuals Logo
Home>Vatech>Dental equipment>PaX-i3D Smart

Vatech PaX-i3D Smart User Manual

Vatech PaX-i3D Smart
156 pages
To Next Page IconTo Next Page
To Previous Page IconTo Previous Page
Page #100 background imageLoading...
Page #100 background image
7. Acquiring CEPH images
93
I
PaX-i3D Smart
English
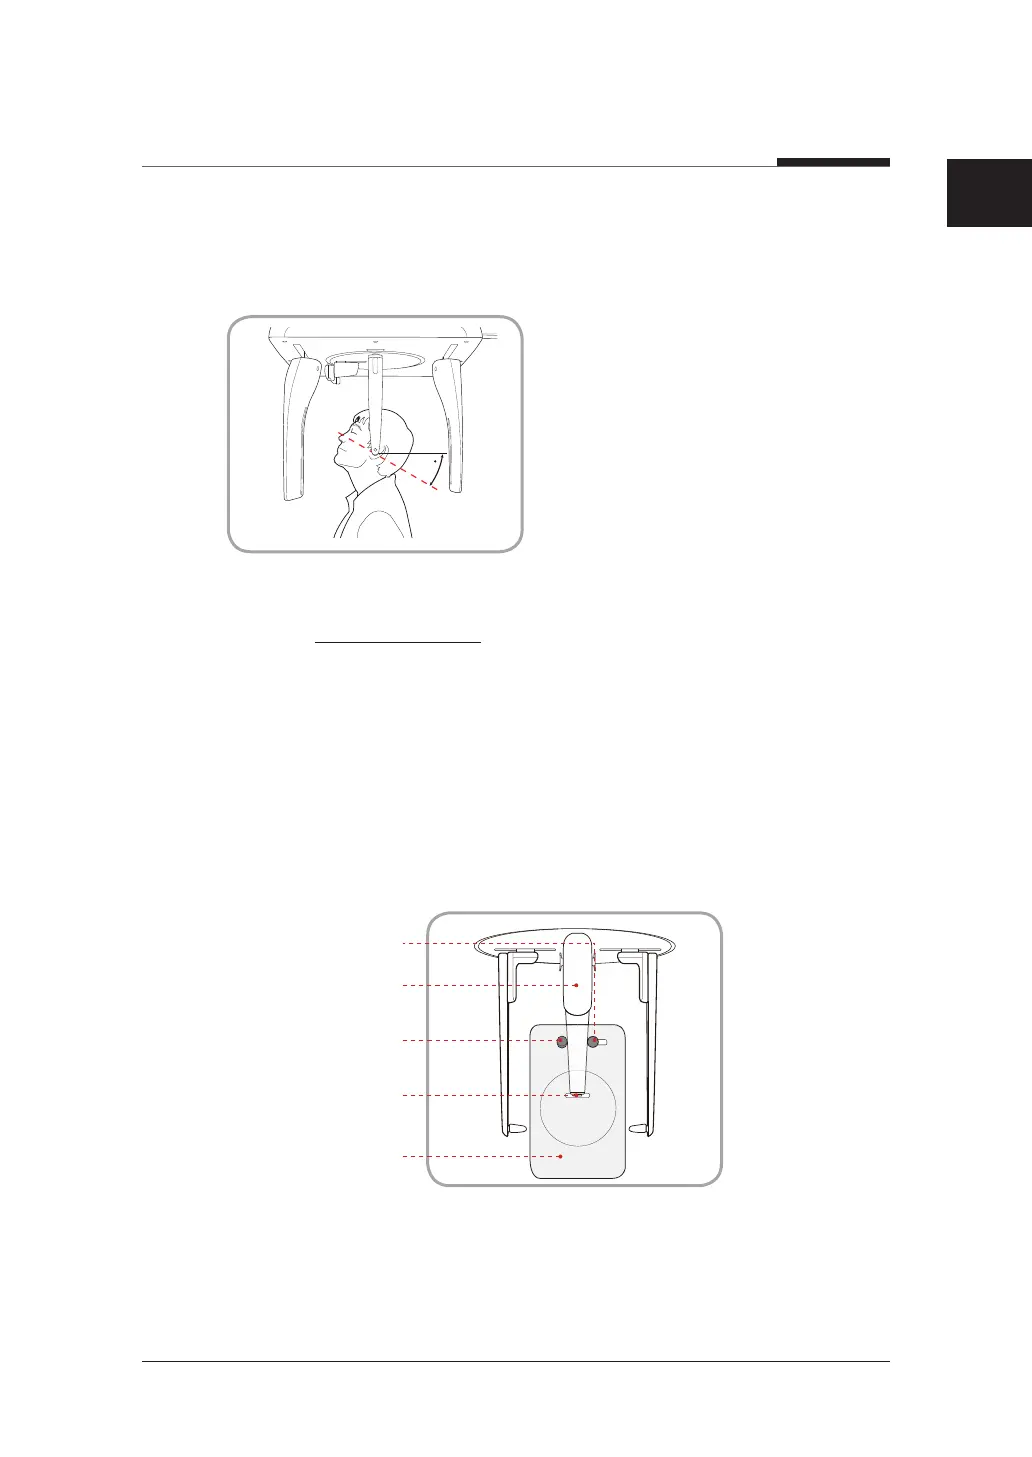
7. Direct the patient to swallow and close their mouth, and guide the patient's head
back 30˚ - 40˚. Direct the patient to remain in the current position until image
acquisition is complete.
30-40
8. Click the READY button. The x-ray exposure has not started yet.
9. Now go to 7.3 X-ray Exposure to begin operation.
7.2.5
CARPUS Mode
Installing the Carpus Plate
1. Align the end of the nasal positioner to the carpus plate groove so it is attached to
the nasal positioner.
Nasal positioner
Locking bolt
Fixed bolt
Notch
CARPUS Plate

Table of Contents

Other manuals for Vatech PaX-i3D Smart

Questions and Answers:

Question and Answer IconNeed help?

Do you have a question about the Vatech PaX-i3D Smart and is the answer not in the manual?

Vatech PaX-i3D Smart Specifications

General IconGeneral
BrandVatech
ModelPaX-i3D Smart
CategoryDental equipment
LanguageEnglish

Related product manuals