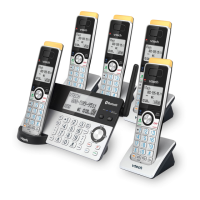
102
Set date and time
NOTE
• Make sure you set the date and
time including the year correctly;
otherwise the answering system does
not announce the correct day of the
week for your recorded messages
time stamp.
1. Press MENU/SELECT when the phone
is not in use.
2. Press q CID or p to choose
Set date/time, and then press
MENU/SELECT to select.
3. Use the dialing keys (0-9) to enter the
month (MM), date (DD) and year (YY).
Then, press MENU/SELECT to move
on to set the time.
4. Use the dialing keys (0-9) to enter the
hour (HH) and minute (MM). Then,
press q CID or p to choose AM
or PM.
5. Press MENU/SELECT to save.
Use caller ID to automatically
set date and time
If you subscribe to caller ID service, the
day, month and time are set automatically
with each incoming call. Follow the steps,
as mentioned below, to turn the CID
time sync feature on or off. The default
setting is On.
1. Press MENU/SELECT when the phone
is not in use.
2. Press q CID or p to scroll
to Settings, and then press
MENU/SELECT.
3. Press q CID or p to scroll to
CID time sync, and then press
MENU/SELECT.
4. Press q CID or p to highlight On
or Off, then press MENU/SELECT to
save. There is a confirmation tone and
the screen returns to the previous
menu.
 Loading...