18
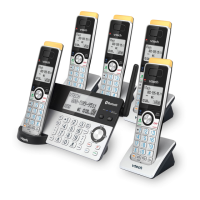
Connect the charger
NOTES
• Use only the adapters provided.
• Make sure the electrical outlets are
not controlled by wall switches.
• The adapters are intended to be
correctly oriented in a vertical or floor
mount position. The prongs are not
designed to hold the plug in place if
it is plugged into a ceiling, under-the-
table or cabinet outlet.
Charge the battery
Place the handset in the telephone base
or charger to charge.
Once you have installed the battery, the
handset LCD display indicates the battery
status (see the table below).
Battery
indicators
Battery
status
Action
The screen is
blank or shows
Put in charger
and flashes.
Battery has no
charge or very
little
charge. The
handset cannot
be used.
Charge without
interruption
(at least 30
minutes).
The screen
shows
Low battery
and flashes.
Battery has
enough charge
to be used for a
short time.
Charge without
interruption
(at least 30
minutes).
The screen
shows
HANDSET X.
Battery is
charged.
To keep
the battery
charged,
place it in the
telephone base
or charger
when not in
use.
When it is fully charged, you can expect
the following performance:
Operation Operating time
While in handset use
(talking*)
10 hours
While not in use
(standby**)
5 days
* Operating times vary depending on
your actual use and the age of the battery.
** Handset is not charging or in use.
 Loading...