5 Scan/E-mail
122
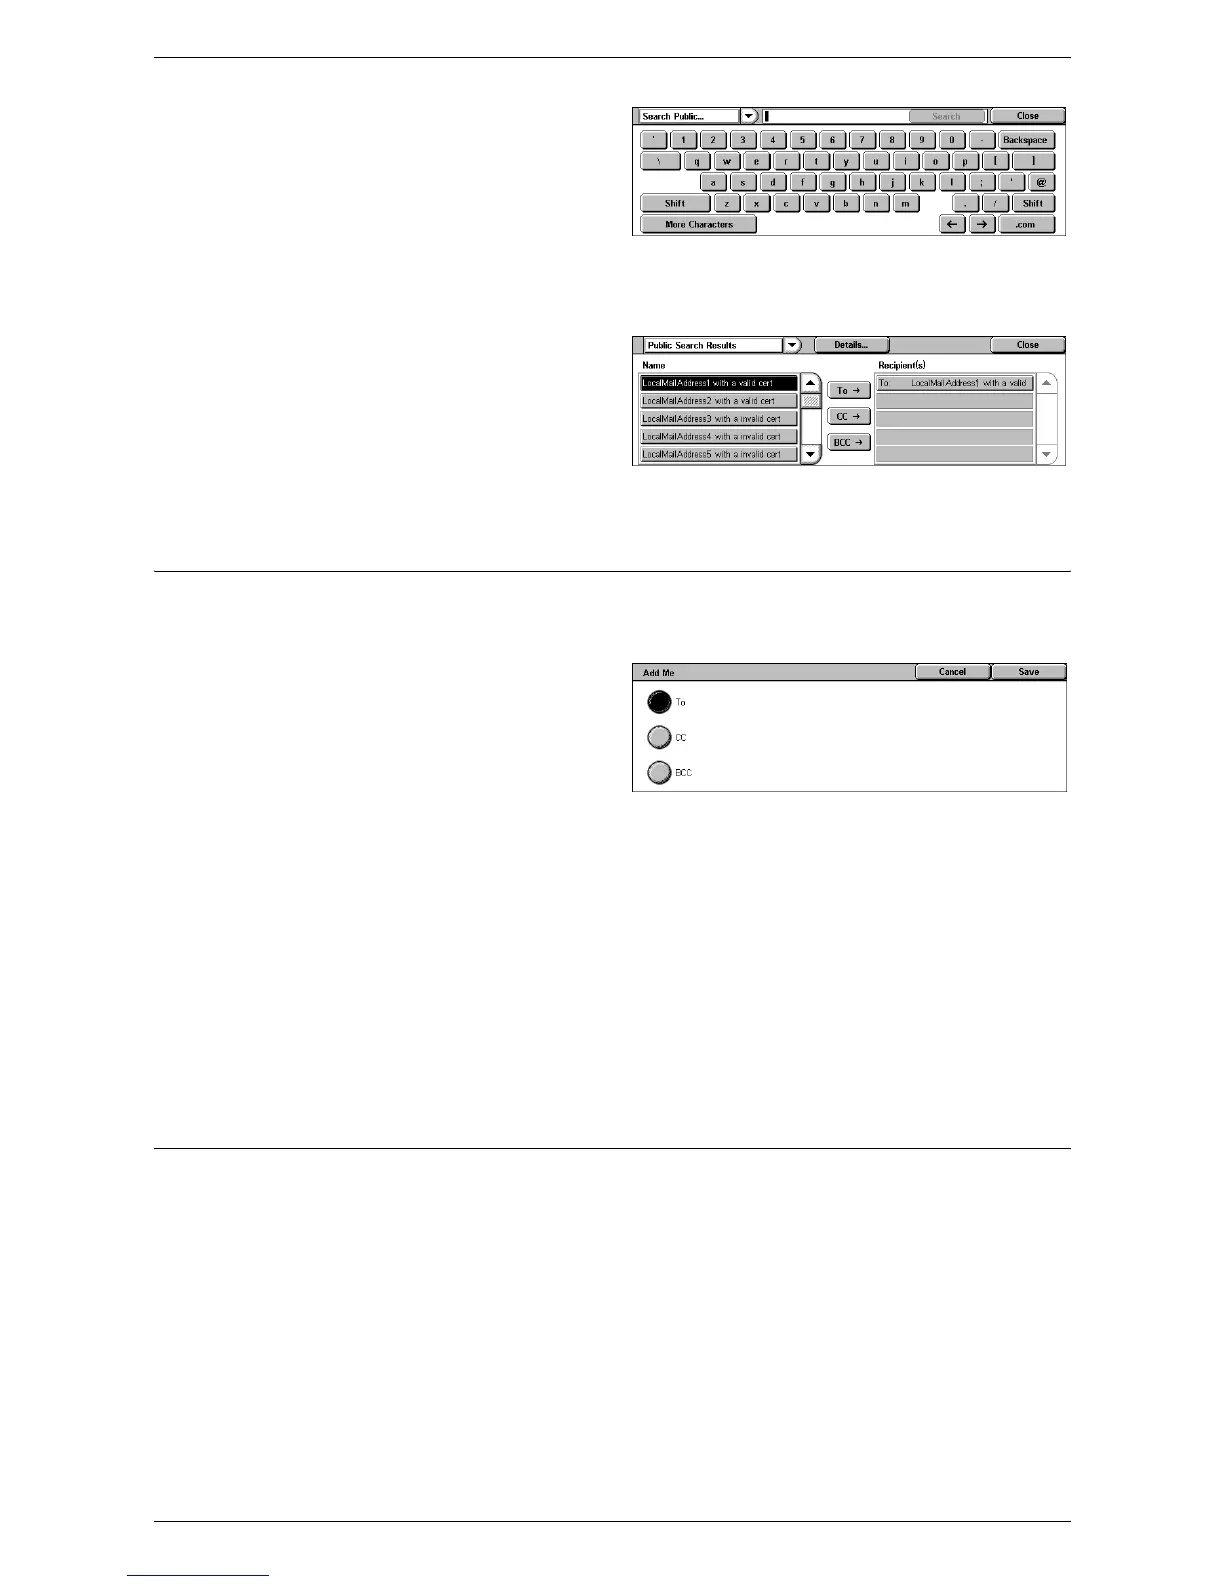
1.
Select [Search Public] or
[Search Network] from the pull-
down menu.
2.
Enter part or all of a recipient
name using the screen
keyboard.
3.
Select the [Search] button.
A search result screen appears.
4.
Select a recipient from the
search result.
NOTE: For details on how to use
this screen, refer to
List all public
entries on page 121
.
Add Me
This feature allows you to add your e-mail address (the sender’s address) to an
address entry field.
1.
Select [Add Me] on the
[E-mail] screen.
2.
Select the required option.
3.
Select [Save].
To
Adds the sender’s address in the To field.
CC
Adds the sender’s address in the CC field.
BCC
Adds the sender’s address in the BCC field. The address entered in this field is not
displayed on the message received by the recipient.
From
This feature allows you to view or change your e-mail address (the sender’s address).
When the authentication feature is not used, the [From] field displays the machine
name (if set up), or the machine’s e-mail address.
When the authentication feature is used, the [From] field displays the e-mail address
registered for the logged-in user.
By default, the e-mail address cannot be changed on this screen. For information on
how to change the sender’s e-mail address, refer to the E-mail/Internet Fax Service

 Loading...


