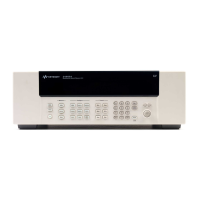
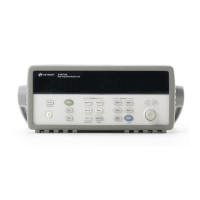
Internal DMM Adjustments
You will need a 34901A 20-Channel Multiplexer to perform the
following procedures (see page 66). Install the Multiplexer in slot 200.
Zero Adjustment
Each time you perform a zero adjustment, the Internal DMM stores a
new set of offset correction constants for every measurement function
and range. The Internal DMM will sequence through all required
functions and ranges automatically and store new zero offset calibration
constants. All offset corrections are determined automatically. You may
not correct a single range or function without re-entering
ALL zero
offset correction constants automatically. This feature is intended to
save calibration time and improve zero calibration consistency.
Note: Never turn off the Internal DMM during Zero Adjustment.
This may cause ALL calibration memory to be lost.
Zero Adjustment Procedure
The zero adjustment procedure takes about 5 minutes to complete.
Be sure to allow the instrument to warm up for 2 hours before
performing the adjustments.
Follow the steps outlined below. Review “Test Considerations” on
page 71 before beginning this test. Also see page 53, for an example
of how to initiate a zero calibration.
1 This procedure will use the copper shorts installed on Channels 209
and 219. Leave the Amps input connections (Channel 221) open.
2 Select Channel 209. Select the DC VOLTS function.
3
Press to enter the calibration menu. Press again to
begin the adjustment procedure.
4 Use the knob and arrow keys to set the number in the display
to 0.000000 and press .
5 Perform the Zero Offset Verification tests (see page 75) to check zero
calibration results.
4
Chapter 4 Calibration Procedures
Internal DMM Adjustments
81
 Loading...