Getting Started
•••••
-----------------------
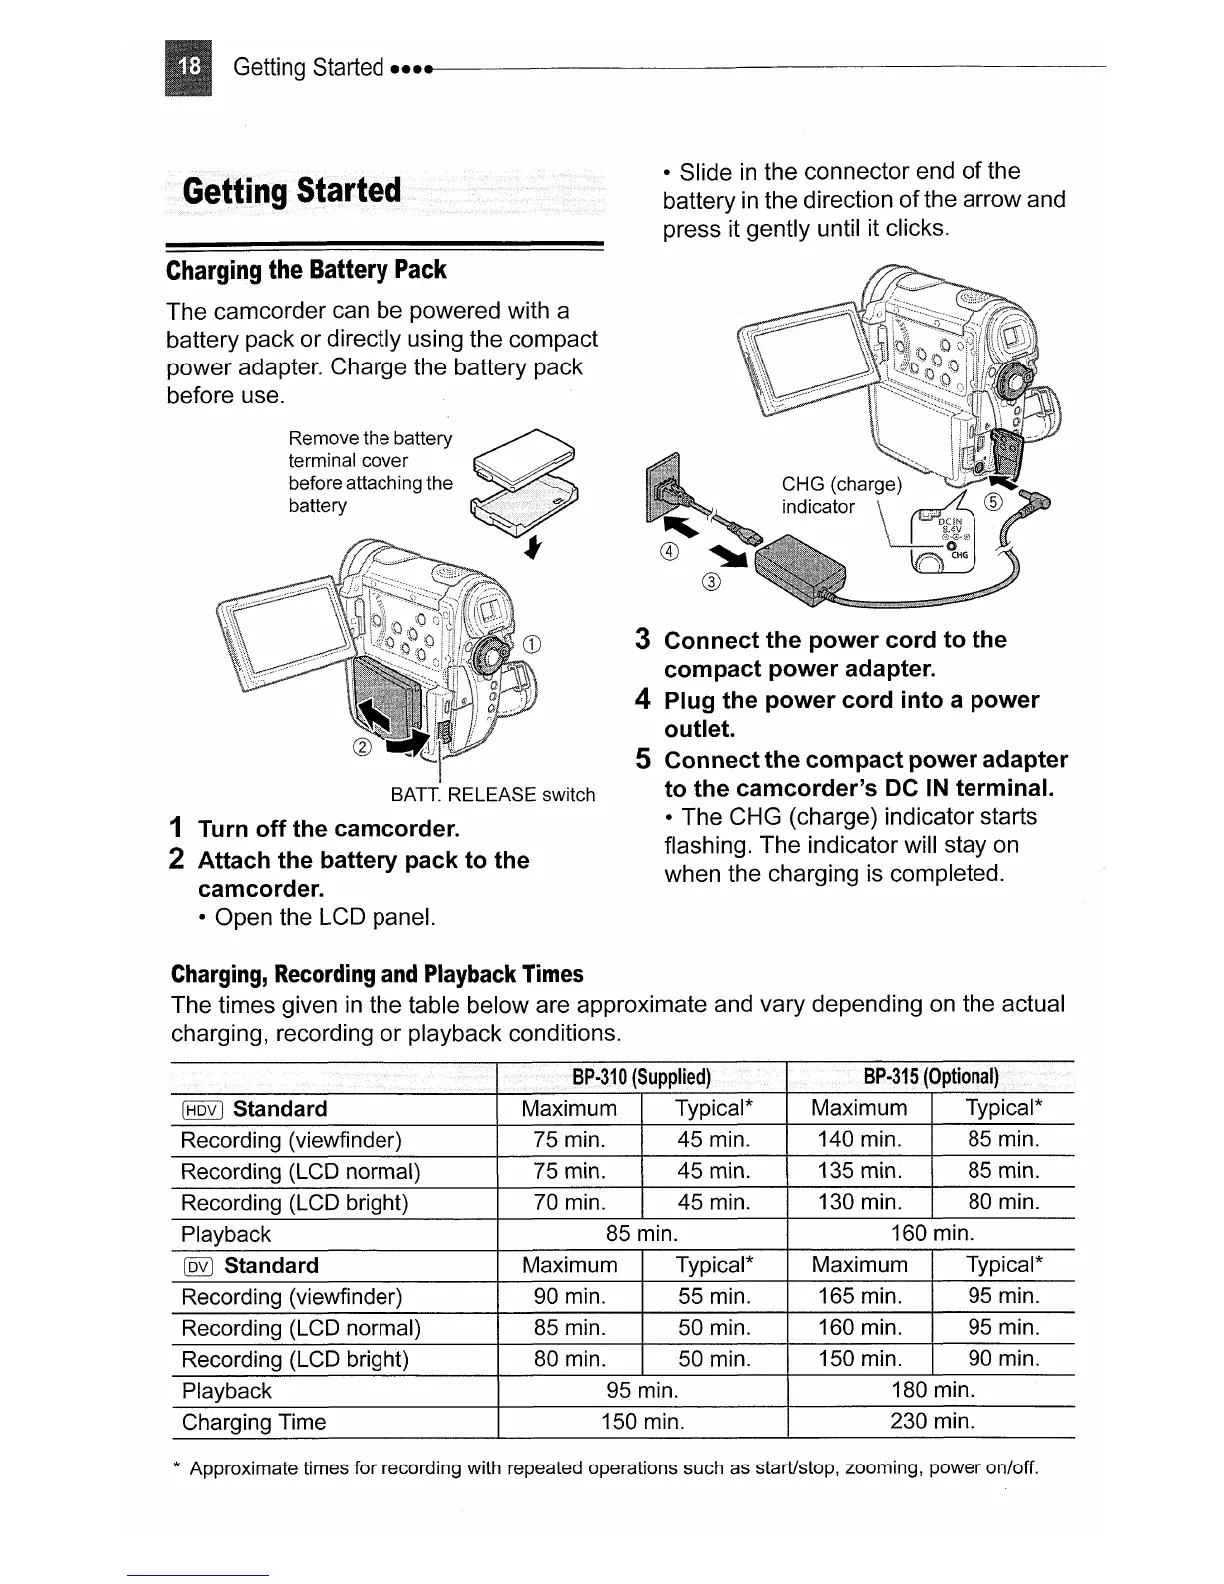
• Slide
in
the connector end
of
the
battery
in
the direction
of
the arrow and
press it gently until it clicks.
Charging
the
Battery
Pack
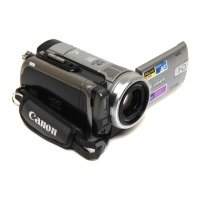
The camcorder can be powered with a
battery pack or directly using the compact
power adapter. Charge the battery pack
before use.
Remove the battery
terminal cover
before attaching the
battery
BATT. RELEASE switch
1 Turn off the camcorder.
2 Attach the battery pack to the
camcorder.
• Open the LCD panel.
3 Connect the power cord to the
compact power adapter.
4 Plug the power cord into a power
outlet.
S Connect the compact power adapter
to the camcorder's
DC
IN
terminal.
• The CHG (charge) indicator starts
flashing. The indicator will stay on
when the charging is completed.
Charging,
Recording
and
Playback
Times
The times given
in
the table below are approximate and vary depending on the actual
charging, recording or playback conditions.
00"'1\
,,..
,..
~I\
(Optional)
"'1
[8Q2]
Standard Maximum Typical* Maximum Typical*
Recording (viewfinder) 75 min. 45 min.
140 min.
85
min.
Recording (LCD normal)
75 min.
45 min. 135 min.
85
min.
Recording (LCD bright) 70 min. 45 min.
130 min.
80
min.
Playback
85
min. 160 min.
~
Standard
Maximum
Typical* Maximum Typical*
Recording (viewfinder) 90 min. 55 min.
165 min. 95 min.
Recording (LCD normal) 85 min.
50 min. 160 min.
95 min.
Recording (LCD bright)
80
min. 50 min.
150 min.
90
min.
Playback 95 min. 180 min.
Charging Time
150 min. 230 min.
* Approximate times for recording with repeated operations such as starUstop, zooming, power on/off.
 Loading...