Other Functions
•••••
-------------------------
1 Press [I) (flash button).
• Repeatedly pressing
lIJ
will cycle
between the flash modes.
• The icon
of
the selected flash mode
will appear
(~A
disappears after 4
seconds).
2 Press (PHOTO
I,
first halfway to
activate the autofocus and then
fully to record the still image.
Q)}iom---··-·----
n
--.-----.---.-
••
---.---.-.---.-
••
-.]
•
The
practical range
of
the flash is approx. 1 to
2 m (3.3 to 6.6 ft.).
The
range
depends
on the
recording conditions.
•
The
range
of
the flash decreases in
continuous shooting mode.
• For the red-eye reduction to be effective, the
subject needs to look
at
the assist lamp.
The
degree
of
reduction
depends
on the distance
and on each individual.
•
The
flash will not fire in the following cases:
-
When
you manually adjust the exposure in
~A
(auto)
or
@ (red-eye reduction) mode.
- During auto exposure bracketing.
•
The
flash mode cannot be changed after you
pressed
~
to manually adjust the exposure.
•
We
recommend not using the flash when the
optional Wide-converter
or
Tele-converter is
attached. Their shadows
appear
on the screen.
•
About
the
AF-Assist
Lamp:
While you press
IPHOTOI halfway, if the subject is too dark the
assist lamp may light up briefly
in
order to
enable the camcorder to focus
more
accurately
(AF-assist lamp). You can also set [AF
AST
LAMP] to
[lm]
OFF] so the assist lamp
does
not light up.
-
The
camcorder
may
not be able to focus even
if
the AF-assist lamp is on.
-
The
brightness
of
the AF-assist lamp could be
an inconvenience.
Consider
turning it
off
in
public places such as restaurants
or
theaters.
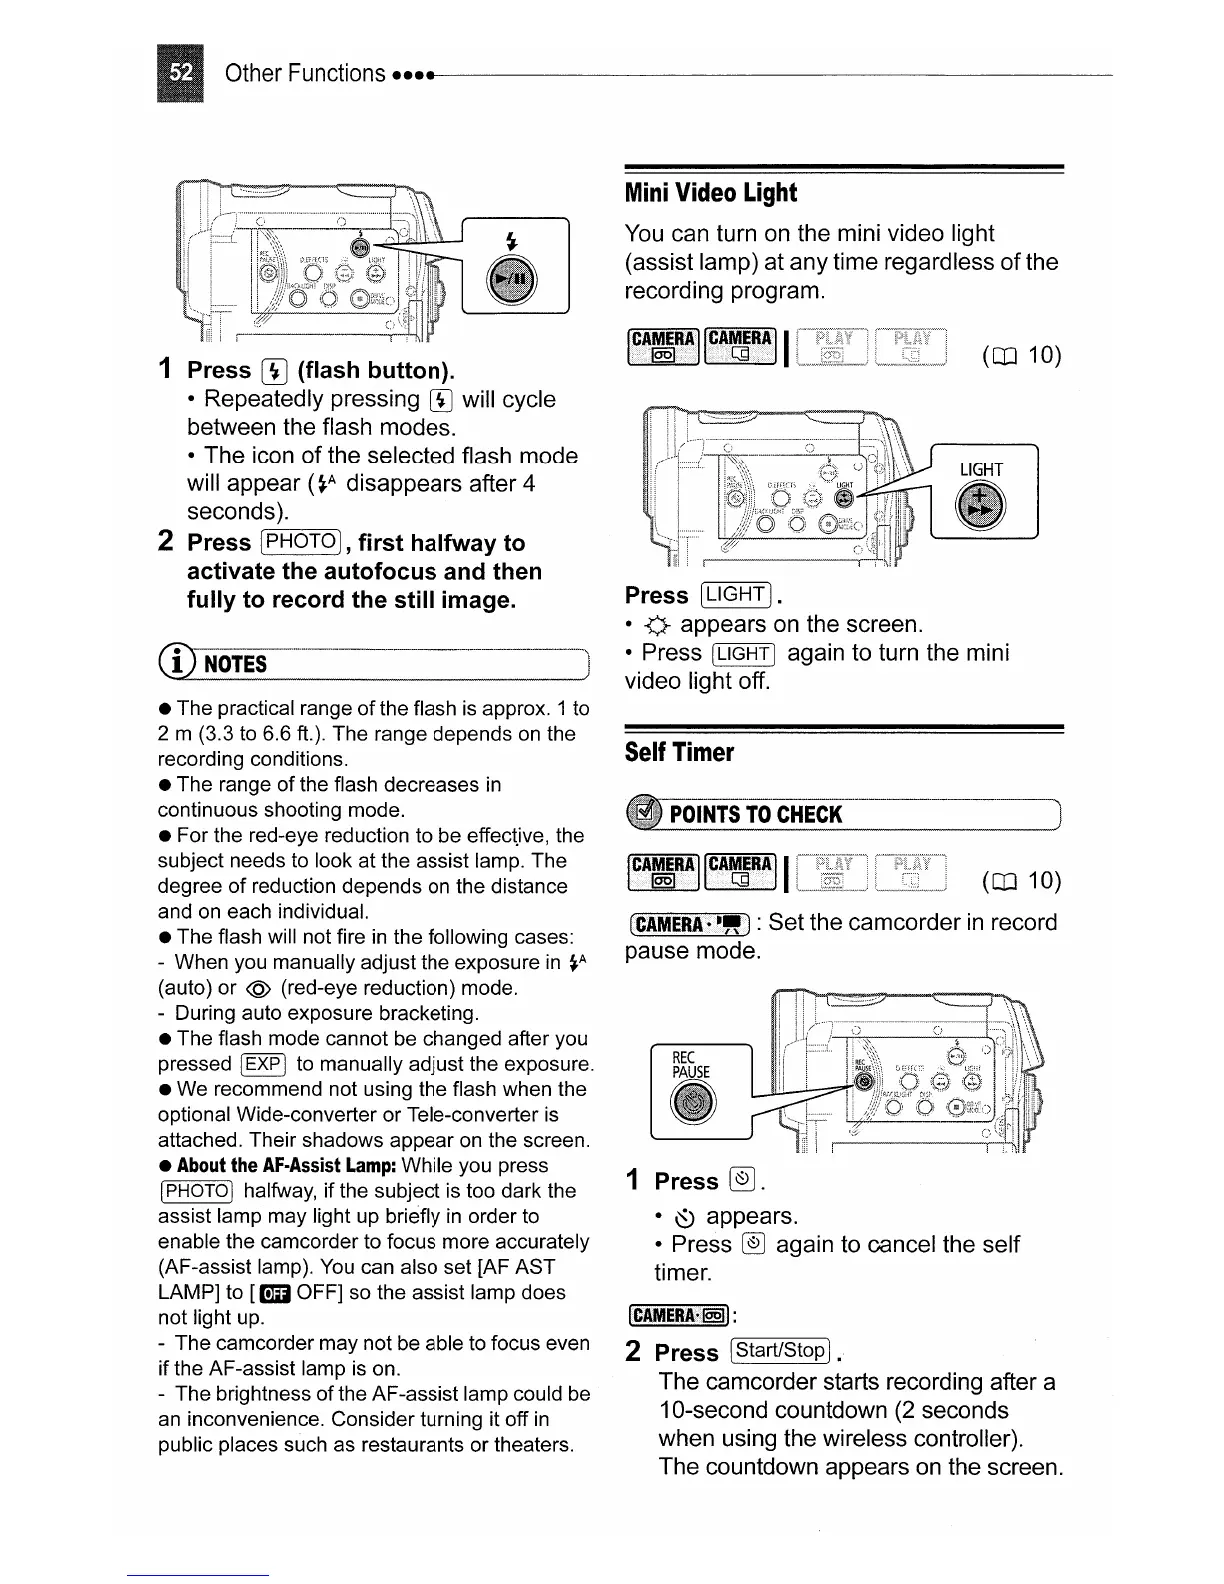
Mini
Video
Light
You
can turn on the mini video light
(assist lamp) at any time regardless
of
the
recording program.
(OJ 10)
Press ILIGHT
I.
•
V-
appears on the screen.
• Press
ILIGHT I again to turn the mini
video light off.
Self
Timer
POINTS
TO
CHECK
(OJ 10)
[CAMERA·-")
: Set the camcorder
in
record
pause mode.
1 Press
@].
•
\5)
appears.
• Press
@]
again to oancel the self
timer.
ICAMERAt@§l1
:
2 Press [Start/StoPI.
The camcorder starts recording after a
10-second countdown
(2
seconds
when using the wireless controller).
The countdown appears on the screen.
 Loading...