OTHER RECORDING FUNCTIONS
E-88
Selecting White Balance
Selecting the right type of white balance can help to make
the colors of a subject appear most natural under the type of
lighting that is available.
1.
Align the POWER/Function Switch with REC.
2.
Press MENU.
3.
Select “FUNCTION” “White Balance”, and
then press SET/DISP.
4.
Select the type of white balance you want, and
then press SET/DISP.
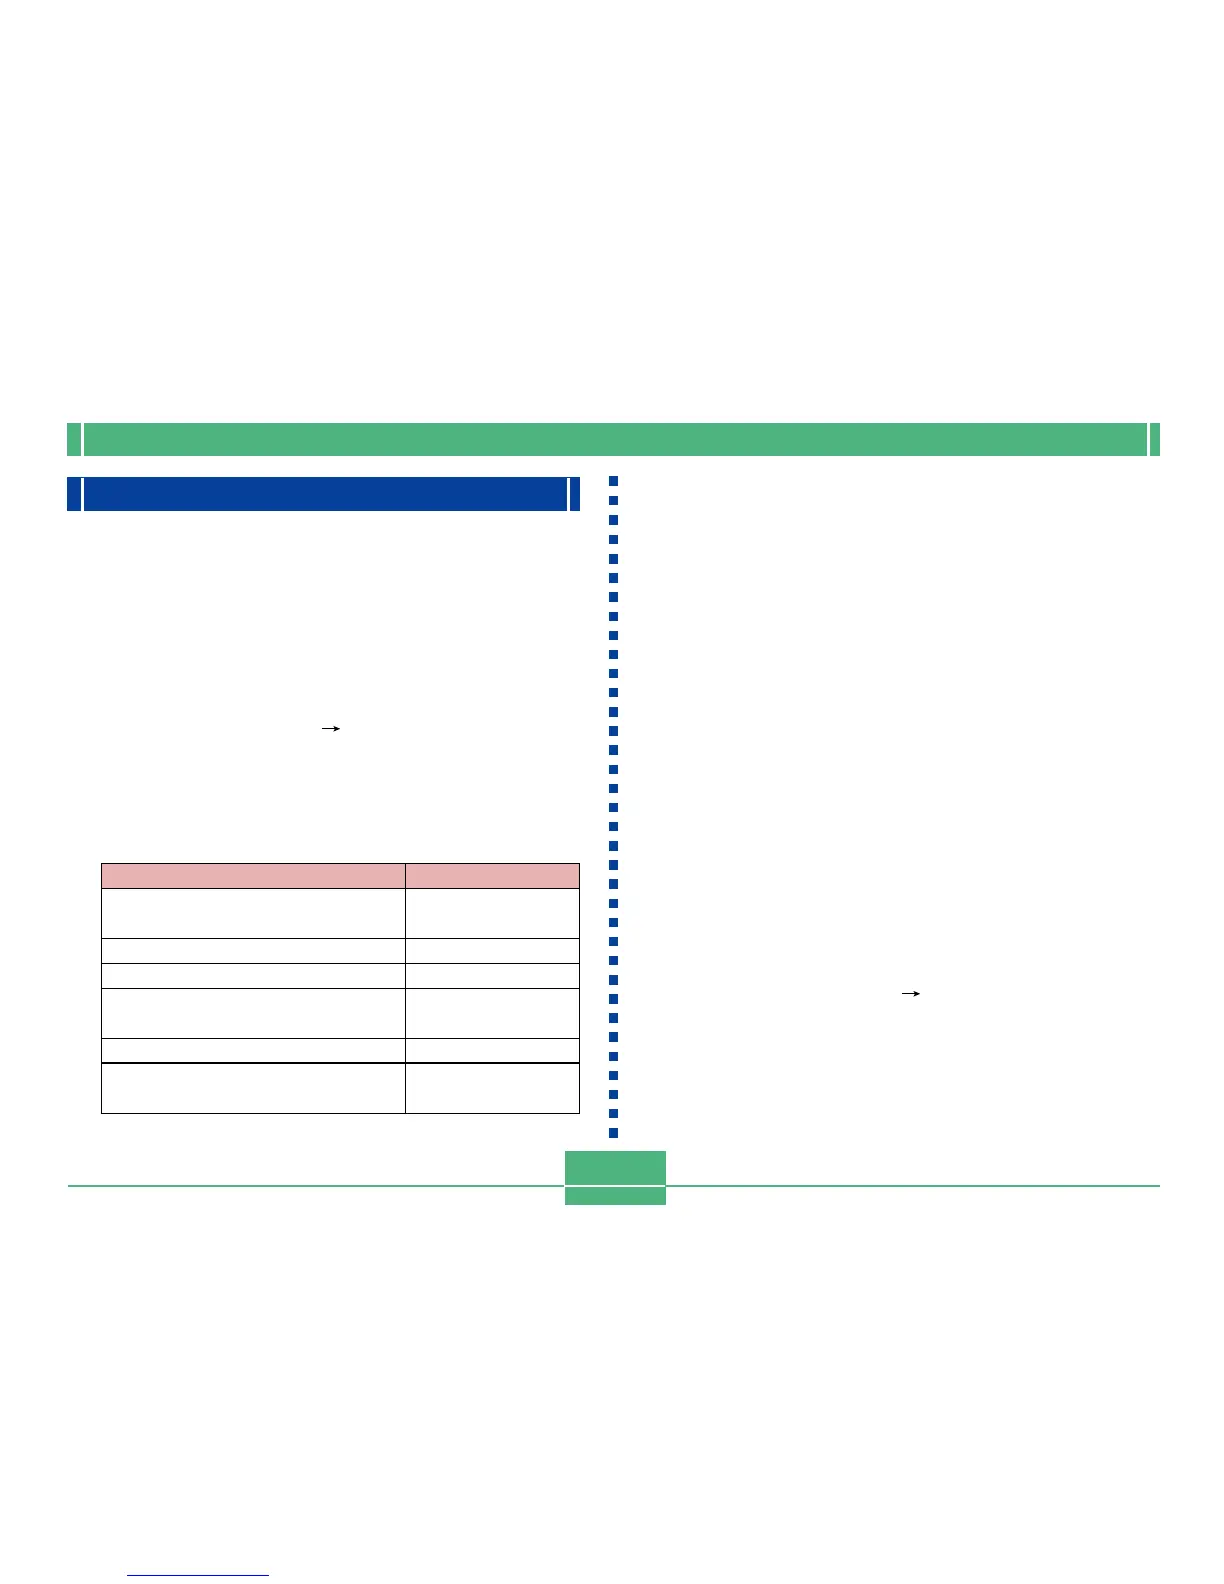
To do this
Let the camera adjust white balance
automatically
Shoot outdoors
Shoot in shady conditions
Shoot under incandescent (light bulb)
lighting
Shoot under fluorescent lighting
Adjust white balance normally for a
particular light source
Select this
Auto
Daylight
Shade
Tungsten
Fluorescent
Manual
NOTE
• Use “Daylight” for shooting in the Night Scene Mode.
You can also use manual white balance if the “Day-
light” setting does not produce the desired results.
Adjusting White Balance Manually
Under some light sources, automatic white balance under
the “Auto” setting can take a long time to complete. Also, the
auto white balance range (color temperature range) is lim-
ited. Manual white balance helps to ensure that colors are
recorded correctly for a particular light source.
Note that you must perform manual white balance under the
same conditions you will be shooting under. You must also
have a white piece of paper or other similar object on hand in
order to perform manual white balance.
1.
Align the POWER/Function Switch with REC.
2.
Press MENU.
3.
Select “FUNCTION” “White Balance”, and
then press SET/DISP.
4.
Select “Manual”, and then press SET/DISP.
 Loading...