OTHER RECORDING FUNCTIONS
E-89
5.
Point the camera at a piece of white paper or
other similar object so it completely fills the
monitor screen, and then press SET/DISP.
• This performs white balance adjustment and returns
to the REC mode screen.
• Pressing without pressing SET/DISP first re-
stores the setting obtained the last time you per-
formed manual white balance.
• Dark lighting or pointing the camera at a dark object
can cause manual white balance to take a very long
time to complete. Avoid such conditions when per-
forming manual white balance adjustment.
NOTE
• Even if you turn off the camera or change its white
balance back to “Auto” or another white balance set-
ting, the last value obtained by manual white balance
is retained in memory and restored the next time you
select “Manual” for the white balance. The last value
obtained by manual white balance is retained, regard-
less of the mode memory setting (page E-94).
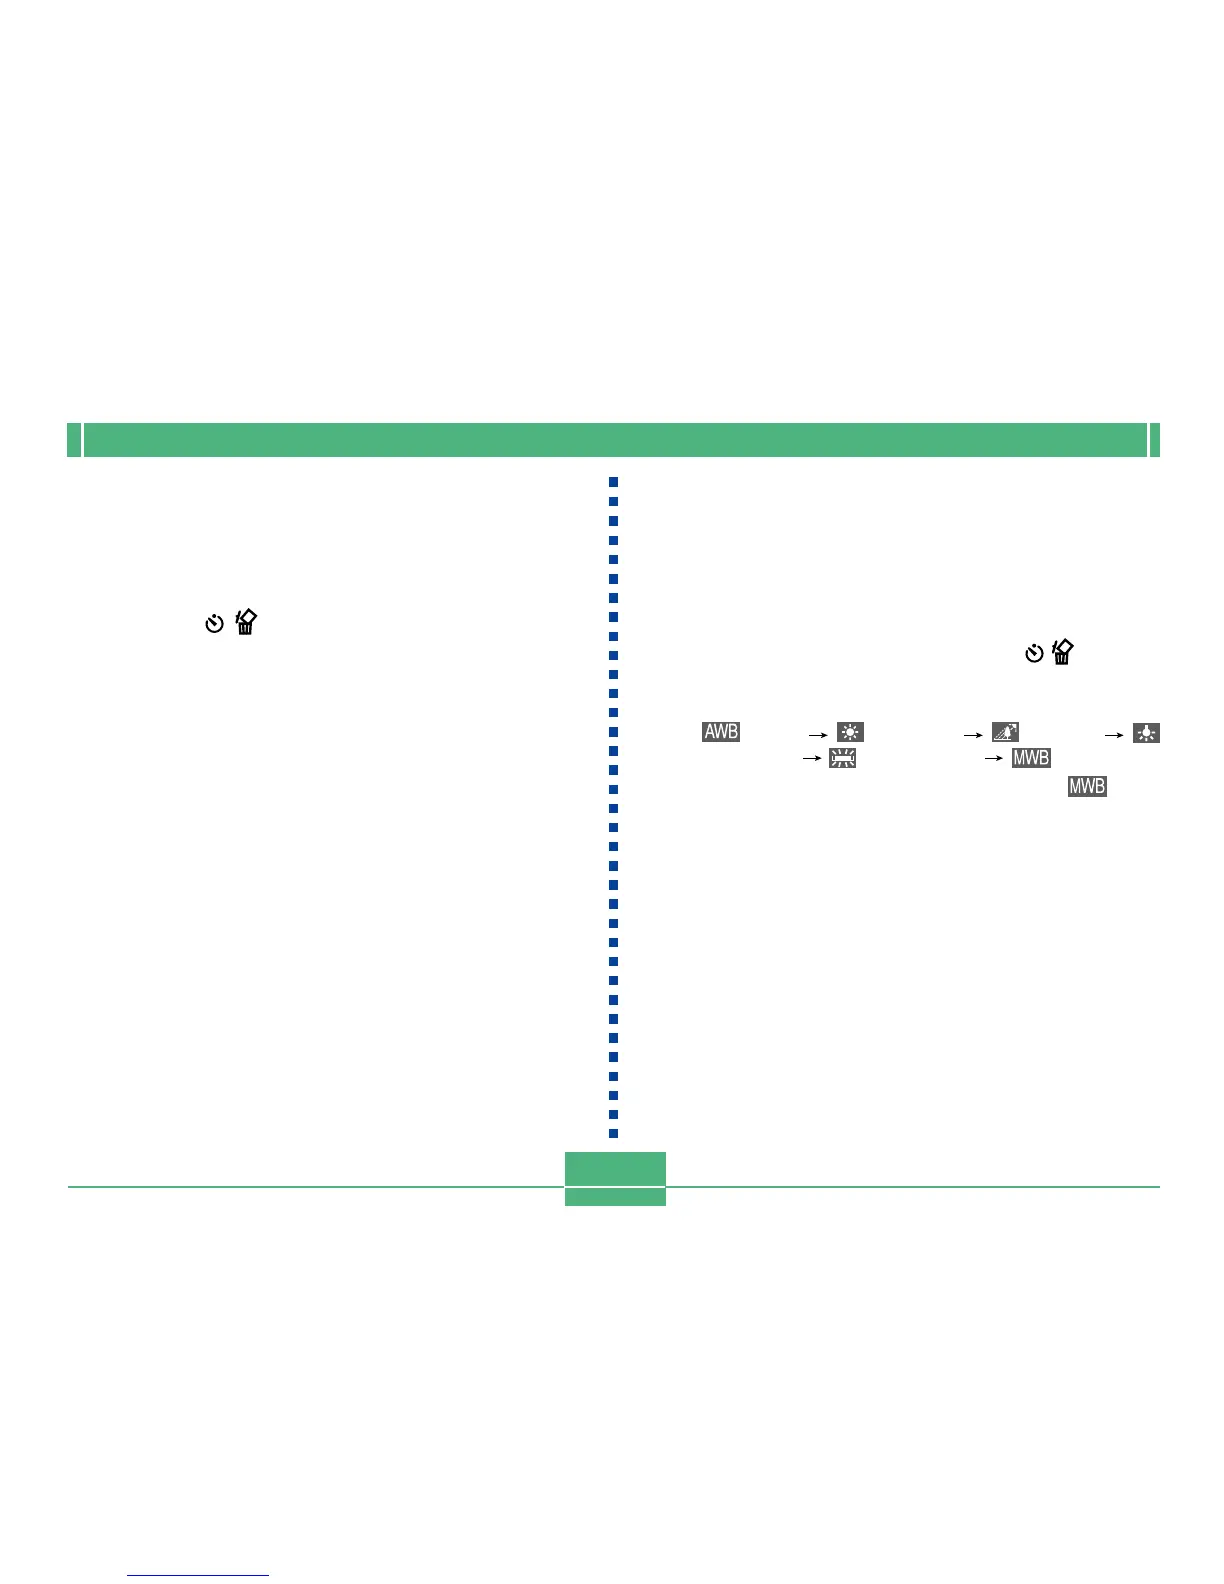
Quick White Balance Selection
You can also use the following procedure to change the
white balance, without going through the menu.
1.
Align the POWER/Function Switch with REC.
2.
While holding down SHIFT, press to cycle
through the white balance icons on the moni-
tor screen in the sequence noted below.
• (Auto) (Daylight) (Shade)
(Tungsten) (Fluorescent) (Manual)
• For manual white balance, display the icon,
point the camera at a white piece of paper, hold down
SHIFT, and press the shutter release button.
 Loading...