3-2
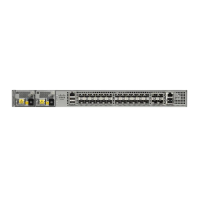
Cisco ASR-920-24SZ-IM, ASR-920-24SZ-M, ASR-920-24TZ-M Aggregation Services Router Hardware Installation Guide
Chapter 3 Installing
Installing the Router in a Rack
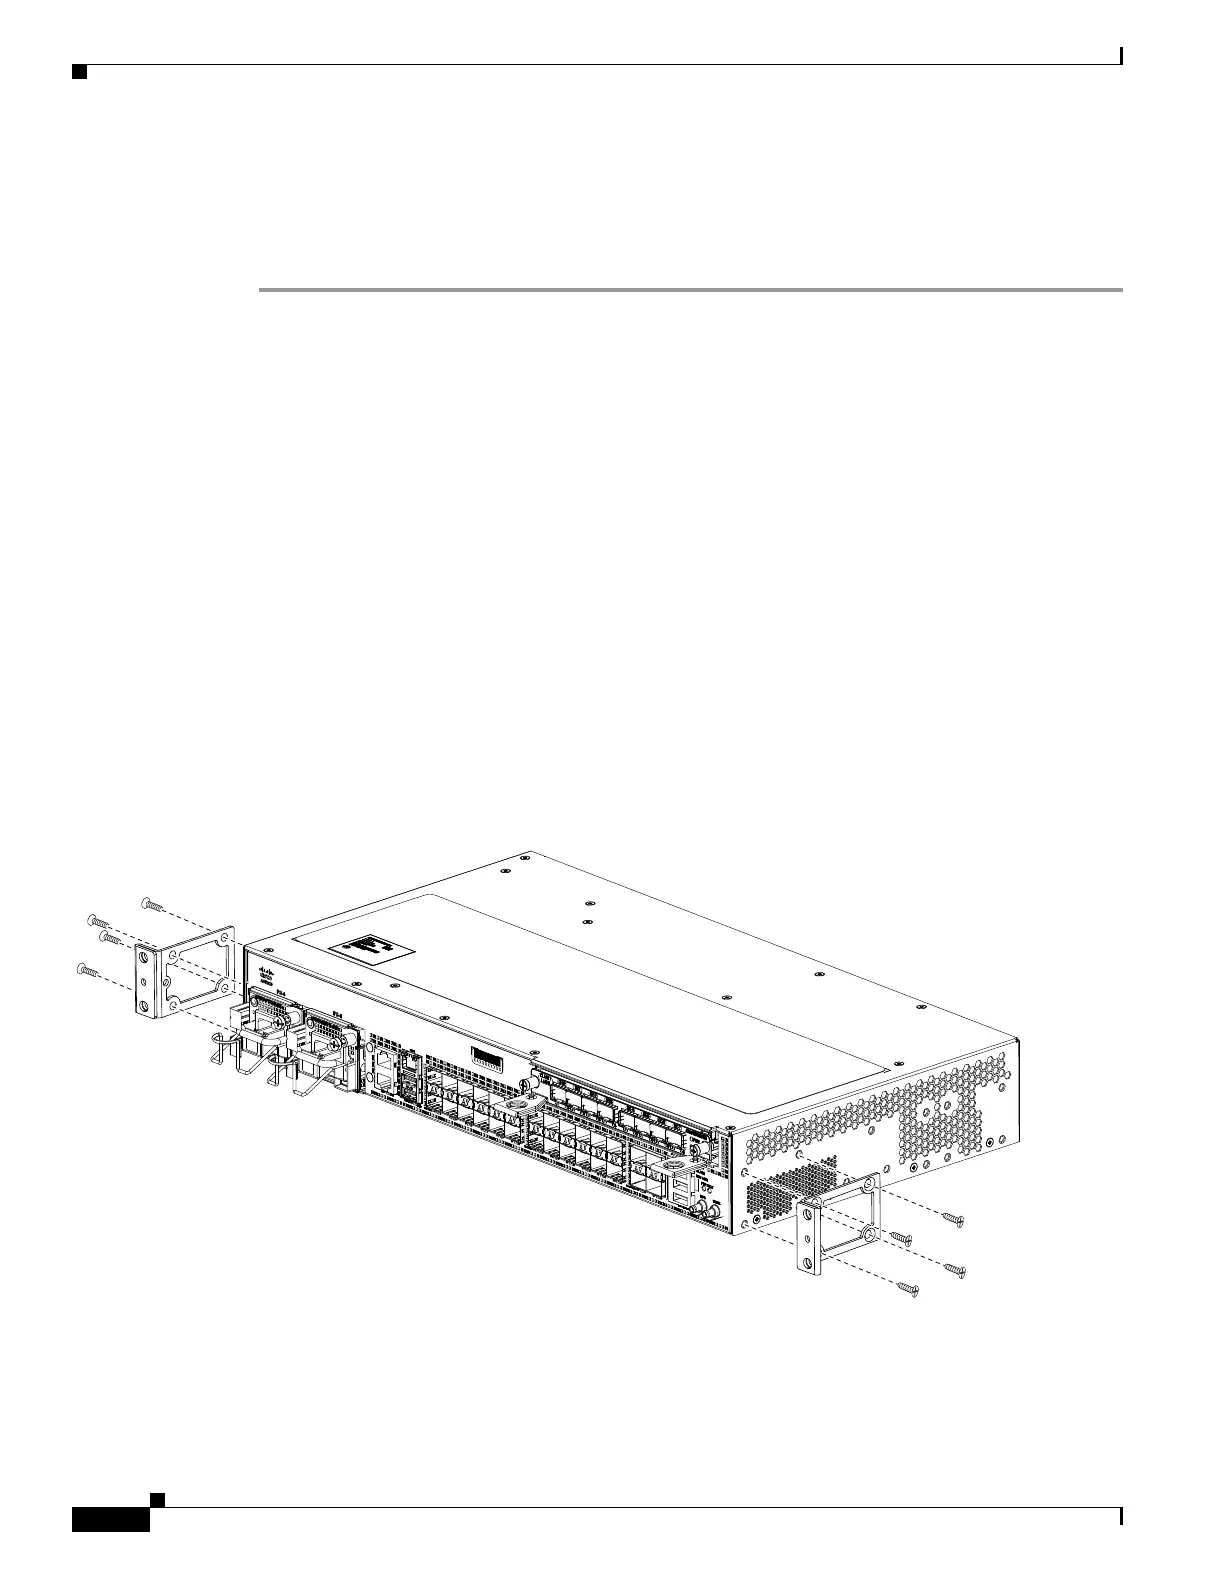
Installing the Chassis Brackets
The chassis is shipped with mounting brackets that can be installed on the front or rear of the chassis.
To install the brackets on the front of the chassis, perform these steps:
Step 1 Remove the rack-mount brackets from the accessory kit and position them beside the router chassis.
Step 2 Position one of the brackets against the chassis side, and align the screw holes.
19-inch EIA Rack
Figure 3-1 shows how to attach the brackets at the front, middle, and rear positions on the Cisco
ASR-920-24SZ-IM Router for a 19-inch EIA rack.
Figure 3-2 shows how to attach the brackets at the front, middle, and rear positions on the Cisco
ASR-920-24SZ-M, ASR-920-24TZ-M Router for a 19-inch EIA rack.
23-inch Rack
Figure 3-3 shows how to attach the brackets on the Cisco ASR-920-24SZ-IM Router for a 23-inch rack.
Figure 3-4 shows how to attach the brackets on the Cisco ASR-920-24SZ-M, ASR-920-24TZ-M Router
for a 23-inch rack.
300-mm ETSI Rack
Figure 3-5 shows how to attach the brackets on the Cisco ASR-920-24SZ-IM Router for a 300 mm ETSI
rack
Figure 3-7 shows how to attach the brackets on the Cisco ASR-920-24SZ-M, ASR-920-24TZ-M Router
for a 300 mm ETSI rack
Figure 3-1 Attaching Mounting Brackets to Cisco ASR-920-24SZ-IM Router for a 19-inch EIA Rack (Front, Middle, and
Rear Positions)
 Loading...